Following the Food for “Thought” , we continued to discuss our ideas. A good thing is that the script was out, so based on it, we get a general concept of how things will be. As for technical side, panStamp and pulse sensor were chosen for the next phase
PanStamp
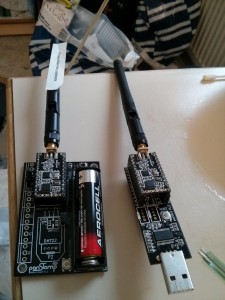
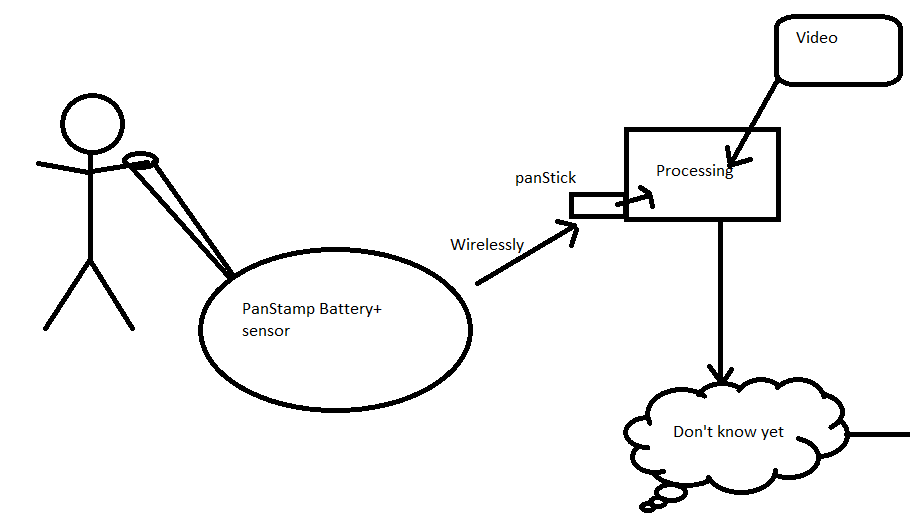
We need to send information from the sensor on the stage to the computer. That is where PanStamp comes in
The PanStamp battery board is our sender- read signal from the sensor and pass it to the PanStick. A bit of soldering work is done on the battery board, mainly for the mobility of using sensor- instead of fixing the sensor, we can remove it at will.
While the energy source is 1.5V AA battery, PanStamp battery board itself can amplify it to 3.3V.
The PanStick reads wireless transmission from PanStamp battery and pass it to the computer via Serial protocol.
Pulse sensor
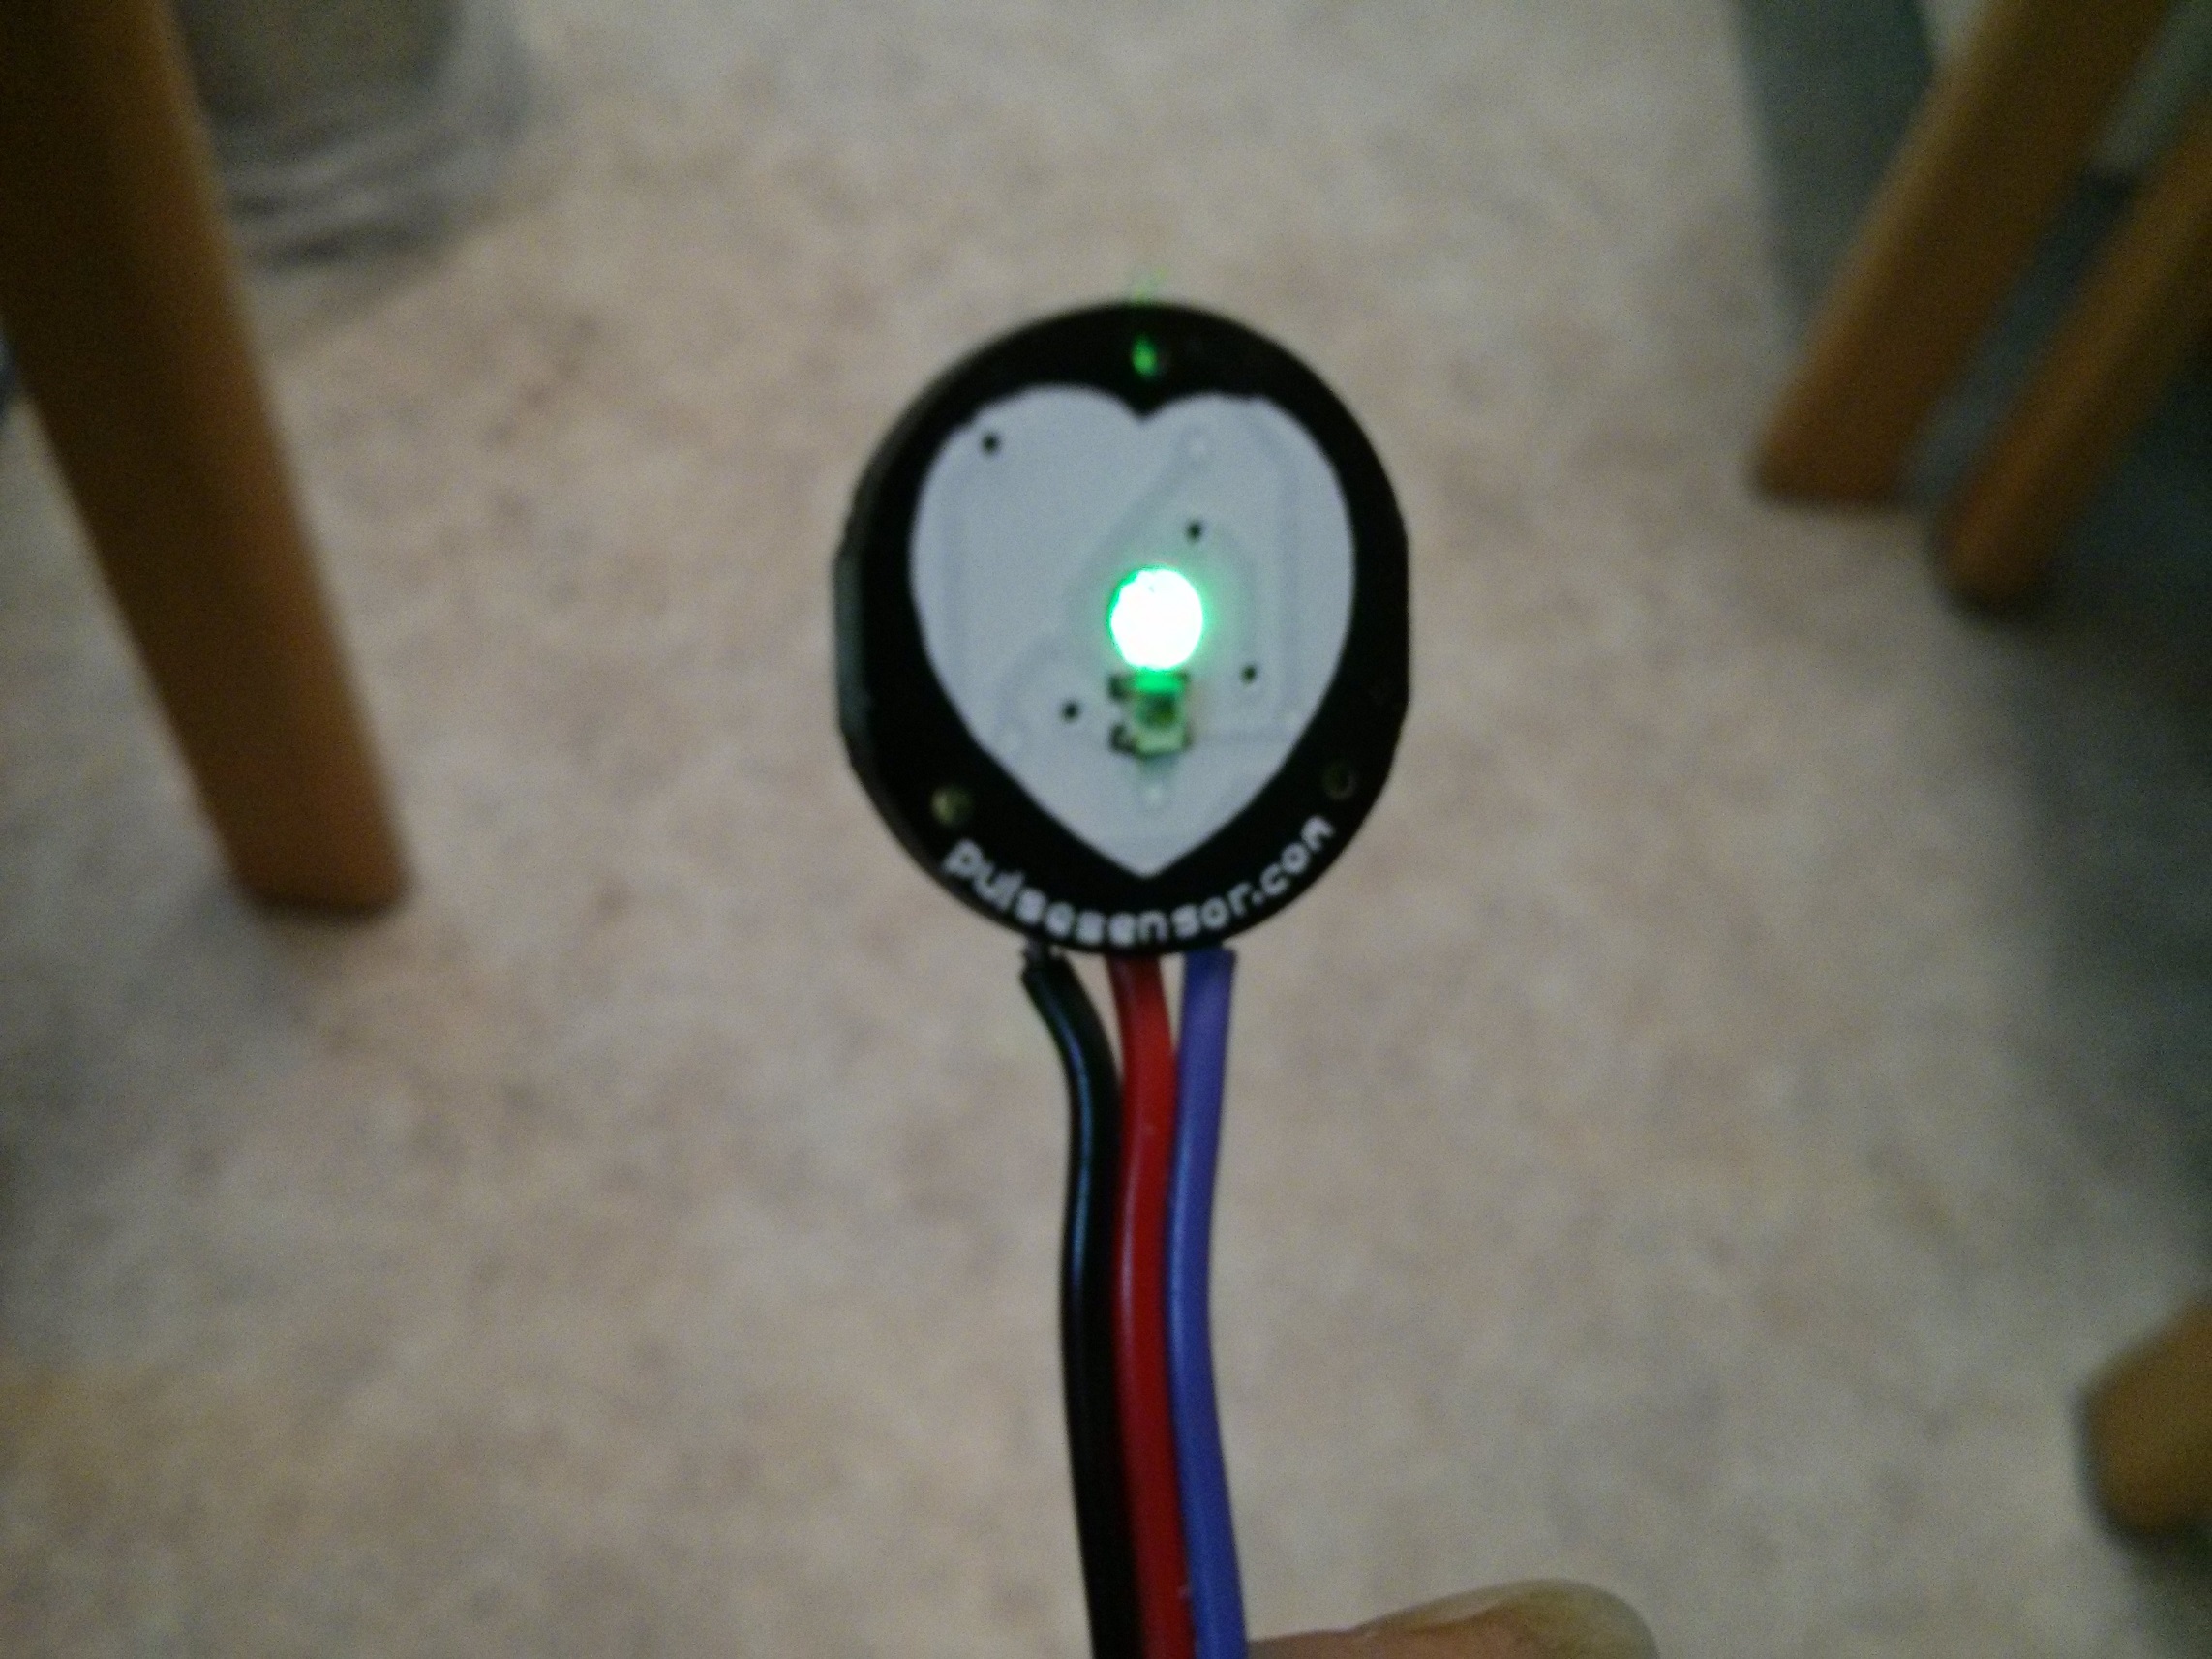
Pulse sensor uses the principle of light-sensing in order to calculate the heartbeat. It is assumed that when the heart beats, there is some kind of shockwave throughout our body. From that perspective, the beat-per-minute (BPM) and interval -between-heartbeat(IBM) can be measured.
It was kind of a fun journey with the pulse sensor. At the beginning, the result was unstable , but after a while of tinkering, this pulse sensor does what it is supposed to do. Still, low power supply usage can be quite deceptive since the sensor “appears” to be working fine , but instead, you will need to change the code–or to wire it differently.
After discarding several ideas for the input – e.g. infrared remote controls, magnetic wristbands, etc. – we decided to use an simple distance sensor for the interaction input of our soap.
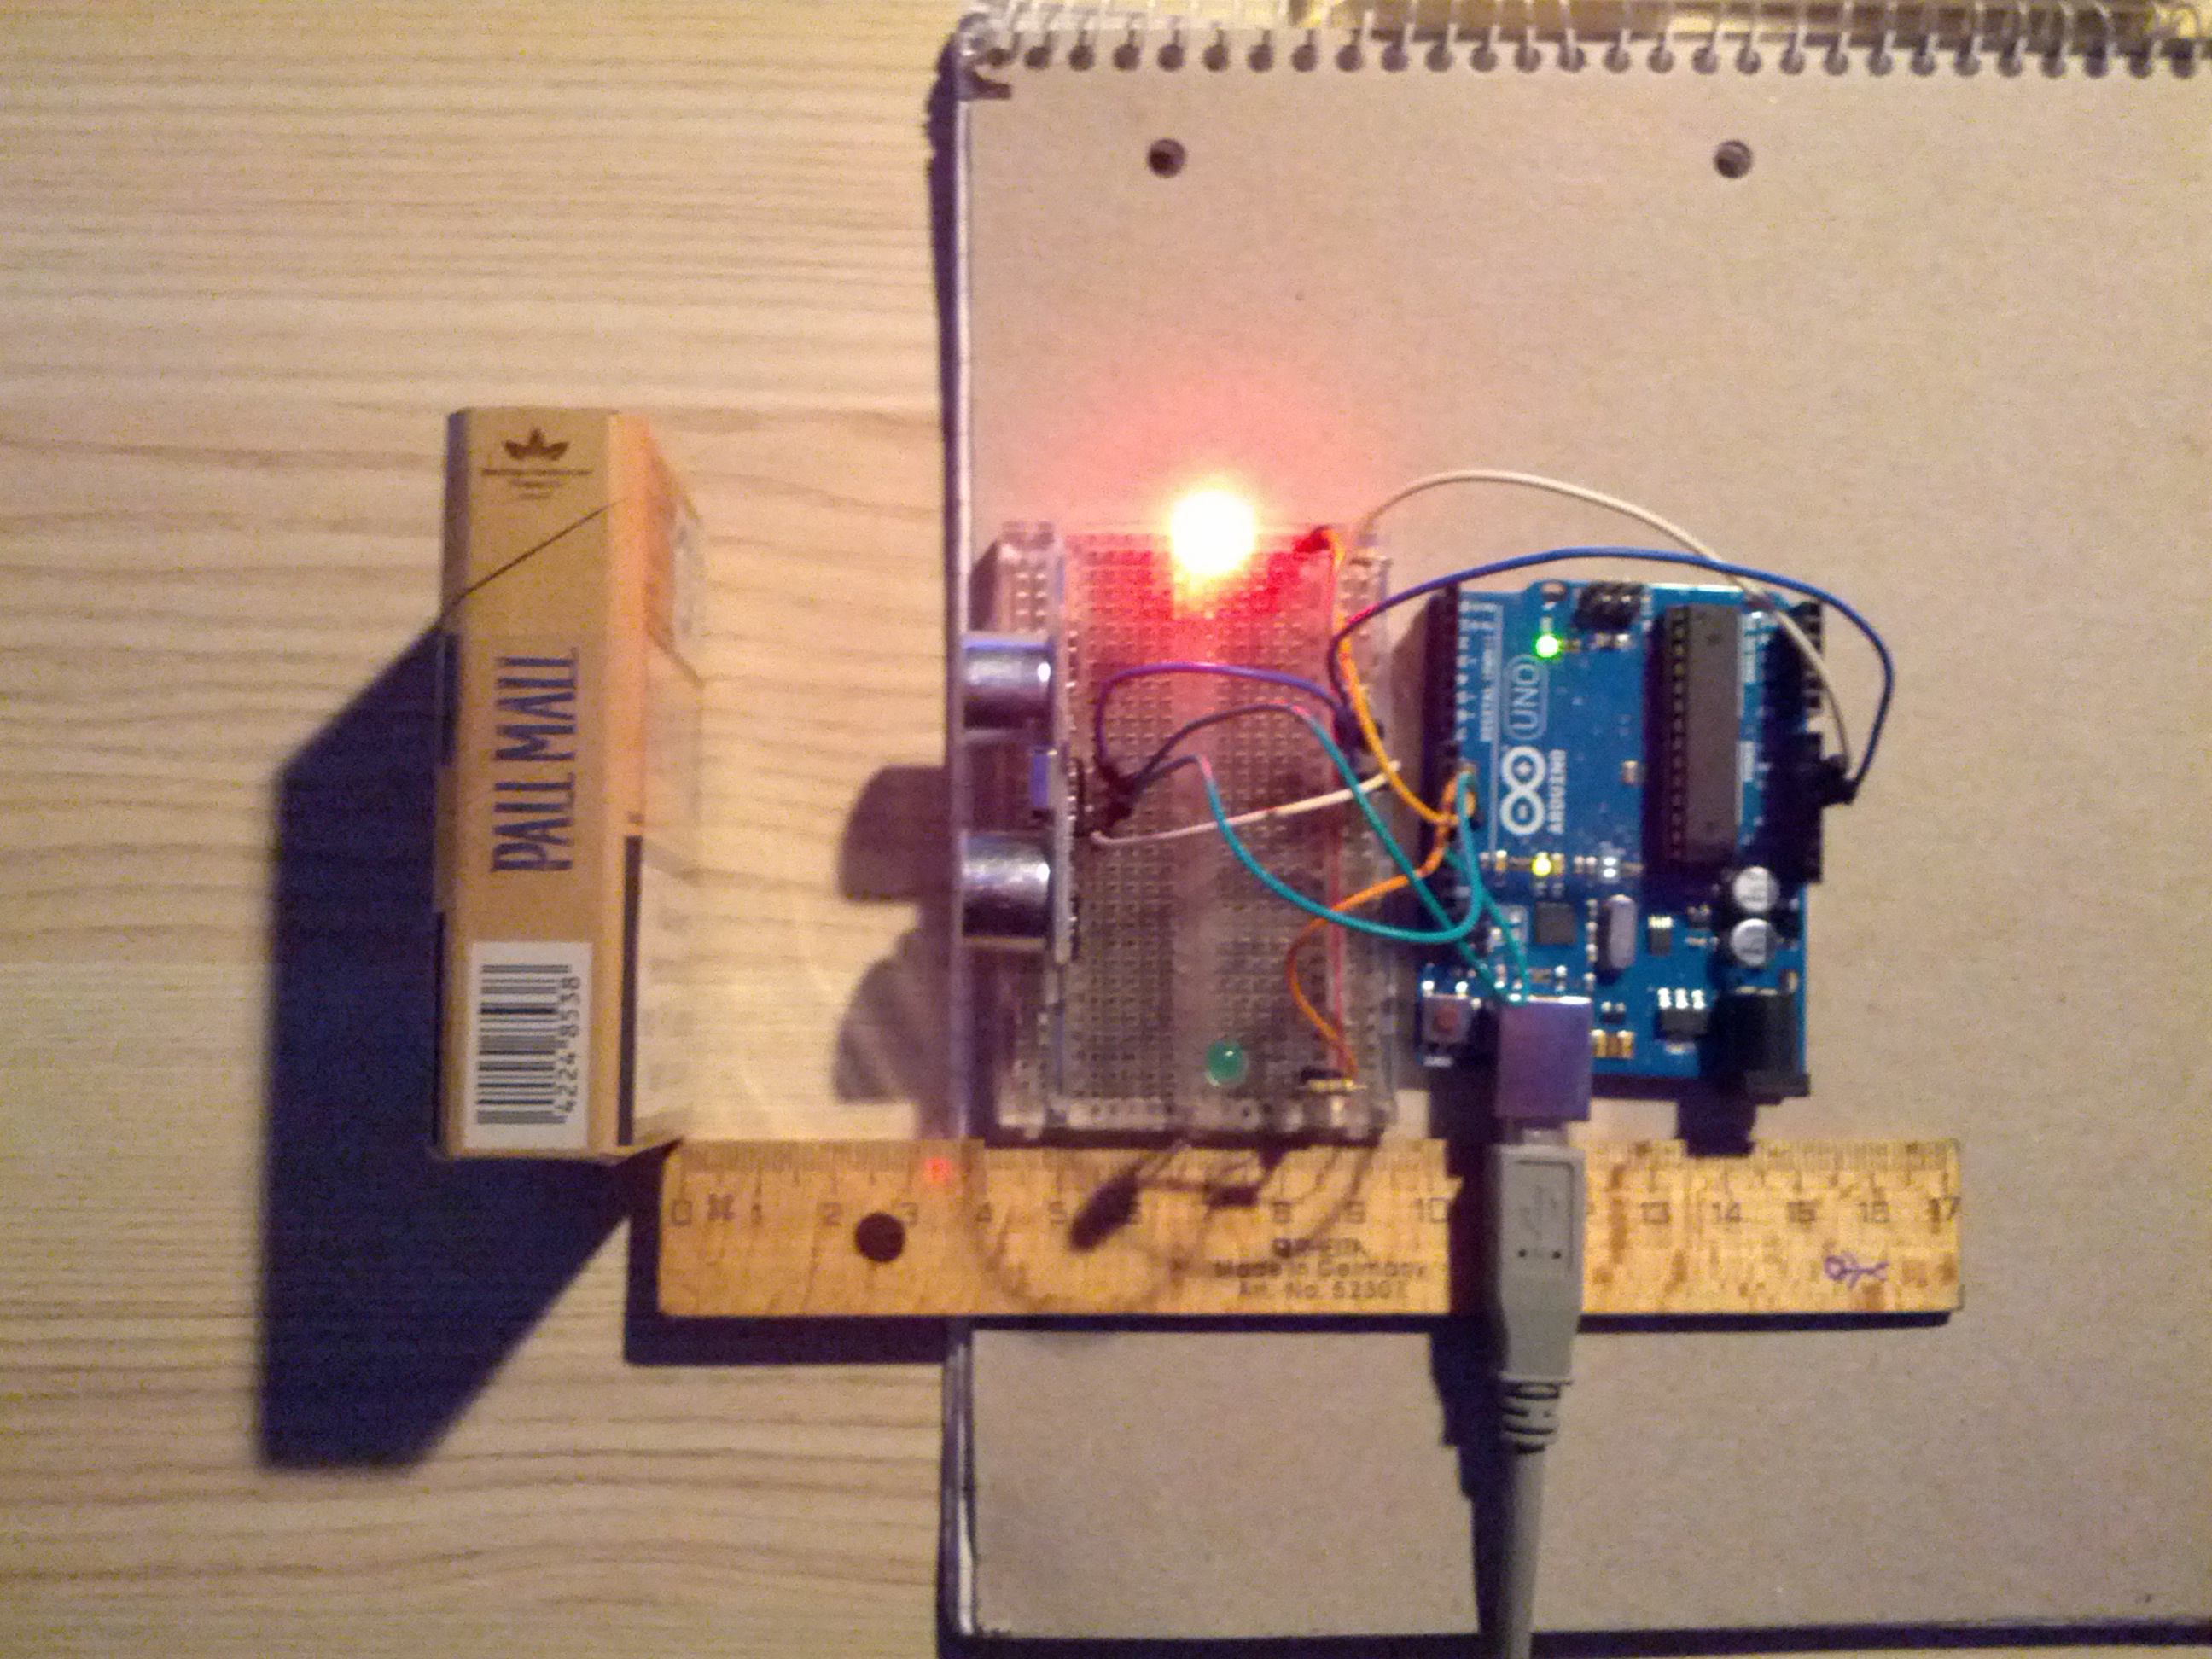
Our choice was the HC-SR04, a distance sensor which is common and wide-spread in combination with an Arduino Uno. This kind of sensor uses ultrasonic transmitters for the range calculation, which is in favor for the usage on stage where light-based solution would have problems. It can measure objects with no direct contact in front of it within a range from 2cm up to 400cm and an angle of 15°, so in this case it also fulfills our requirements of triggering the soap. For the test setup i energized it via the 5V connection on the Arduino board.
The test setup includes:
1x HC-SR04, the distance sensor itself
2x LED (green and red)
2x 560Ω resistor
several jumper wires
Test setup for the HC-SR04
So while nothing interferes in the predefined range (i set it to 4cm for testing purposes), the green LED will be on. In the moment a object will undercut this range, the green LED goes off and the red LED lights up.
Object not in range, green LEDs is onObject in range, red LED is on
Section II – Soap Bubble Gun (Output)
As the first interaction output we asked ourselves how we can present the imagination of a soap although it doesn’t has the appearnance of it. We almost immediately thought about soap bubbles. This suggestion went through the whole concept phase and was getting elaborated quickly. We decided to use a common soap bubble gun. It was dismantled by its case and powerd by a seperate 4.5V power supply. The basic idea was to put it into the middle of of our soap and let it being triggered by the distance sensor thus soap bubbles will rise in the air when it gets activated. When activated the DC servo motor in the gun will fulfill two tasks. On the one side it will pump the soap liquid through little elastic tubes to the emmision ring of the gun. On the other side, the motor will run a little ventilator which will blow air through the mentioned ring. This is how soap bubbles are born!
For a first test setup controlling a DC motor i used:
1x DC motor, a seperate one from an Arduino Experimantation Kit
1x transistor (PN2222), has the function of an electronic switch
1x 1kΩ resistor
3x 1.5V power supply
several jumper wires
Test setup for the motor control via Arduino
2nd setup, using the soap bubble gun this time:
3th Setup, seperate DC motor with the HC-SR04:
4th Setup, soap bubble gun with the HC-SR04:
Currently we have an issue with the estimated 4.5V regularly dropping to a less amount when connecting the soap bubble gun to the circuit. This strange behaviour only occurs with the DC motor of the gun, not with the seperate one. This problem has to be investigated further and prevents the soap bubble gun from prototyp status.
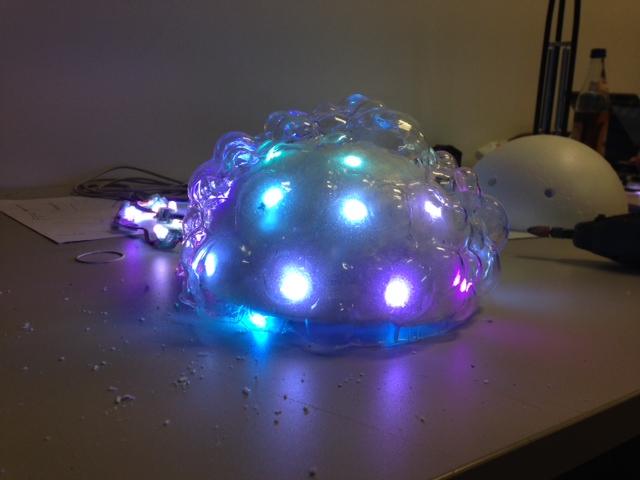
Section III – LED Strand WS2801 (Output)
As the second output we want to use RGB LEDs. As the soap bubble gun they should light up the case of the soap when the distance sensor is triggered. We used the LED Strands WS2801 and LPD6803 as first hardware subjects and used the tutorial provided from Adafruit. For my case the strand has to charged mobile via battery. Since the strand needs a working voltage of 5V and we only had a 3 Cell 11.1V battery available, i had to use a simple voltage converter to reduce it to the needed amount. The strand uses 4 wires – power supply, ground, data and clock. The final aim is to let them flash in foam-like colors e.g. white and different kinds of blue.
LED Strand WS2801The soap enlightened in foamy colors
Currently we have the issue that we can power up the strand propably with 5V but can’t control it. Still after double checking the connections and wires, basic examples e.g. flashing the strand with a single color won’t work although color examples will flash the LEDs uncontrolled. We worked with different libraries with no success. We assume that the wires don’t match as stated in the tutorial and/or are broken. We consider to work with another one from now on, so work-in-progress…