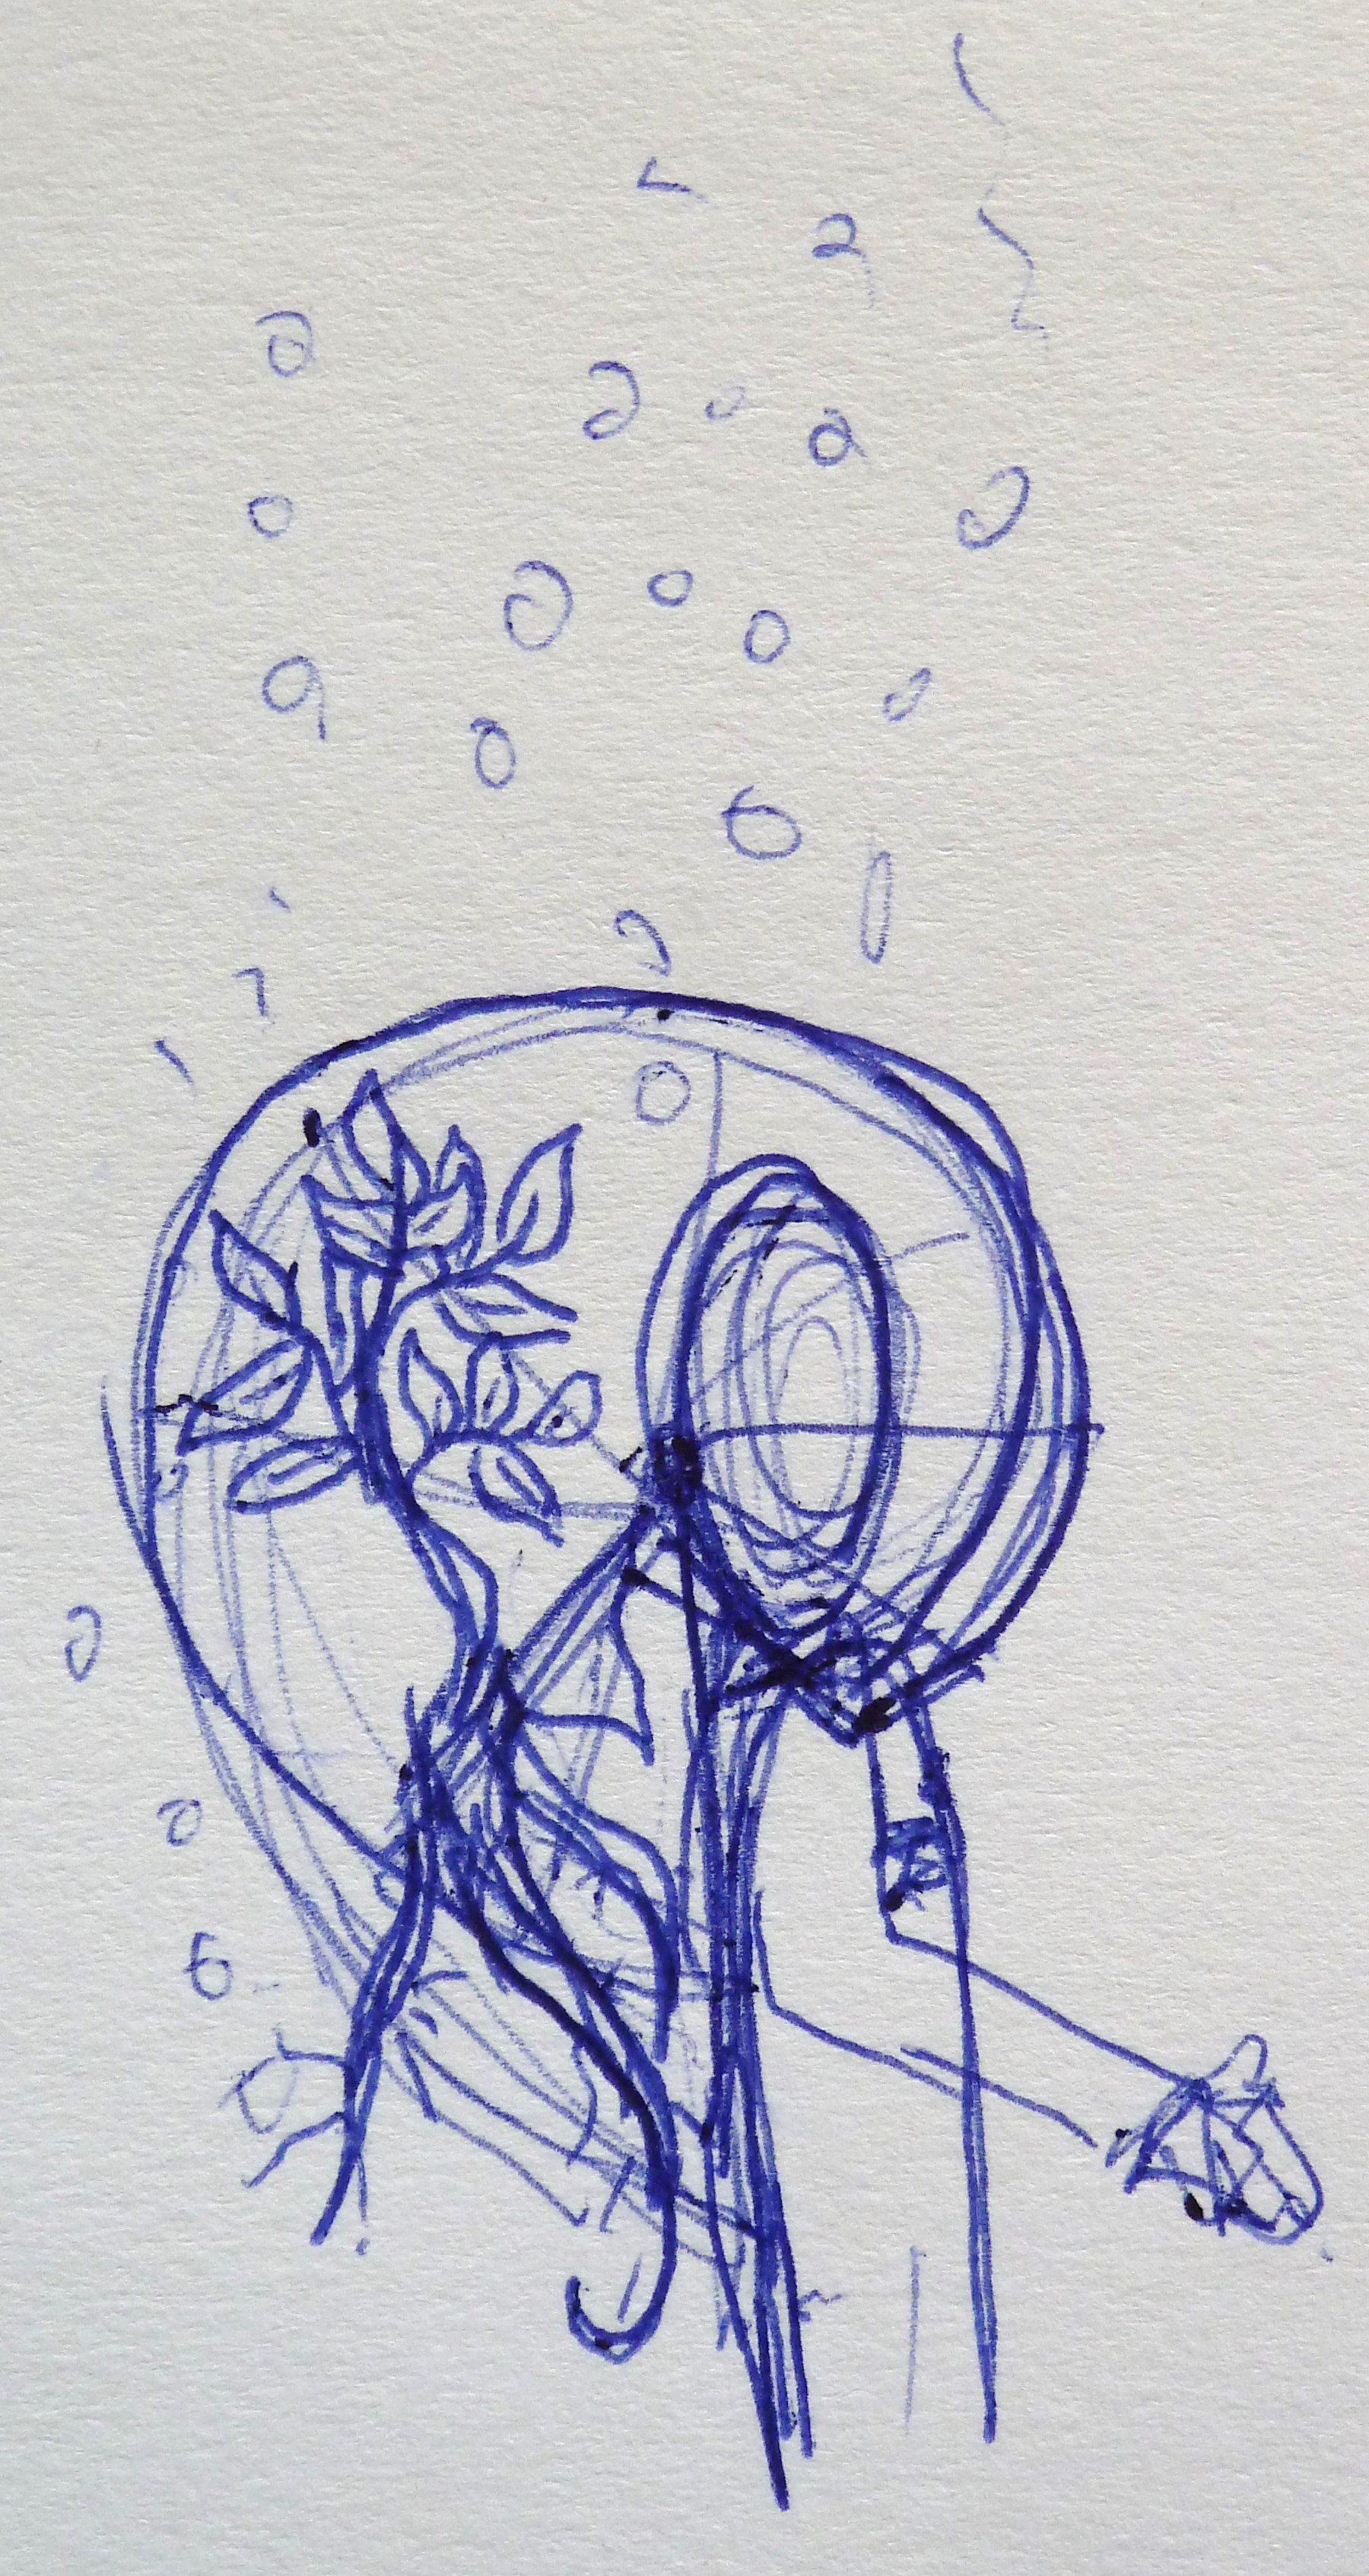
The diver´s breathing oxygen is supplied by a tank that he wears on his back. It will have these features:
_ a tank with two separate chambers
_ the tanks ‘communicate’ with the oxygen display on the arm of the diver
_ the display fluctuate, according on the oxygen content and production by the plants
_ display classified in several areas, red area = too little oxygen
_ if too little oxygen the diver pushes a button to switch between the tanks
_ soap bubbles symbolize the waste gases- they are released from time to time
_ the aktive tank is probably lit in the colors blue, green, yellow, like water
first sketches for the tank:

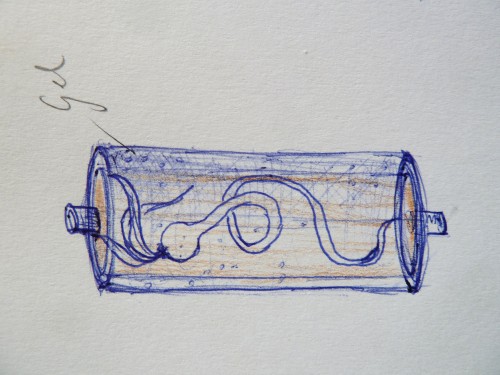
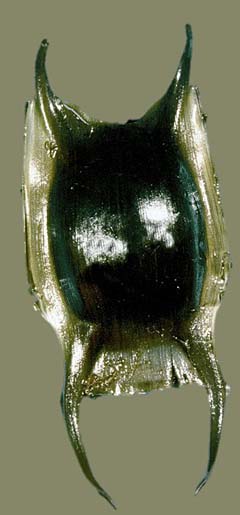
possibly the tank will look like an egg of a ray:
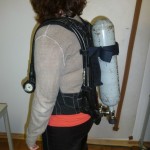
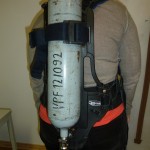
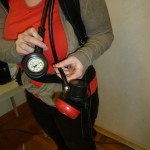
Susann brought an example oxygen tank for us, that is generally used by fire fighters. It´s been a great help to figure out attachment points to the body as well a weight distribution. Also important to find out was how far the diver can reach by him/herself. Where does it make sense to attach any buttons, etc. that might need to be pressed.

first test with the light for the tank:
clear material
transparent material
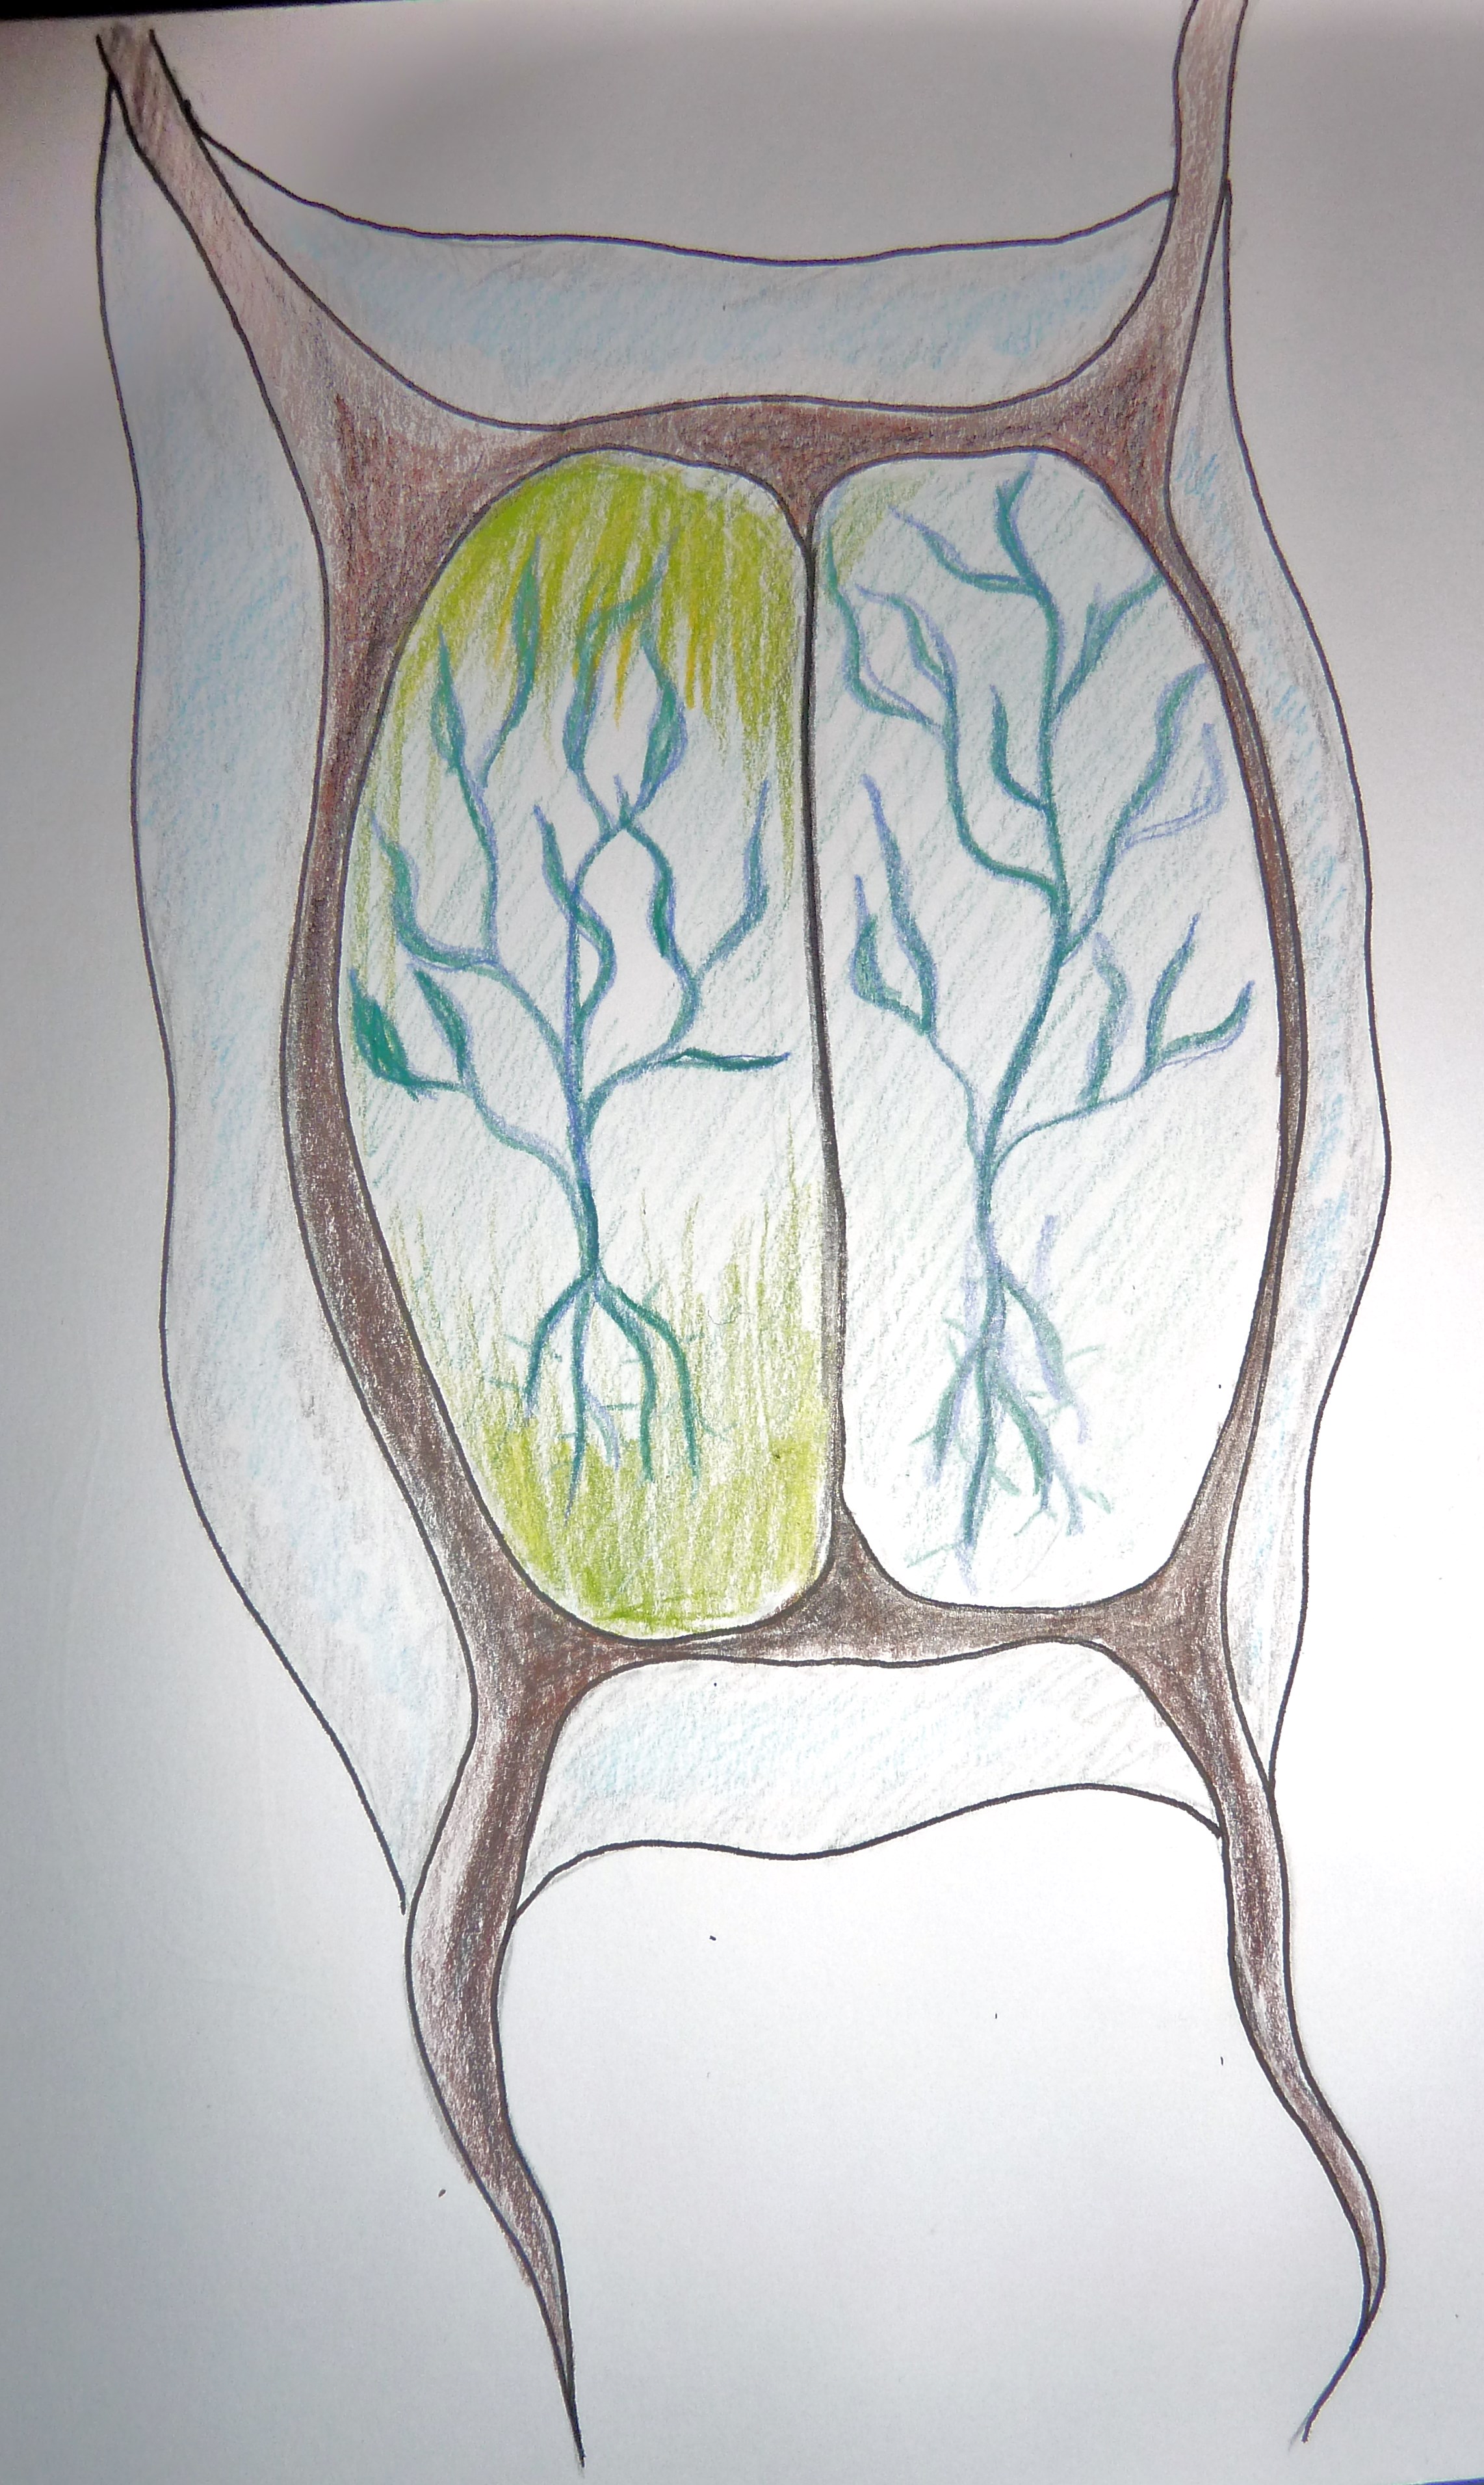
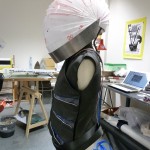
News on the O² backpack:
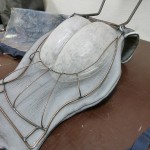
I built a metal basis as backpack that rests on the actor´s shoulders. Not only that, but it also holds up the helmet! Next step was, to built the two chambers, almost like two lung wings via thermoforming.
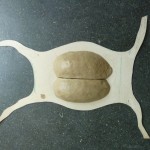
1. step: shape two solid forms (left and right) from solid clay.
2. step: place clay shapes on a thin wood board, trace the outline with a pencil; drill 1,5mm holes with a distance of about 30mm from the other, around the line you just traced
3. step: cut the clear thermoplast sheet (we used vivak) into the size you need (about 50mm large in each dimension than you wooden board)
4.step: place the board with the clay form positioned on top into the thermoforming machine. Let it do it´s job ![]()
5.step: cut out your shapes, make sure to leave a 10mm wide rim. That leaves the form more ridgid and you have a flat space to attach it to the backpack frame.
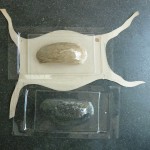
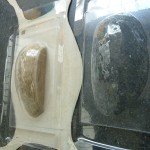
We decided to matt the clear plastic to distribute the LED light better by sanding the inside and outside surface.
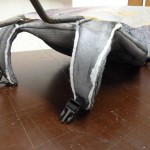
I punched holes into the rim of the plastic and placed the two lungs inside the metal frame, attaching it with wires.
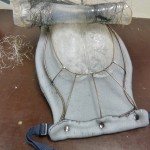
Next step was to pad the entire structure. The whole thing is going to be quite heavy. Especially when the helmet is attached. To make it more comfortable to the actor, I padded the shoulder and back parts. I doubled the padding textile to make it thicker, but also to create a bag on the inside of it. The battery packs, Arduino and other technical utensils will be stored there, hidden. It has a zipper on the backside. The entire padding can be slipped onto the shoulder parts, streched around the frame, overlapped and secured on the bottom with press buttons.
One thing left is to cover the entire pack with the especially prepared silicone sheet that I made.
Initially I wanted to use a specific type of polyurethane that would have been perfect: Flexible, ridgid, clear, but in a brownish, skin toned colour. But with a kg price of 60€ and more – nope! So I decided to use the mold silicone that we have in stock at the Synthetic materials workshop at the Bauhaus Uni Weimar. In the end it´s been perfect since I decided to pour in a cut up cable envelopment.
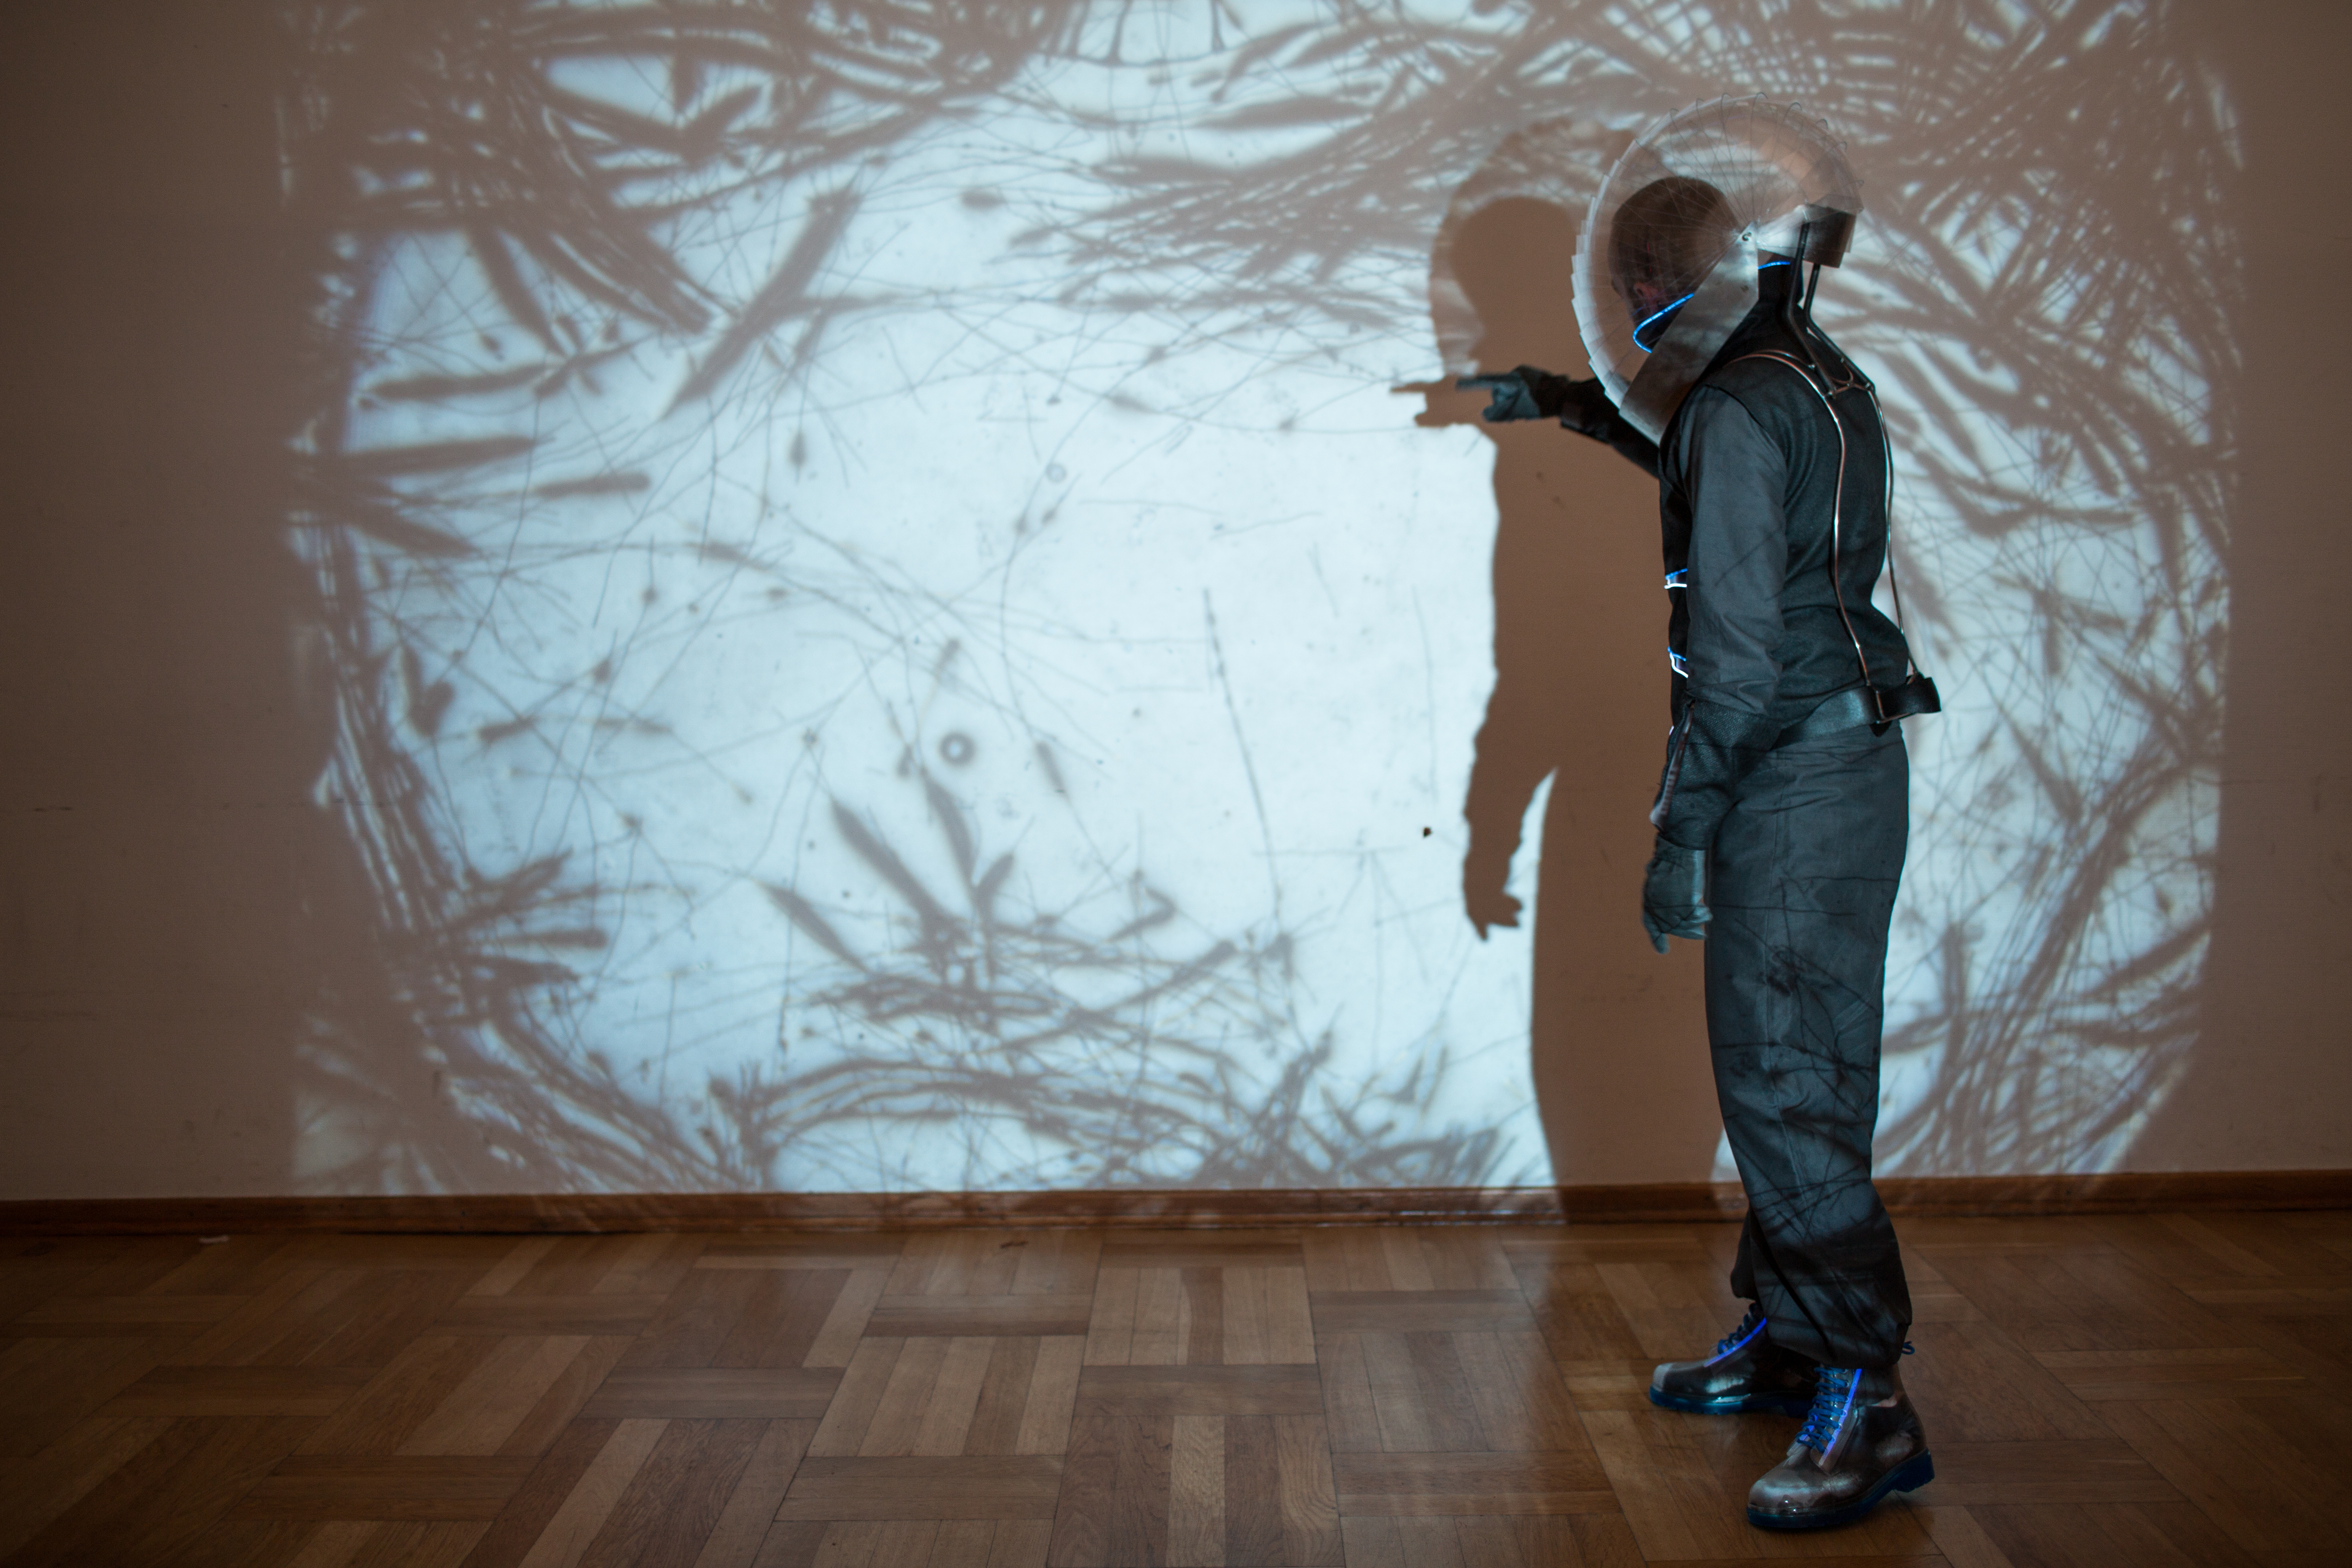
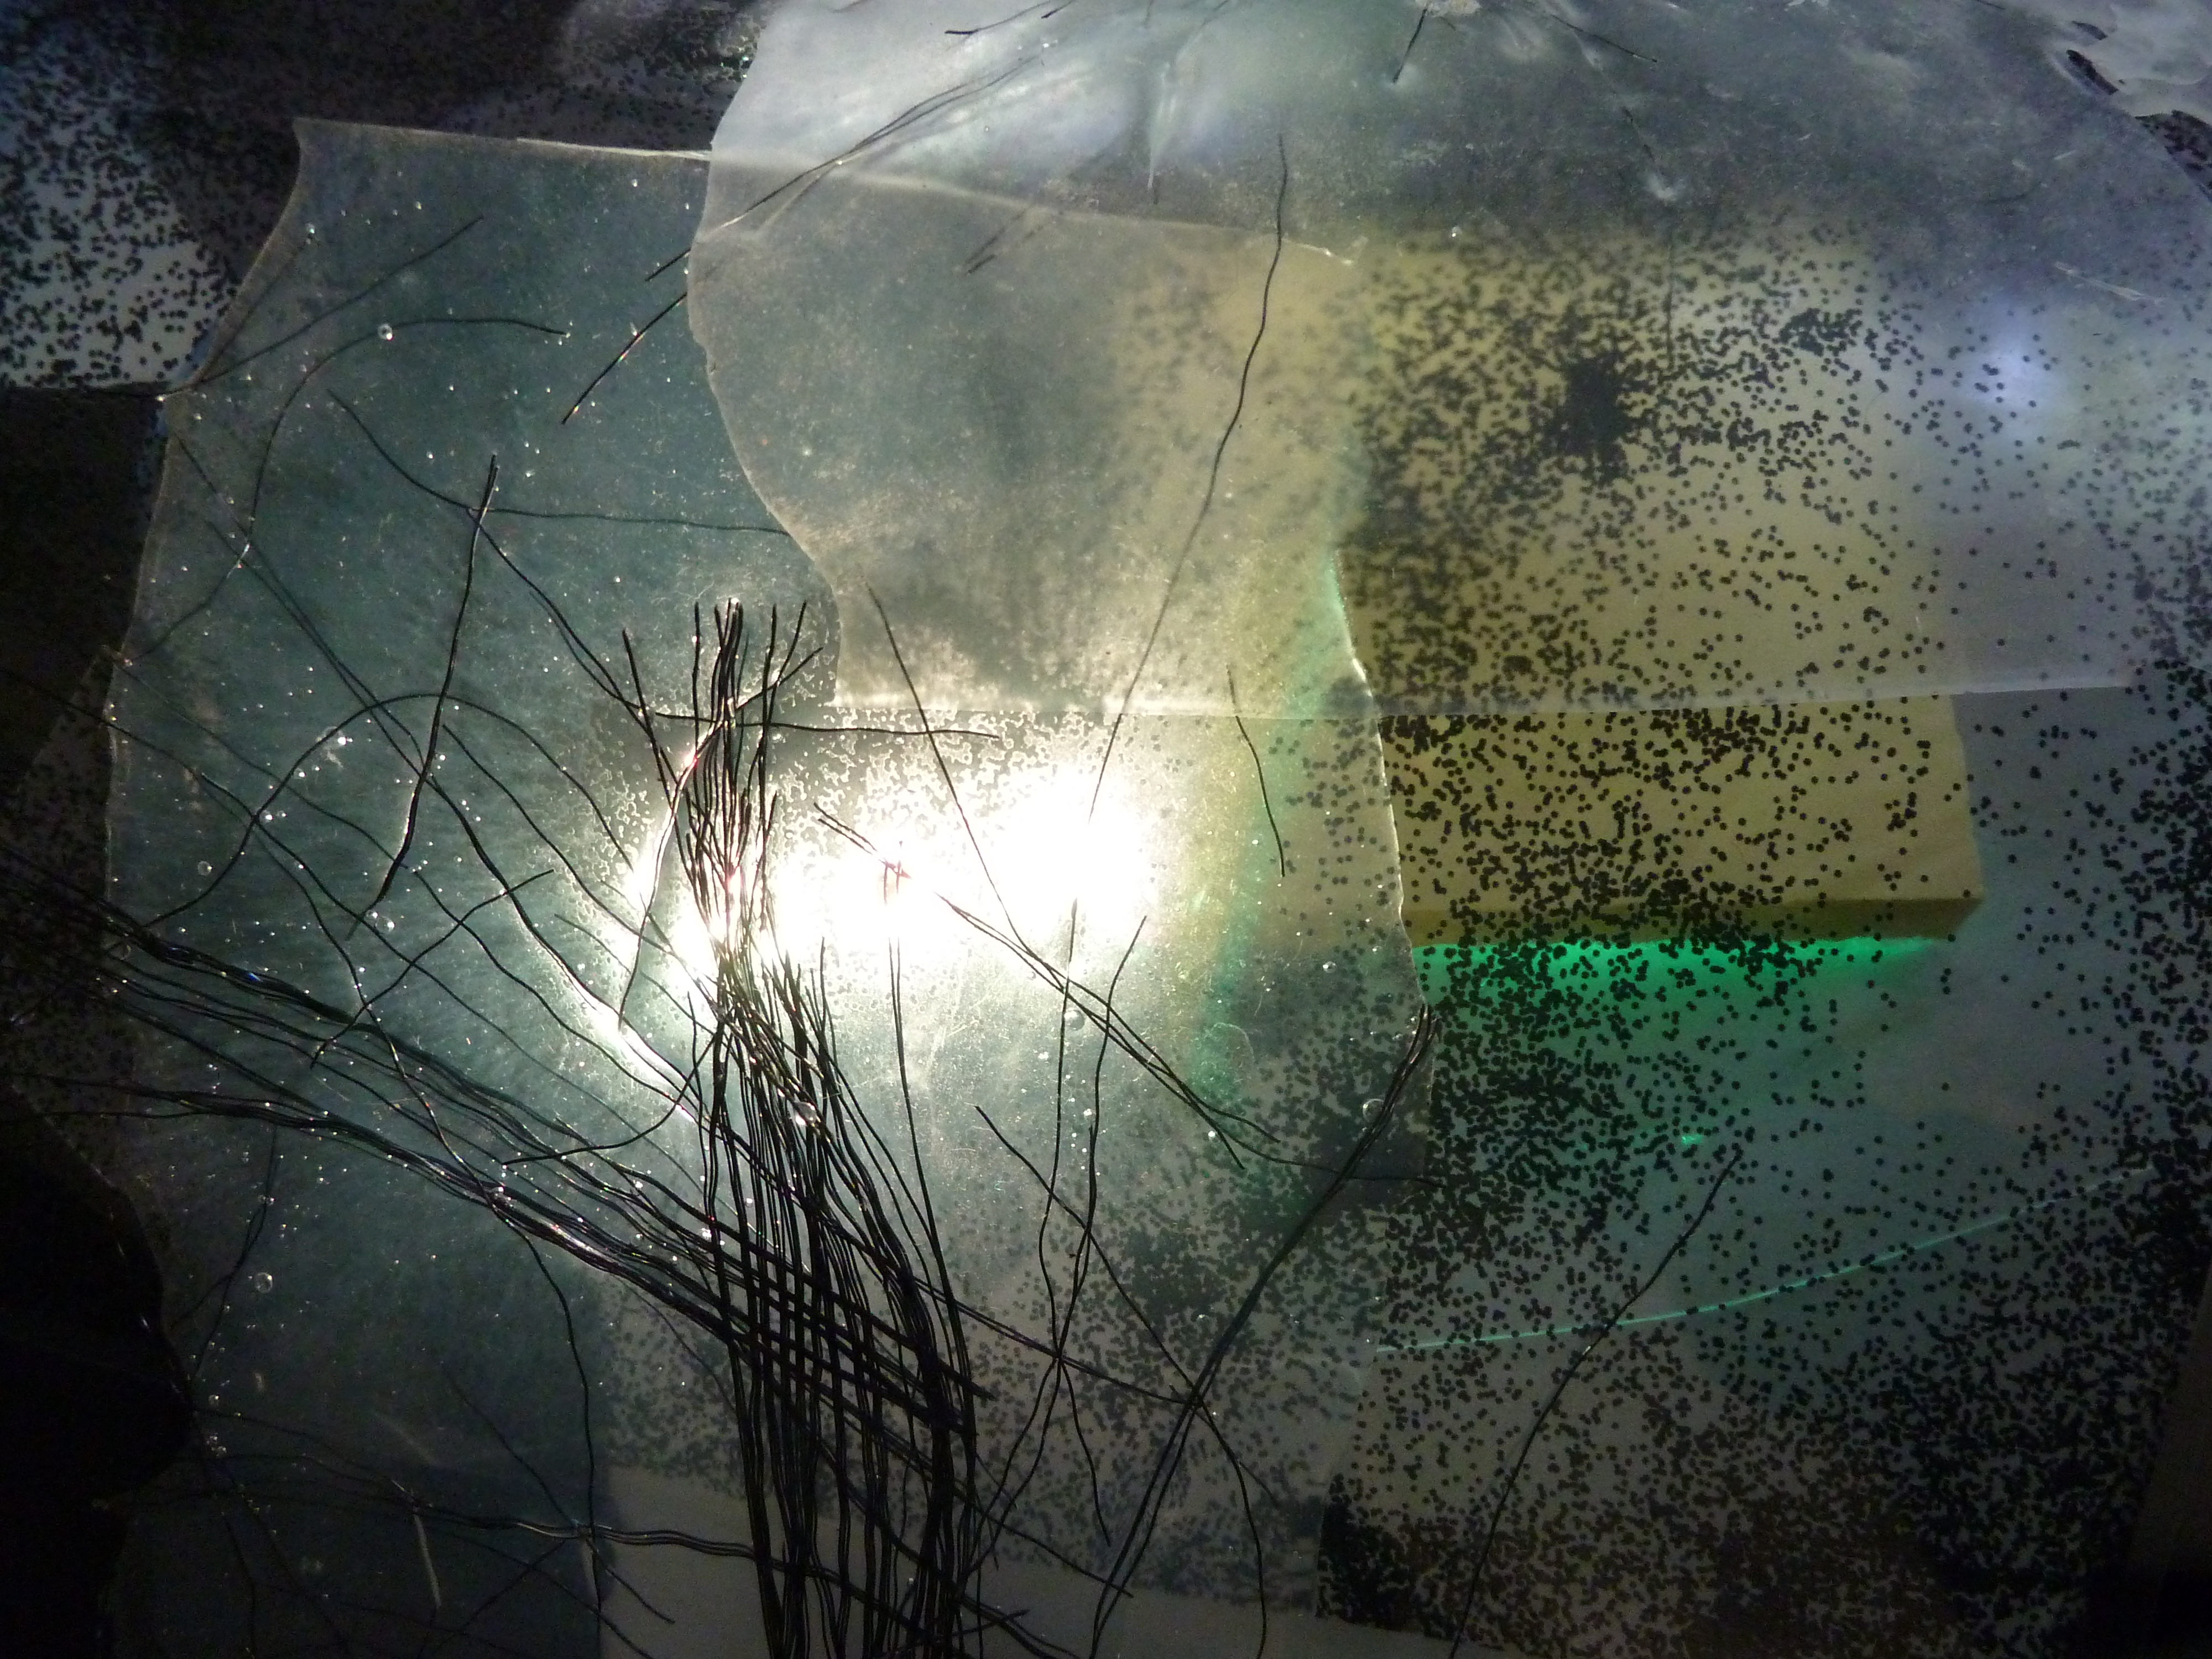
Since the backpack wasn´t quite done for our final design acting workshop we were able to use it to create the perfect underwater lighting mood! With some blue plastic, an old overhead projector and the silicone sheet we created this: