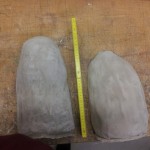
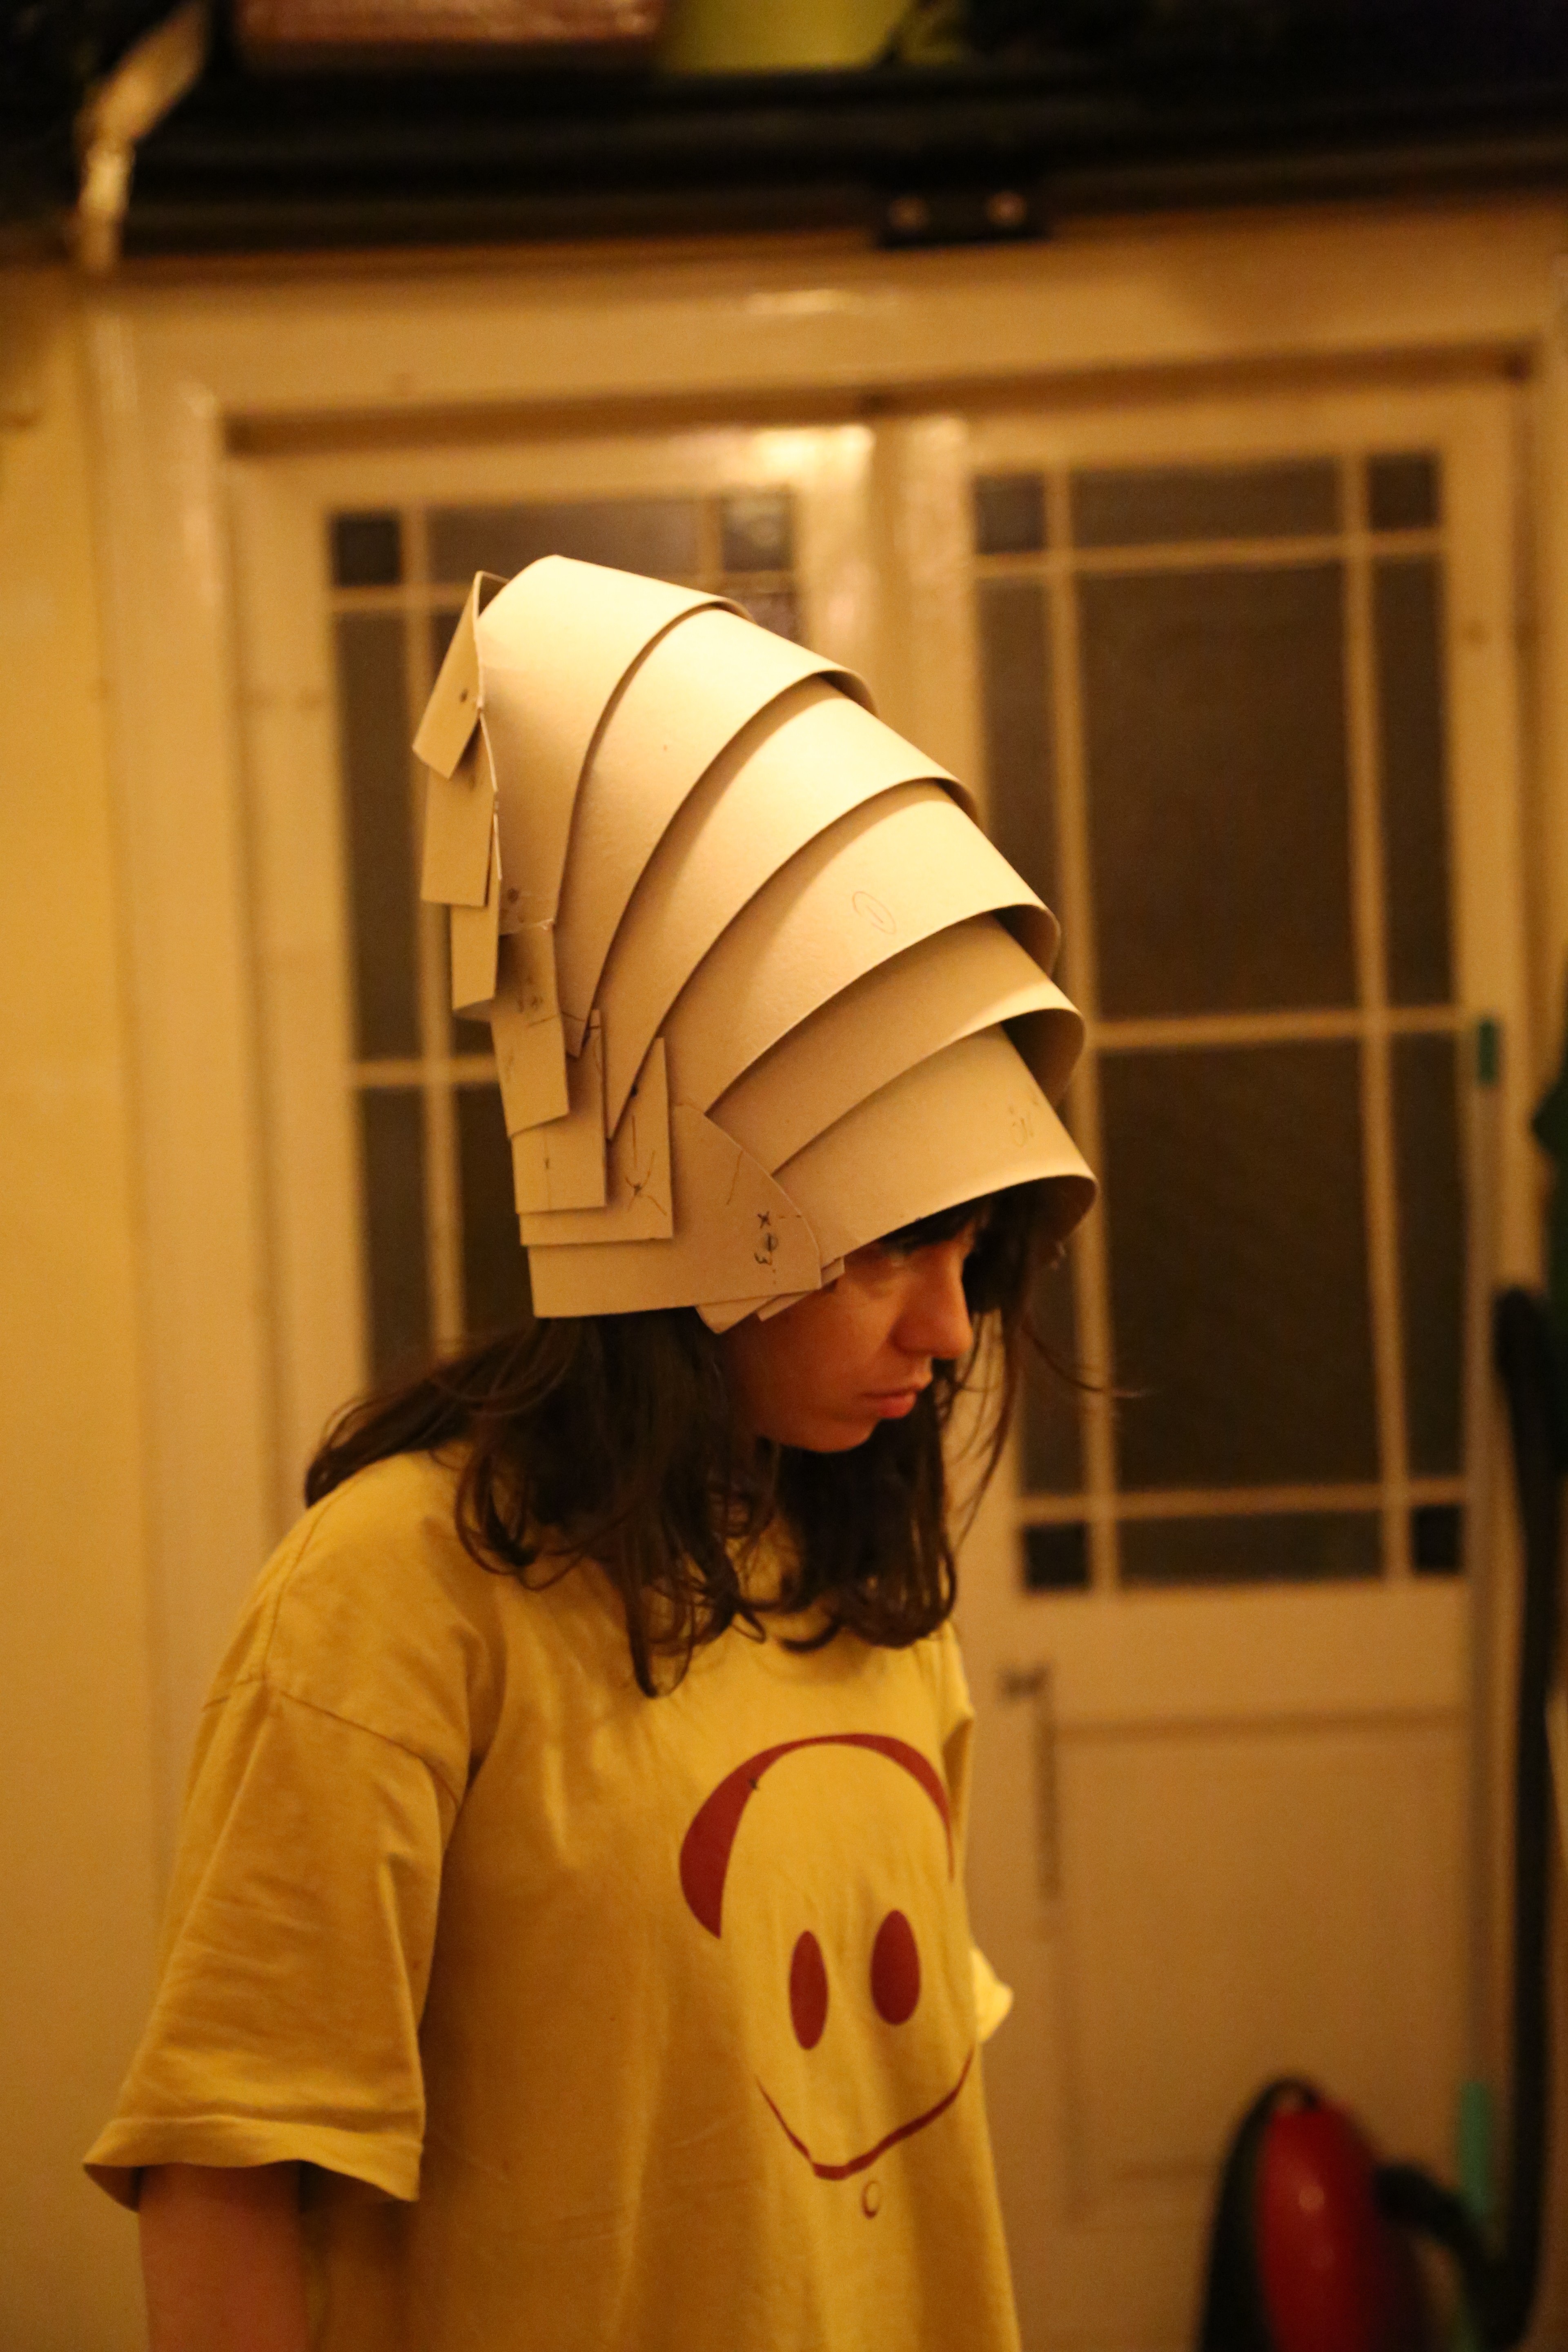
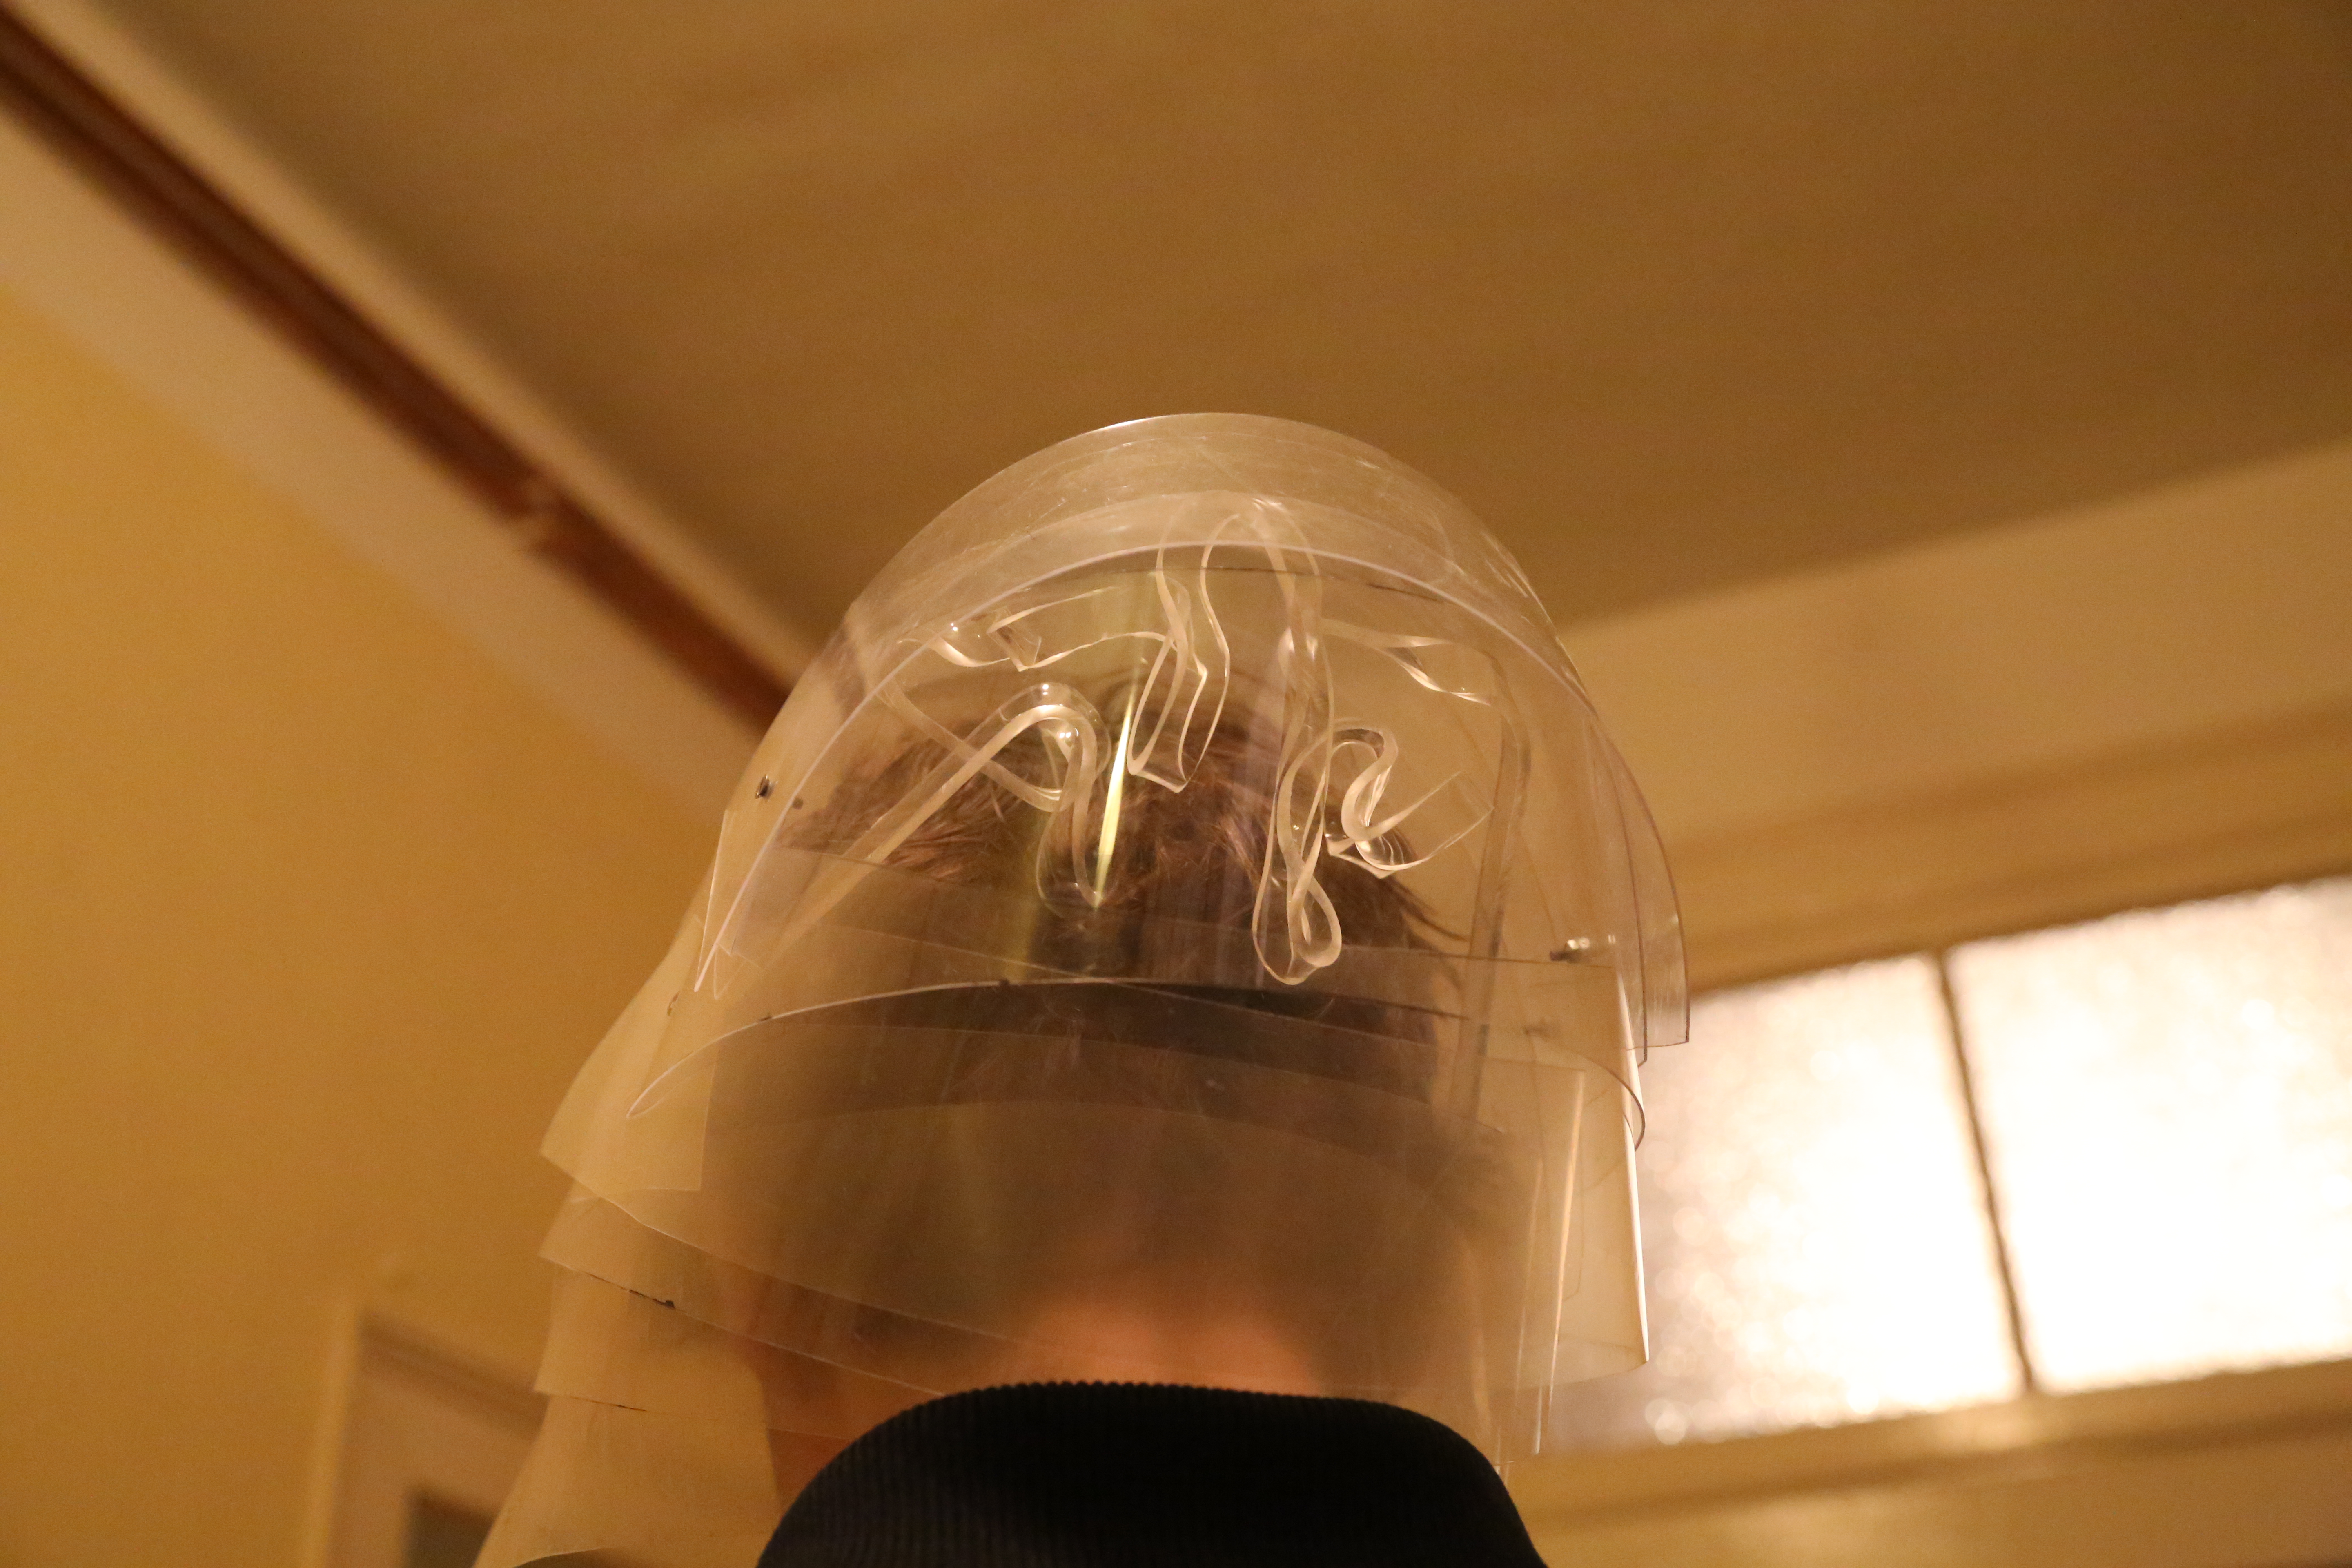
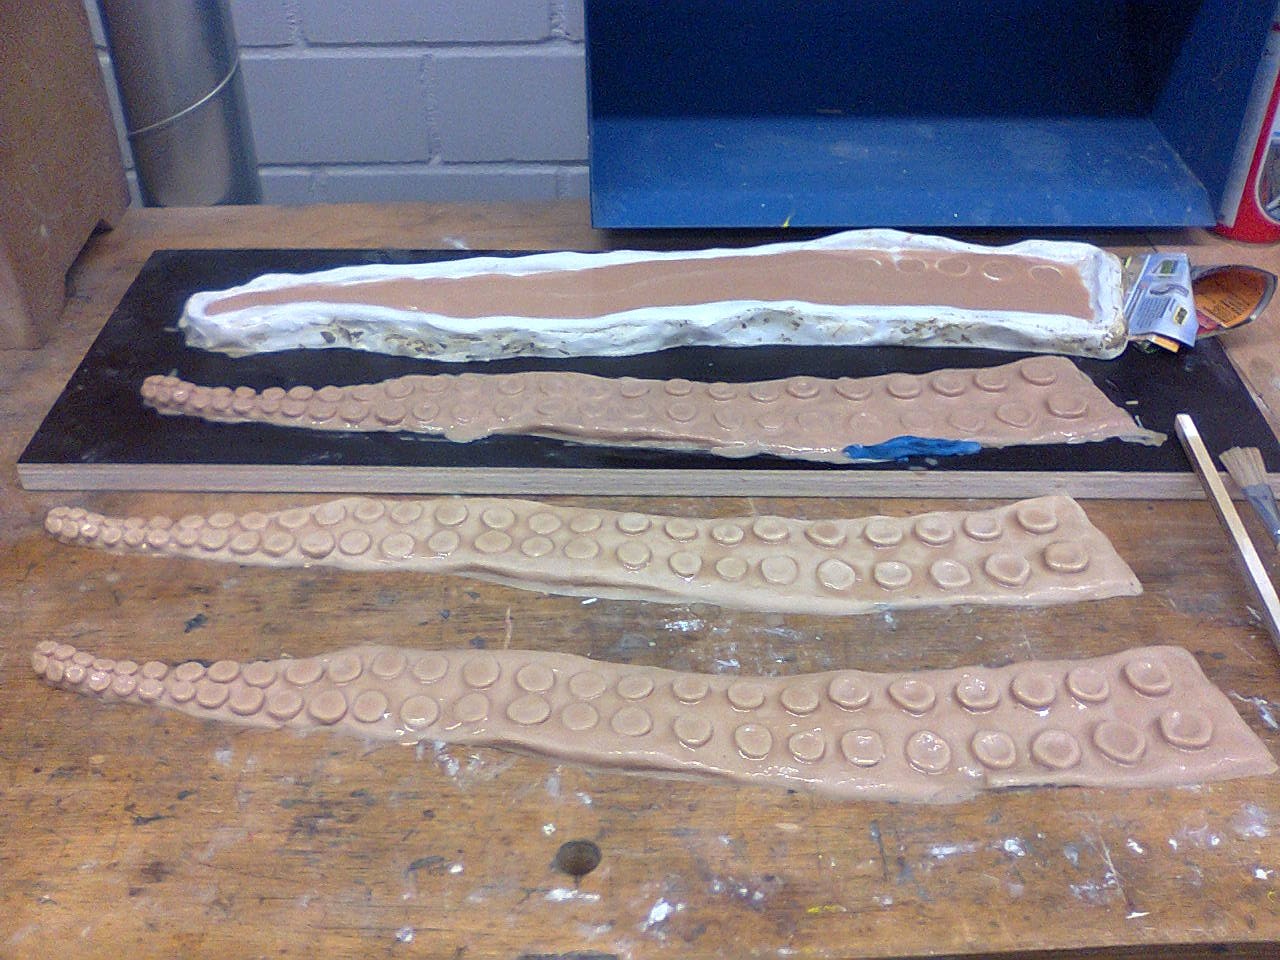
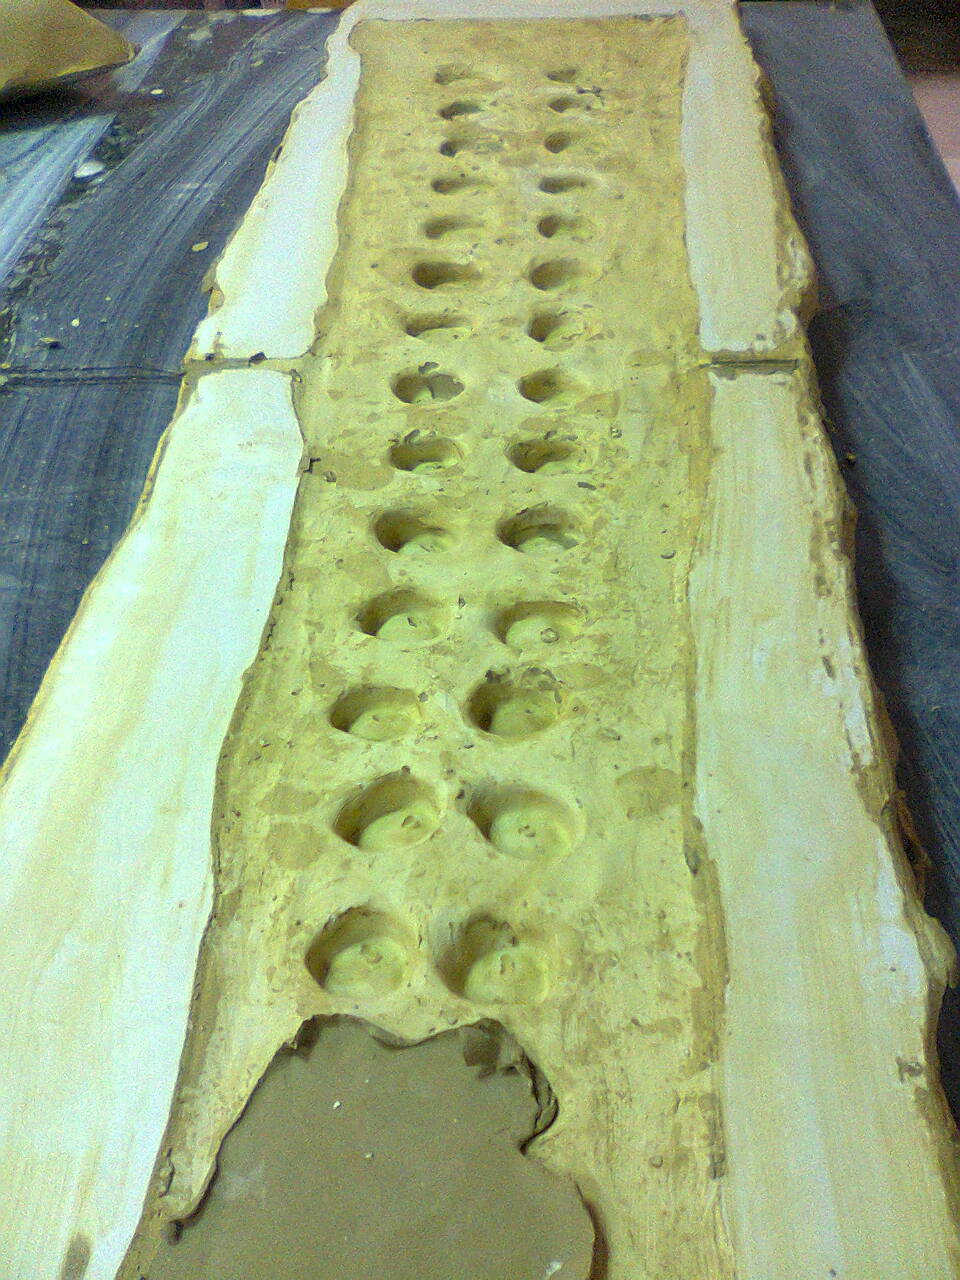
Here you can see the first mock- ups we built. It´s been a long process and it´s far from being developed enough!
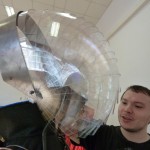
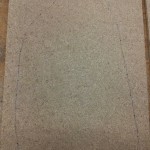
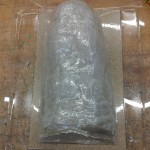
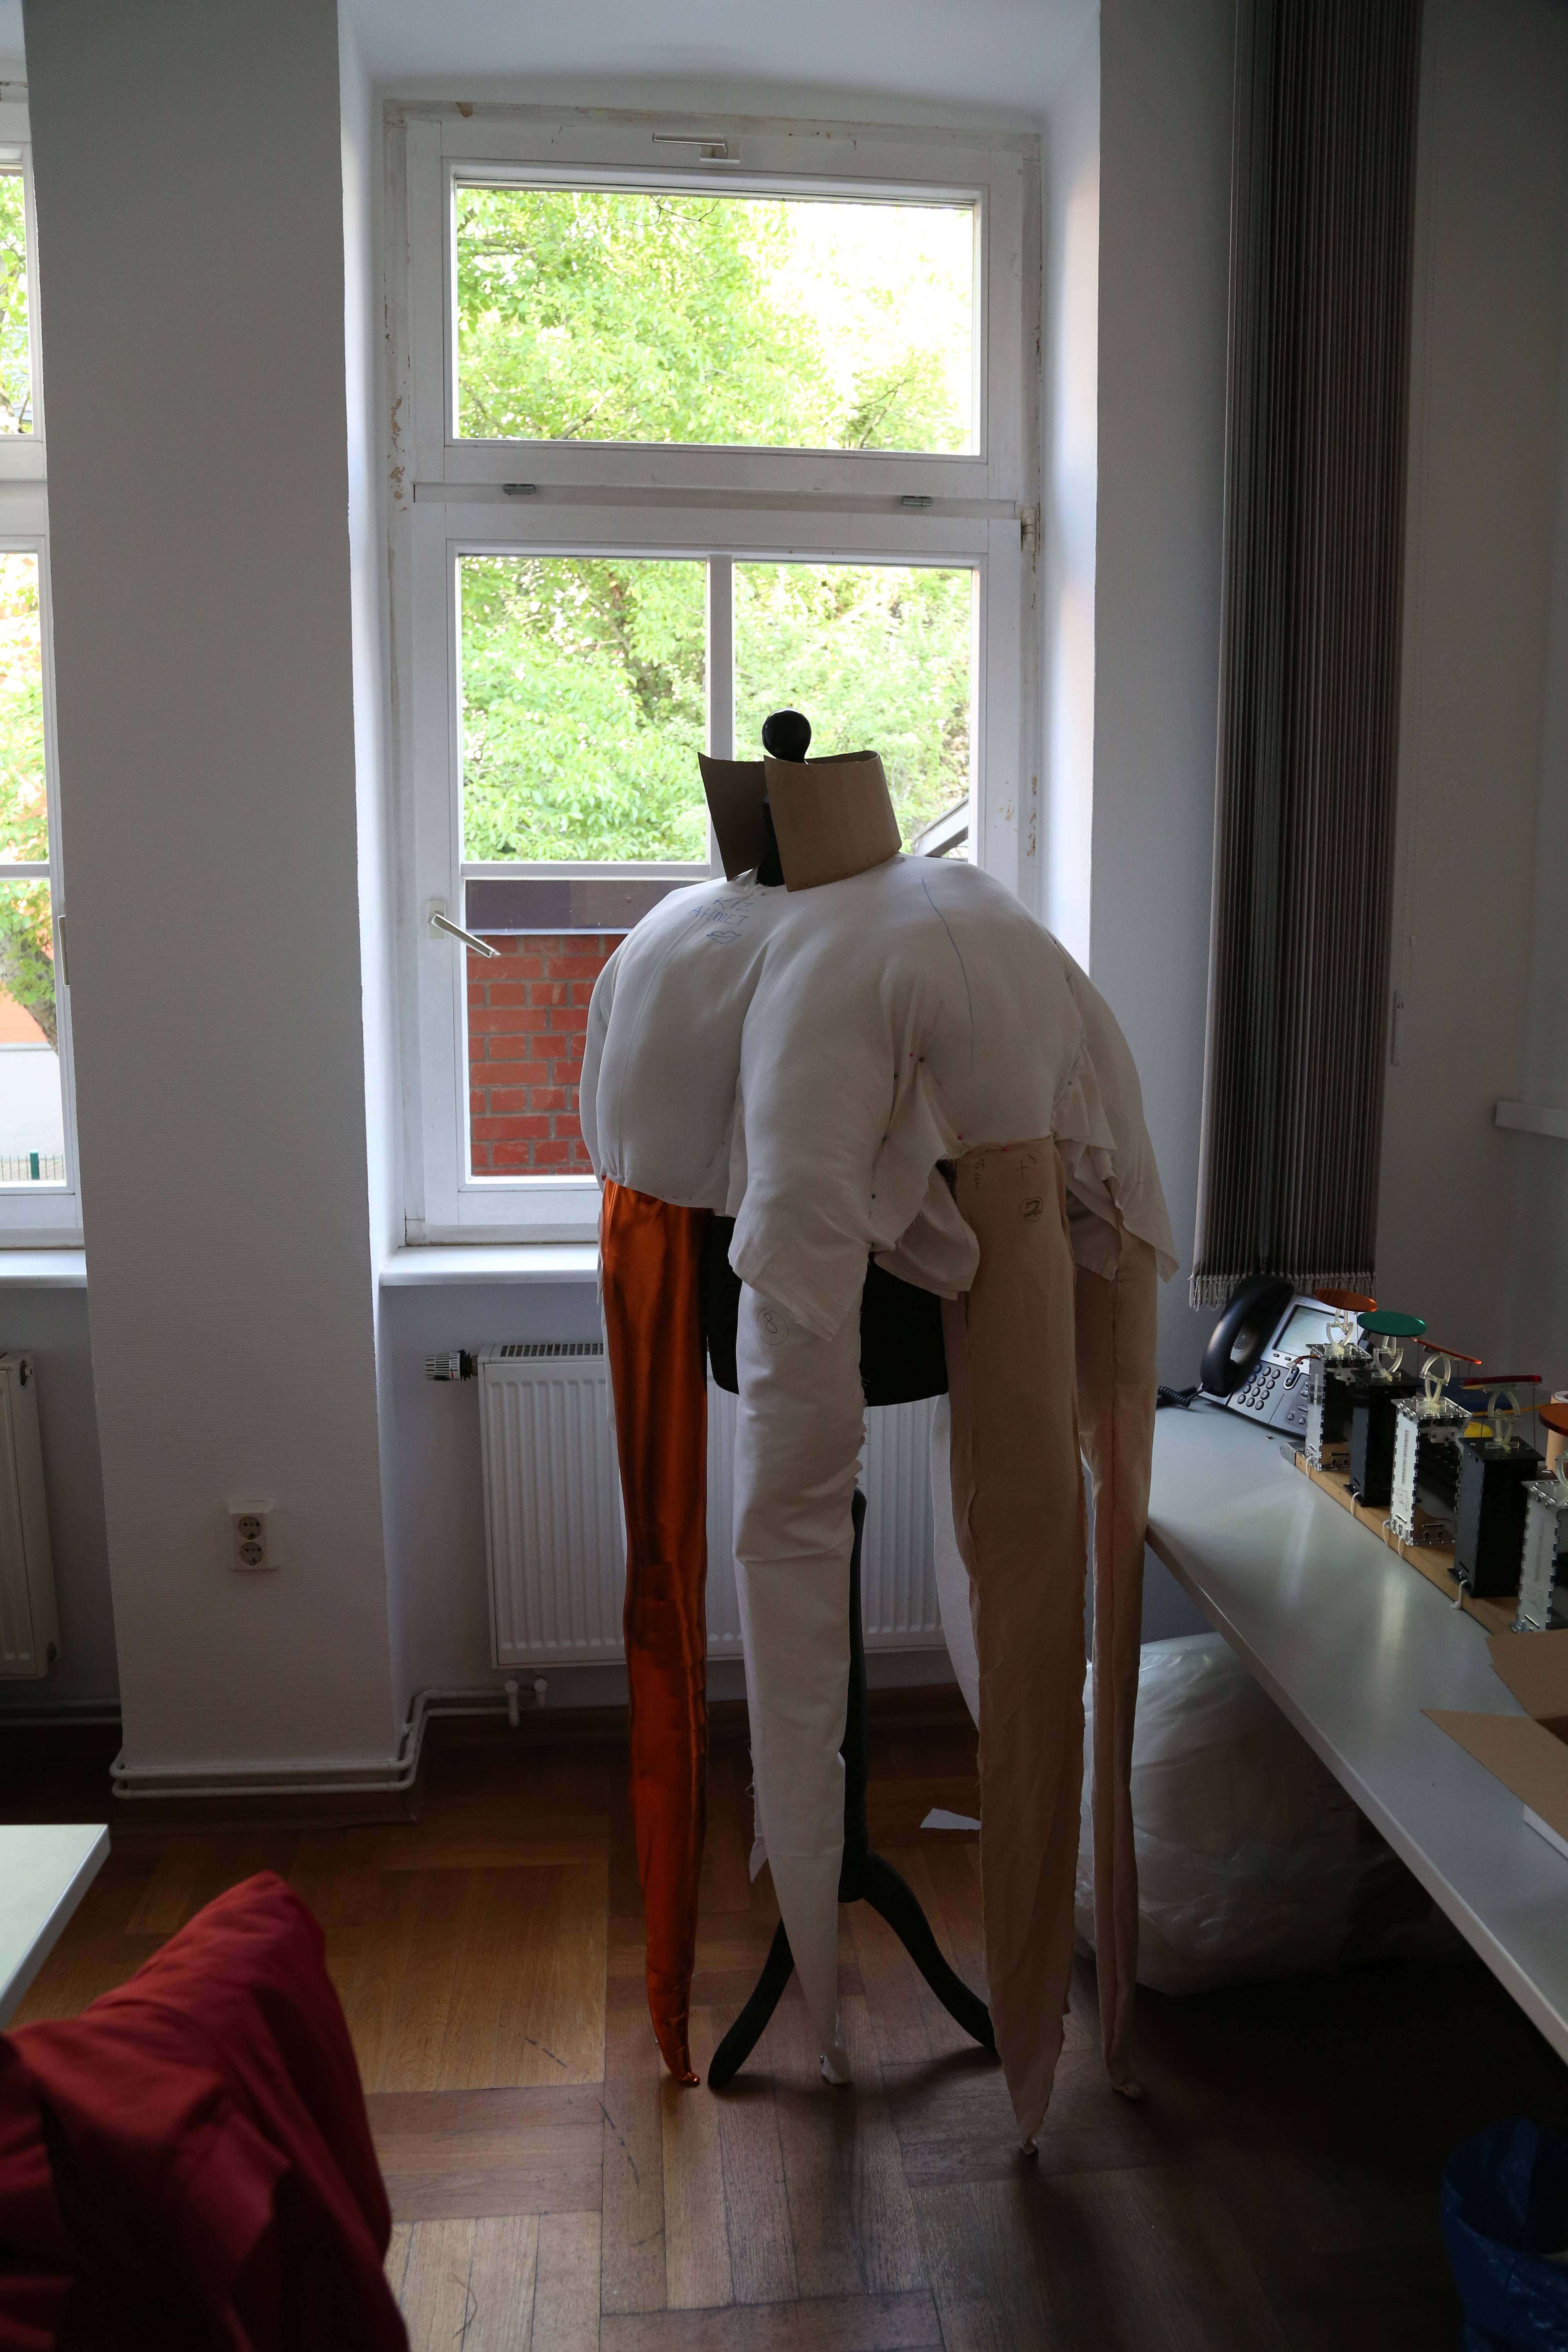
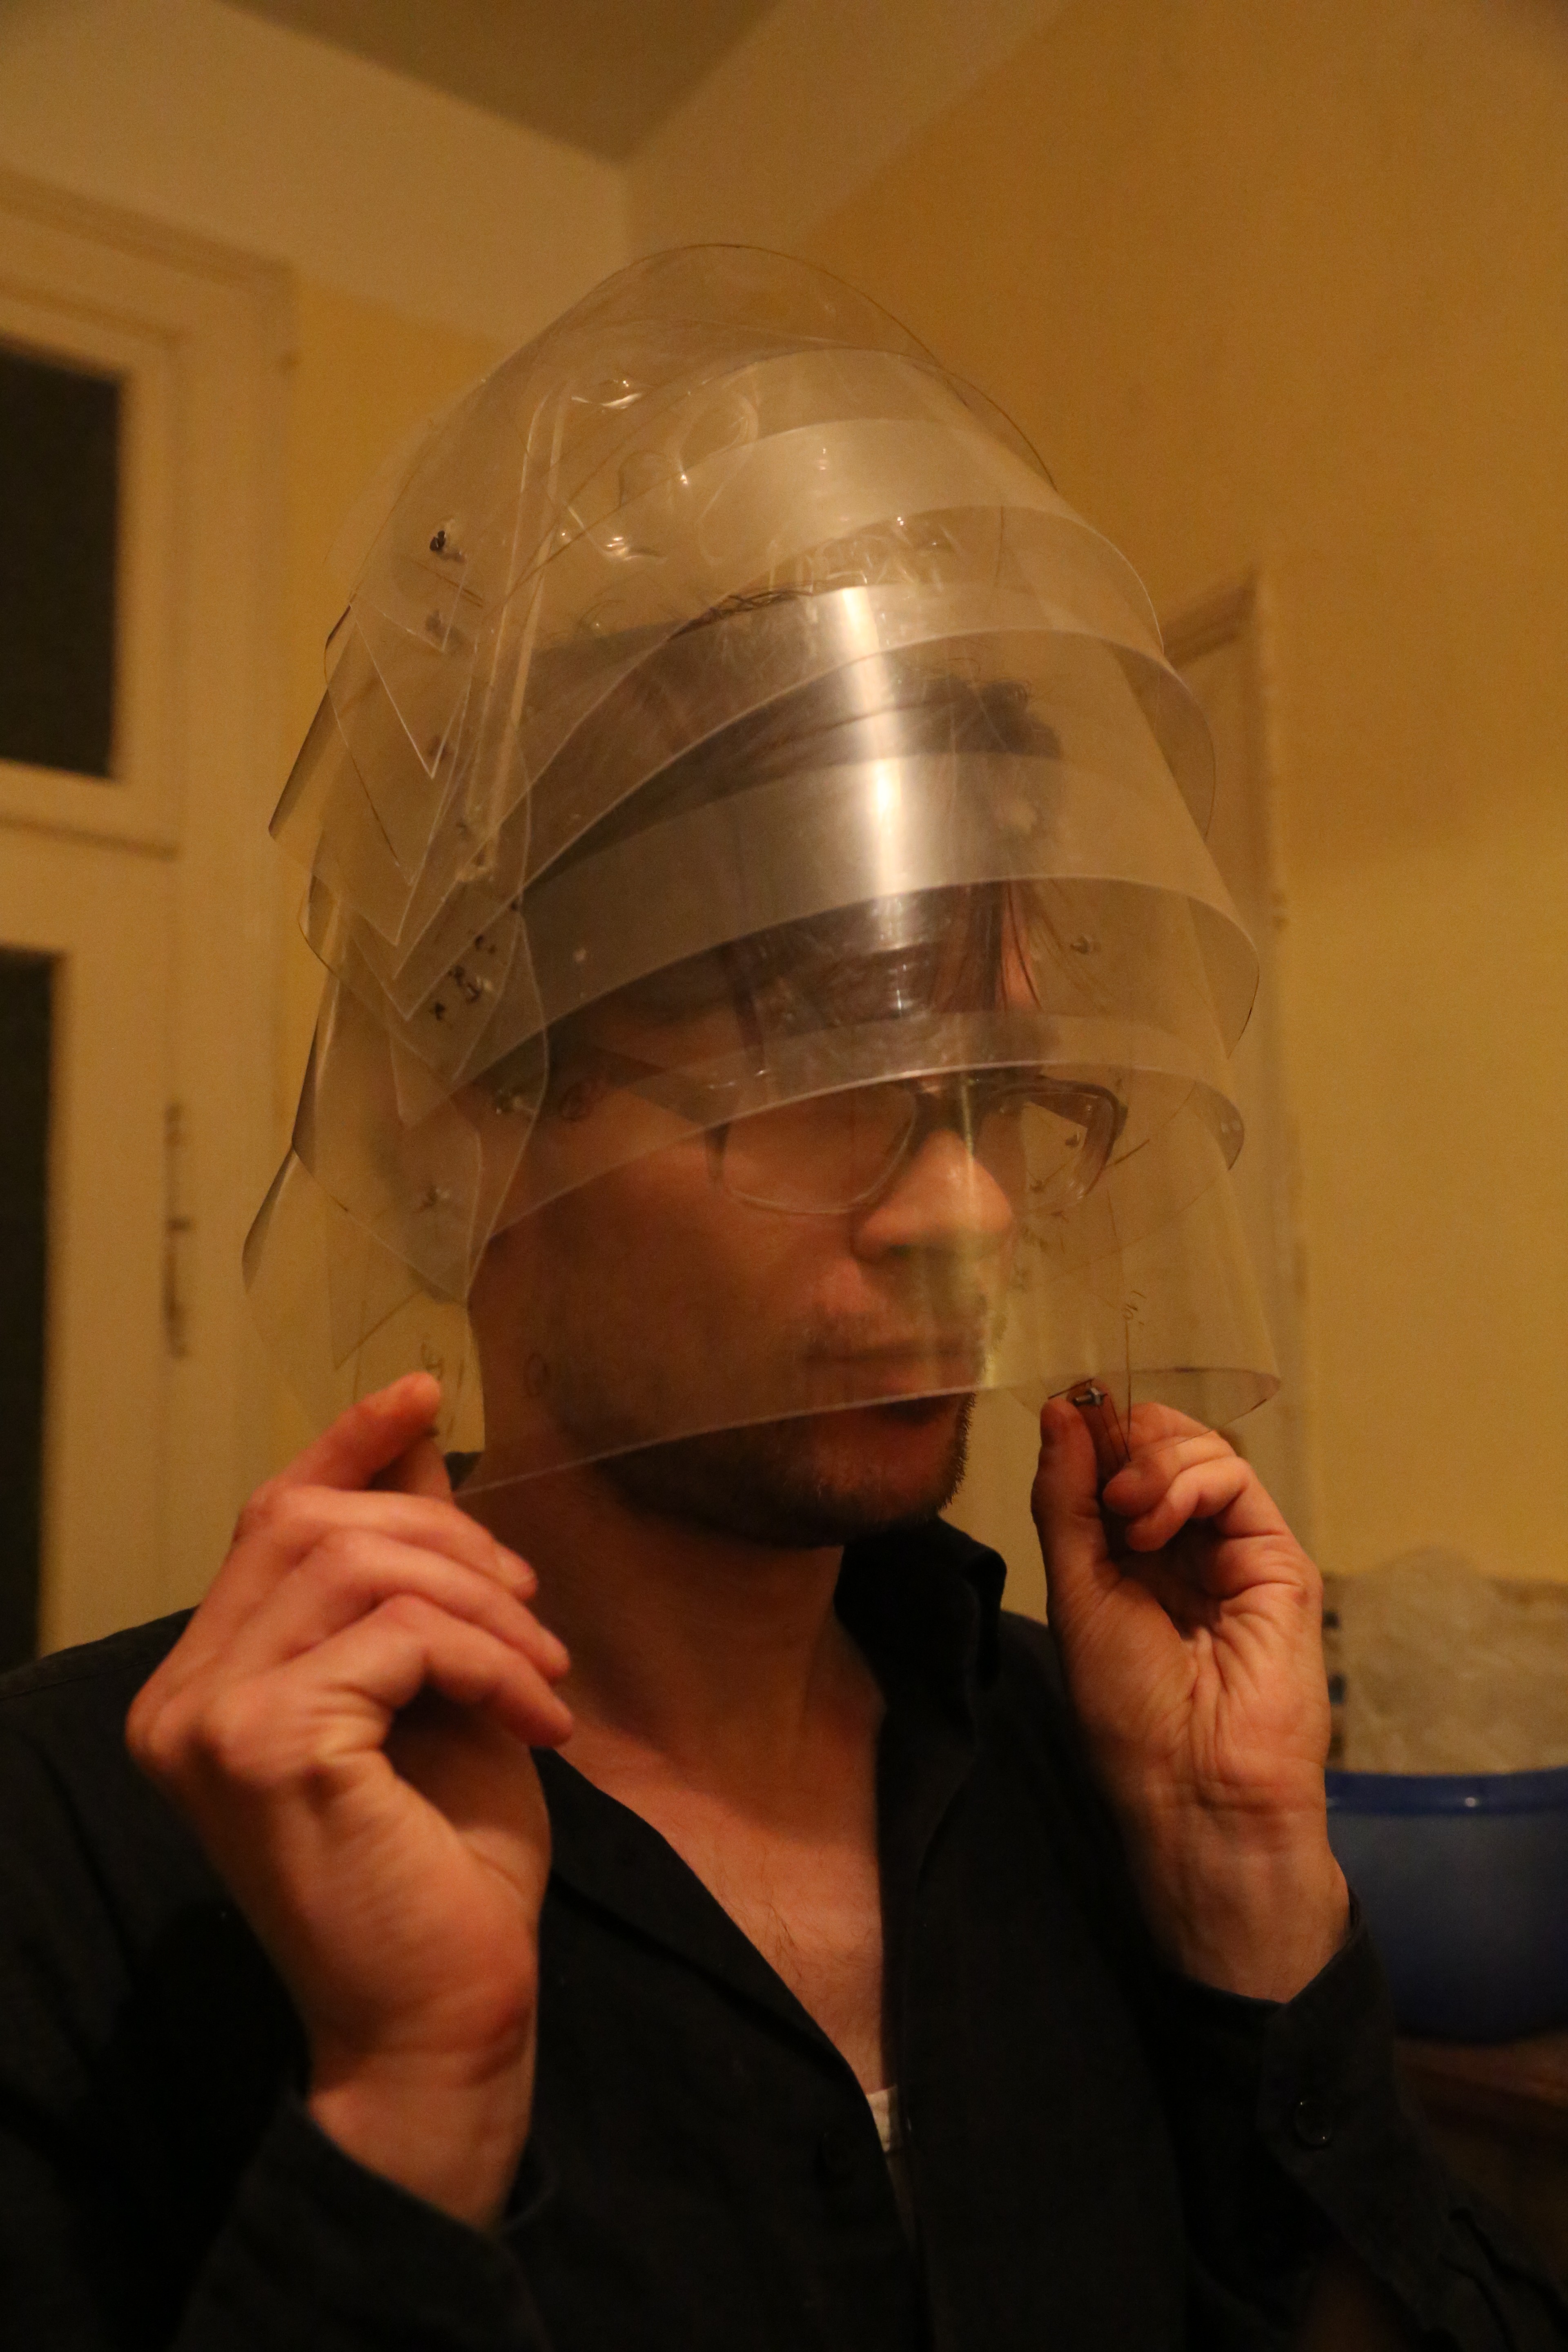
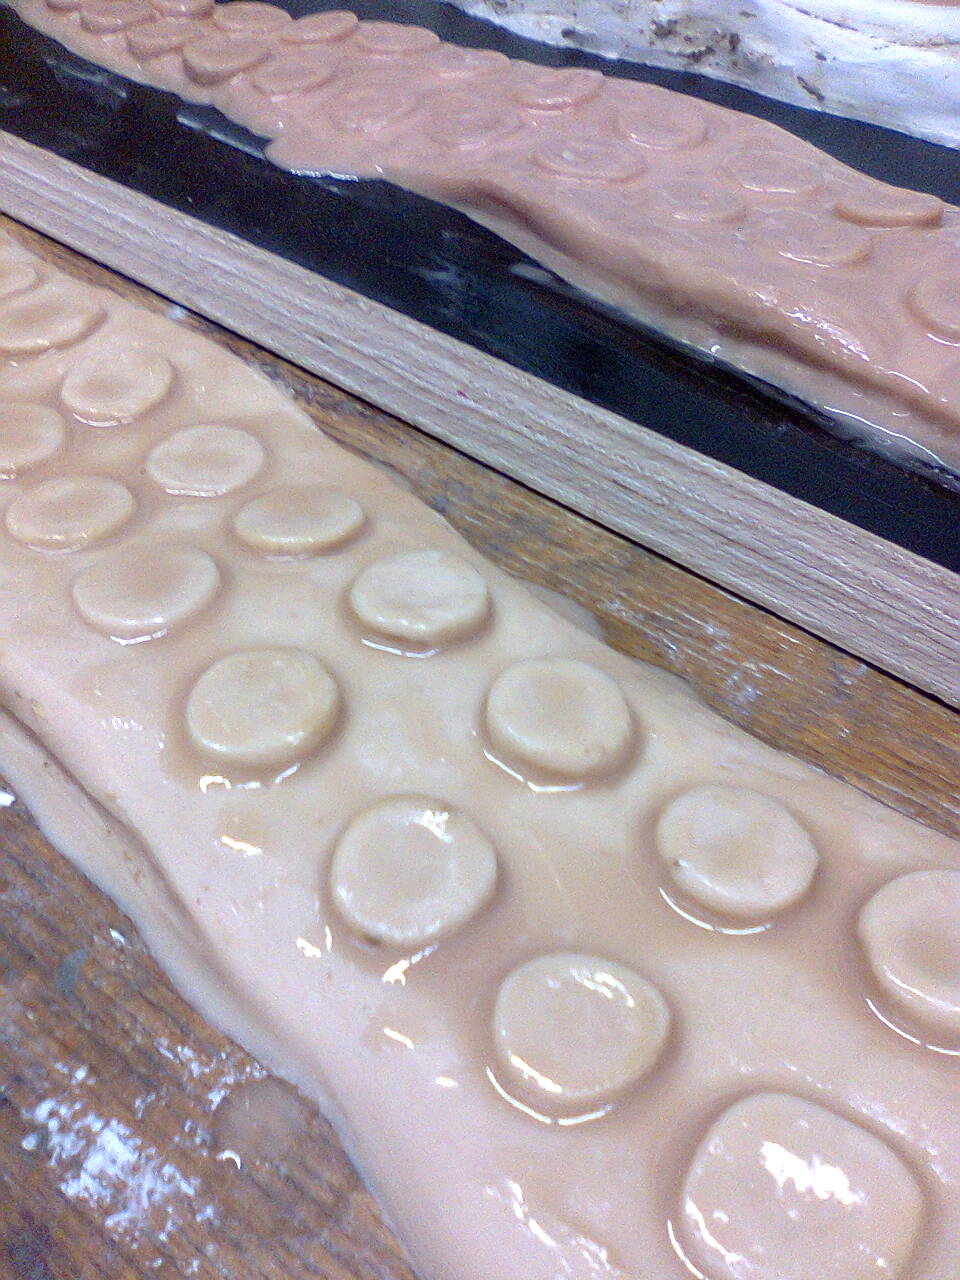
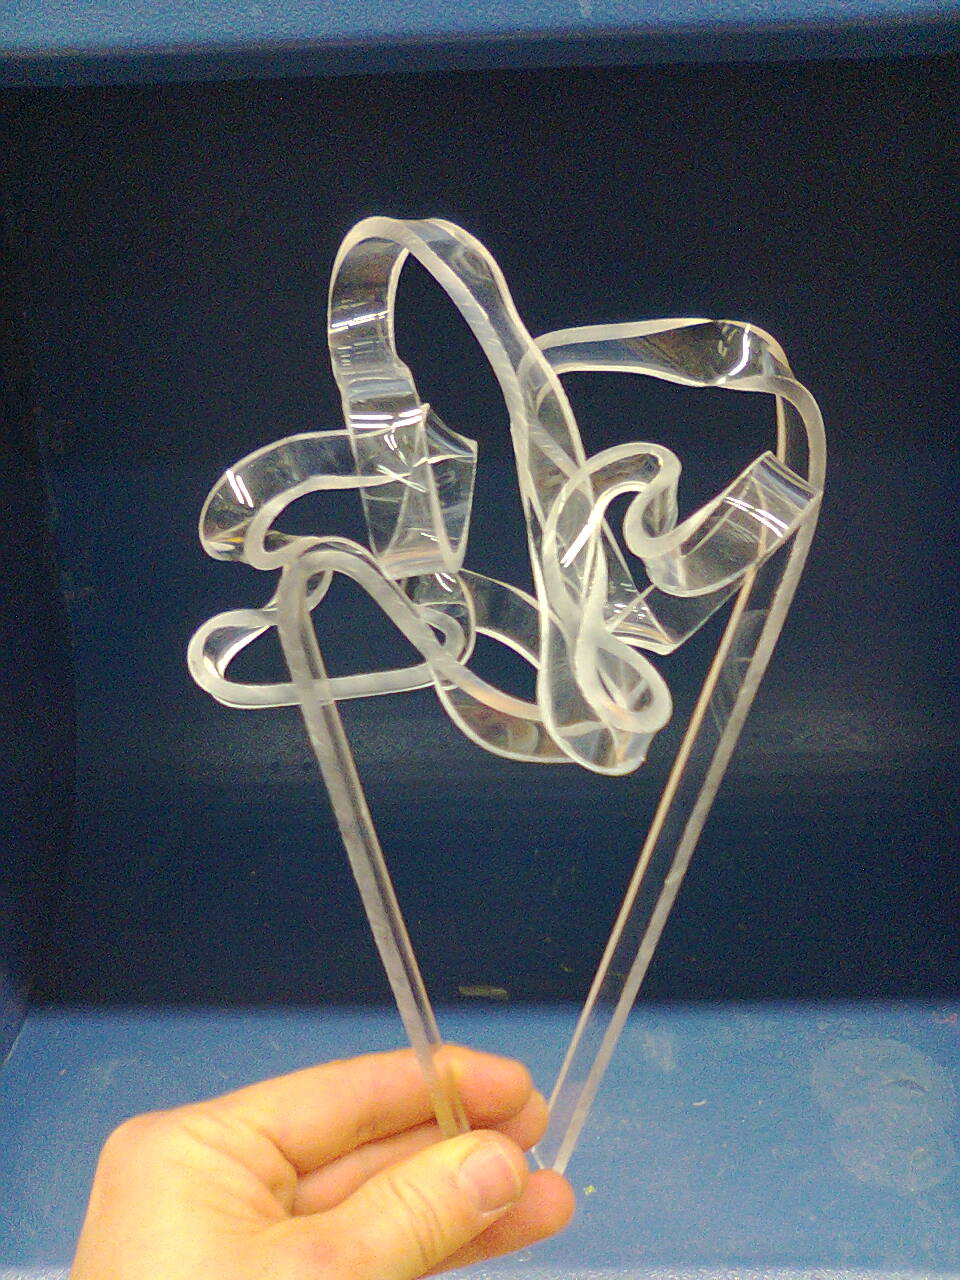
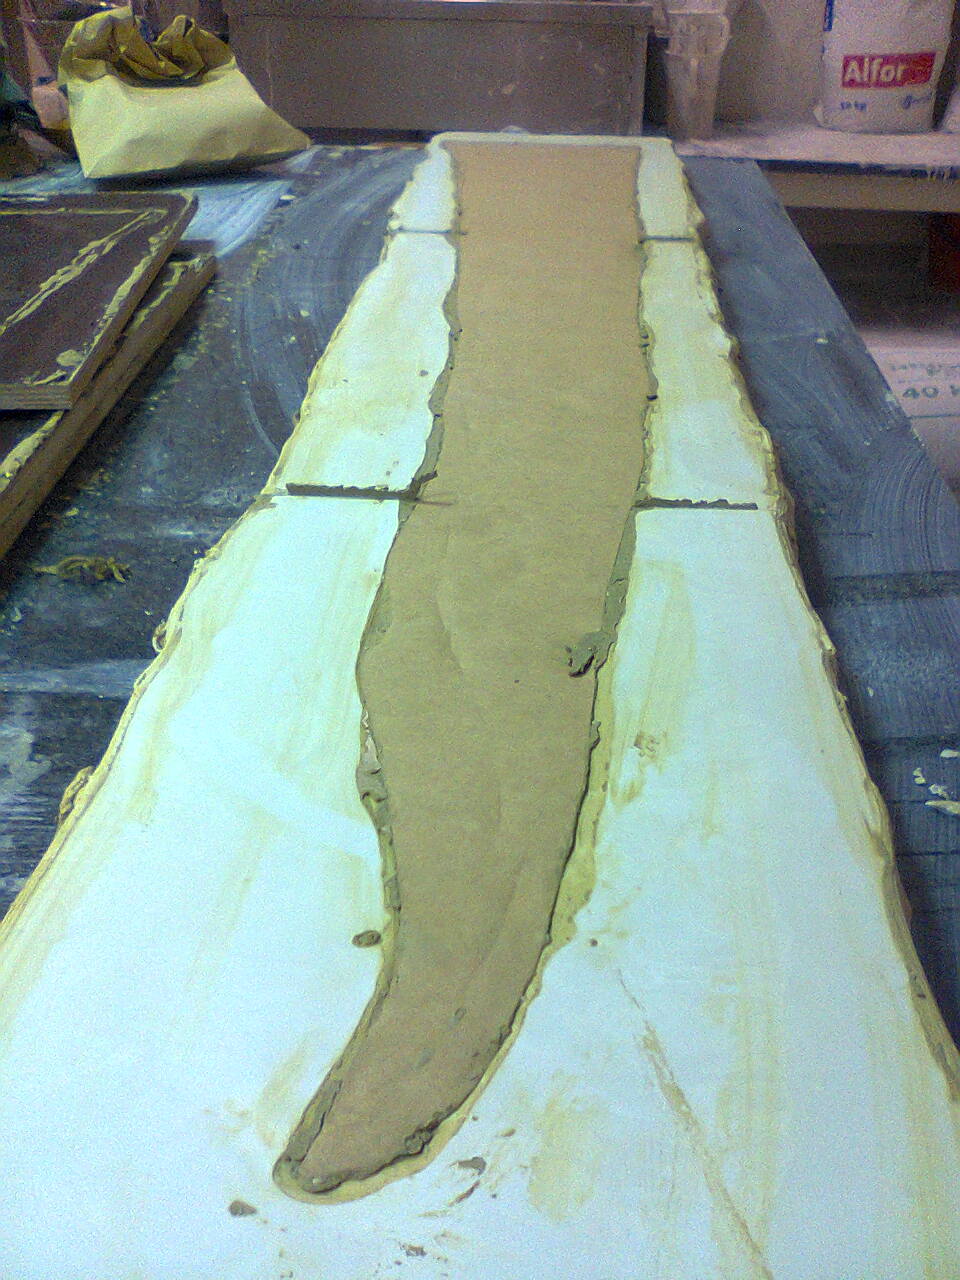
From our first idea of a Nautilus shaped helmet that you can fold and unfold into the realy implementation we had to build a paper model, then a cardboard one, then a plastic one and finally the real prototype from clear plastic and metal sheet. It´s been such a tedious process because each section of the helmet has a slightly different length, that doesn´t change consitently. That means there was quite a few try and error going on. There is probably a method of how to solve this mathematically, but I am such a hands on person… so I didn´t try to hard to do the math.
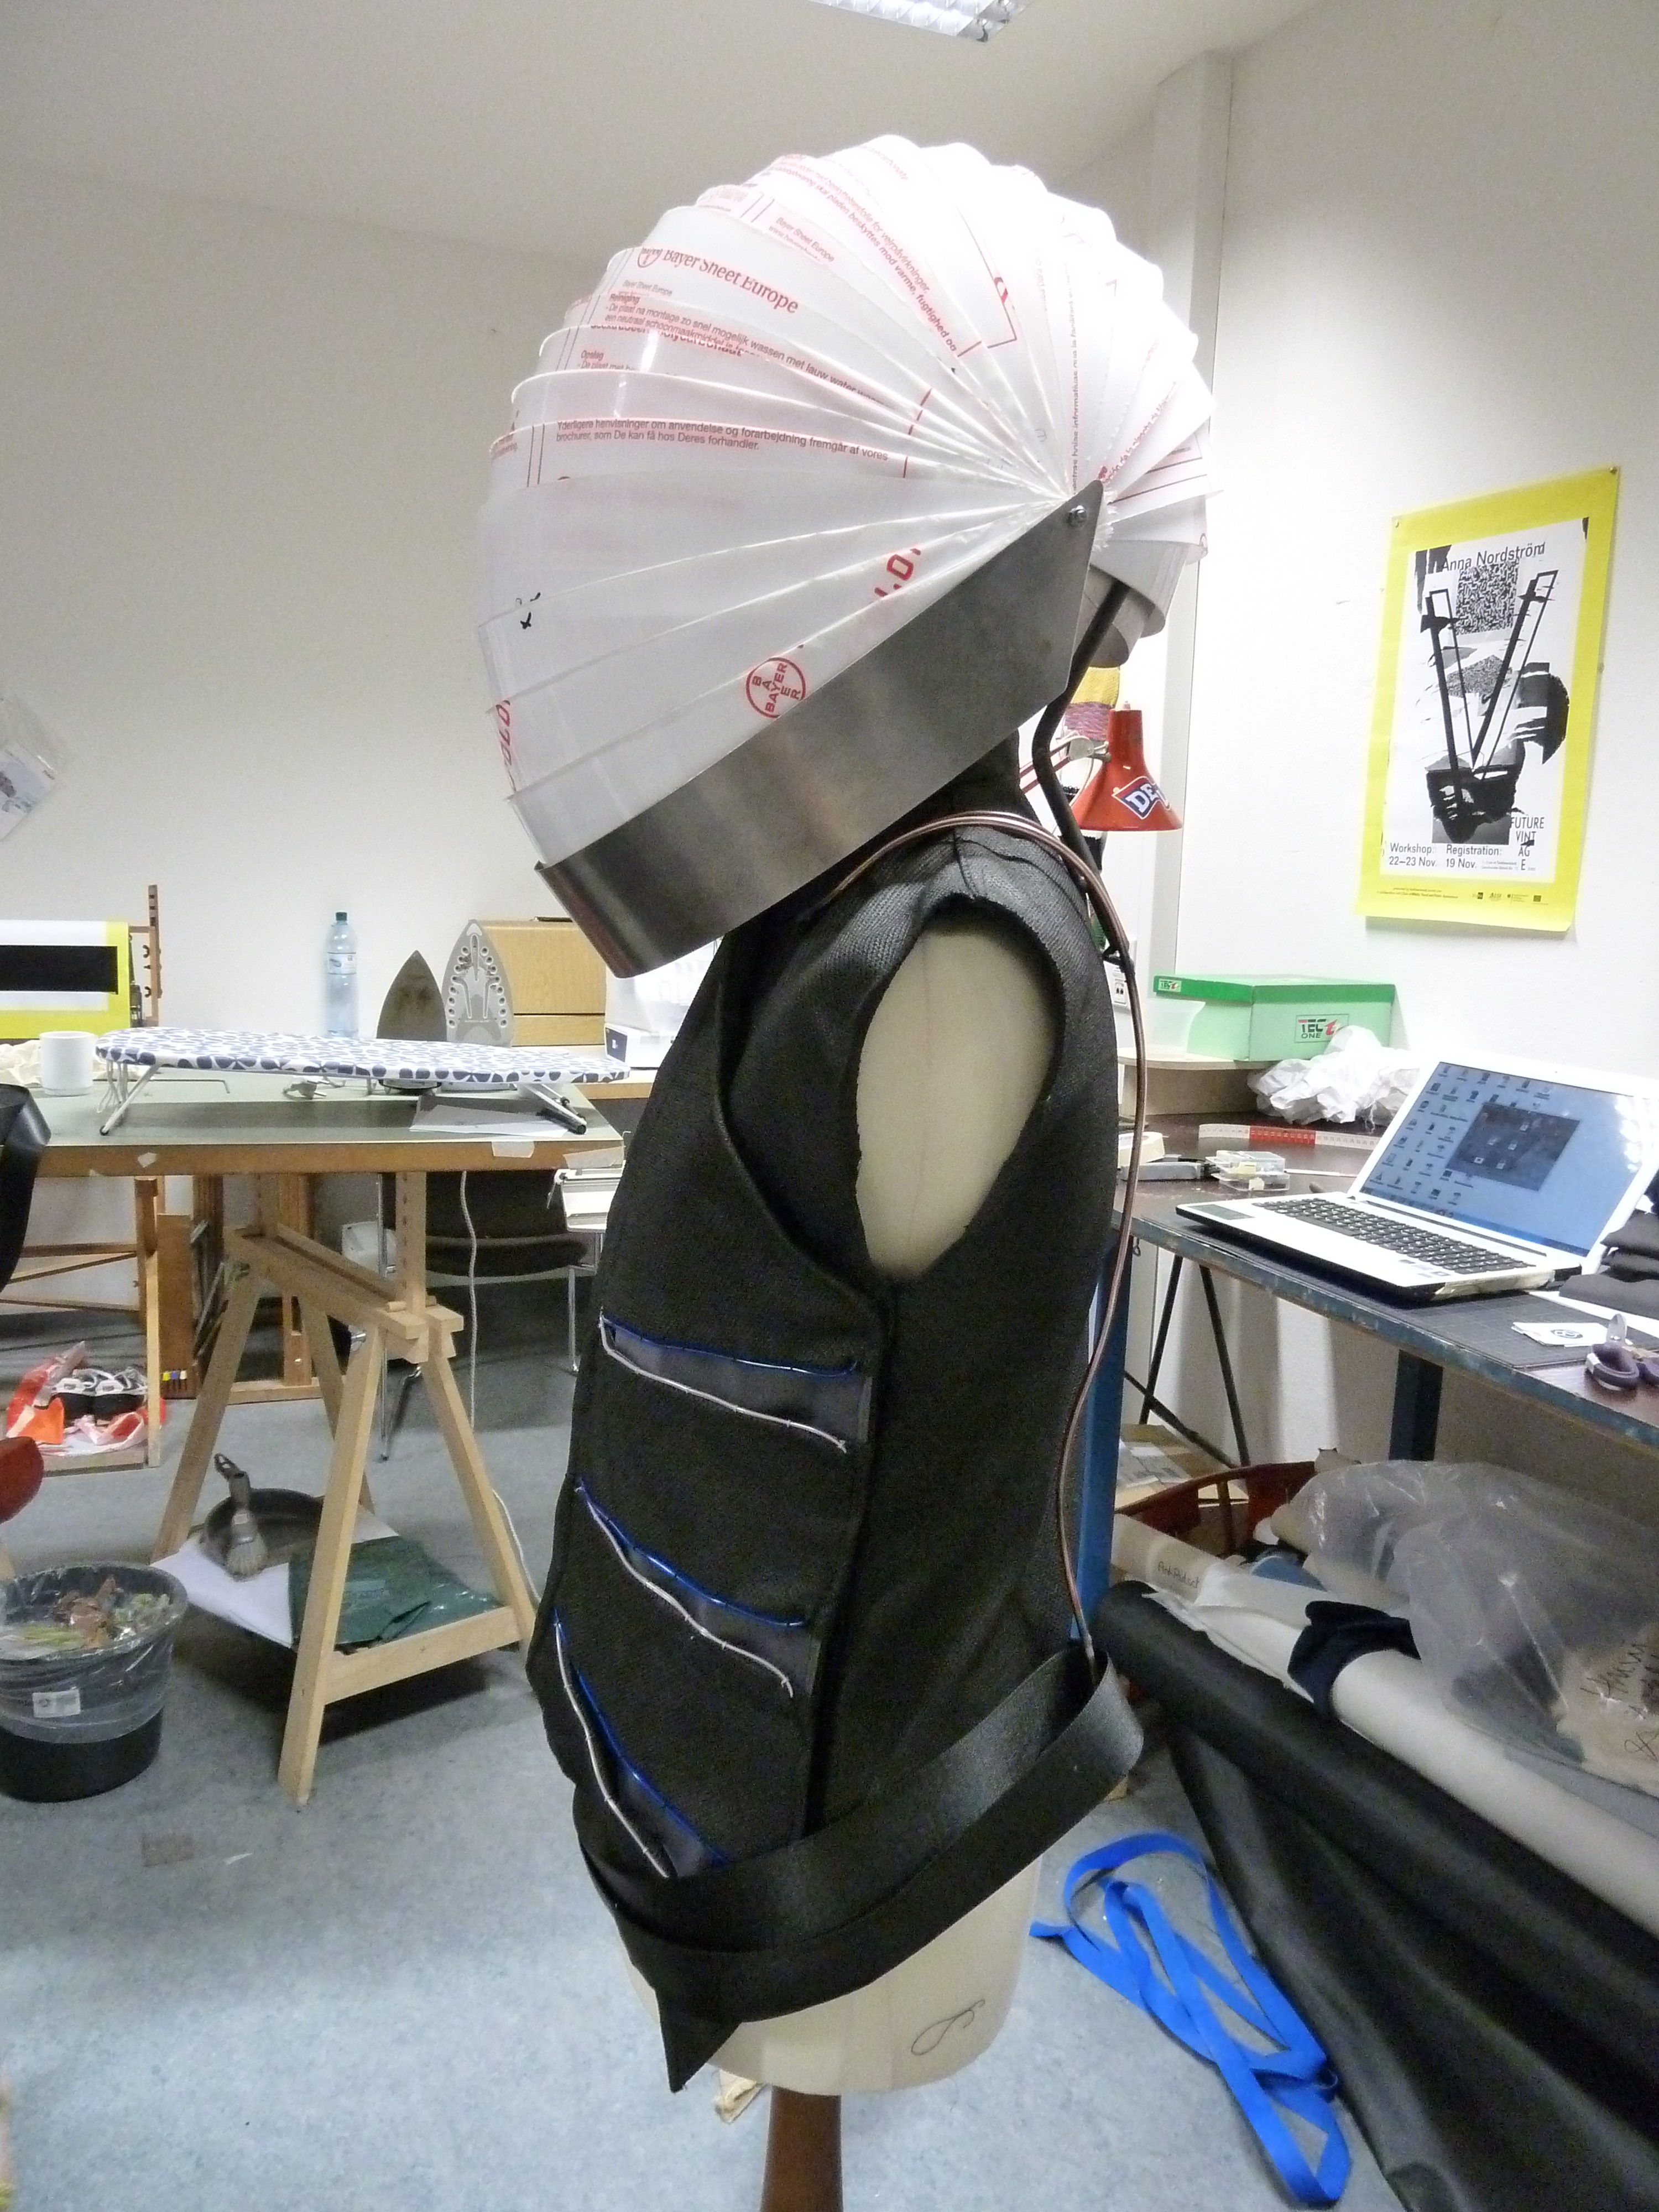
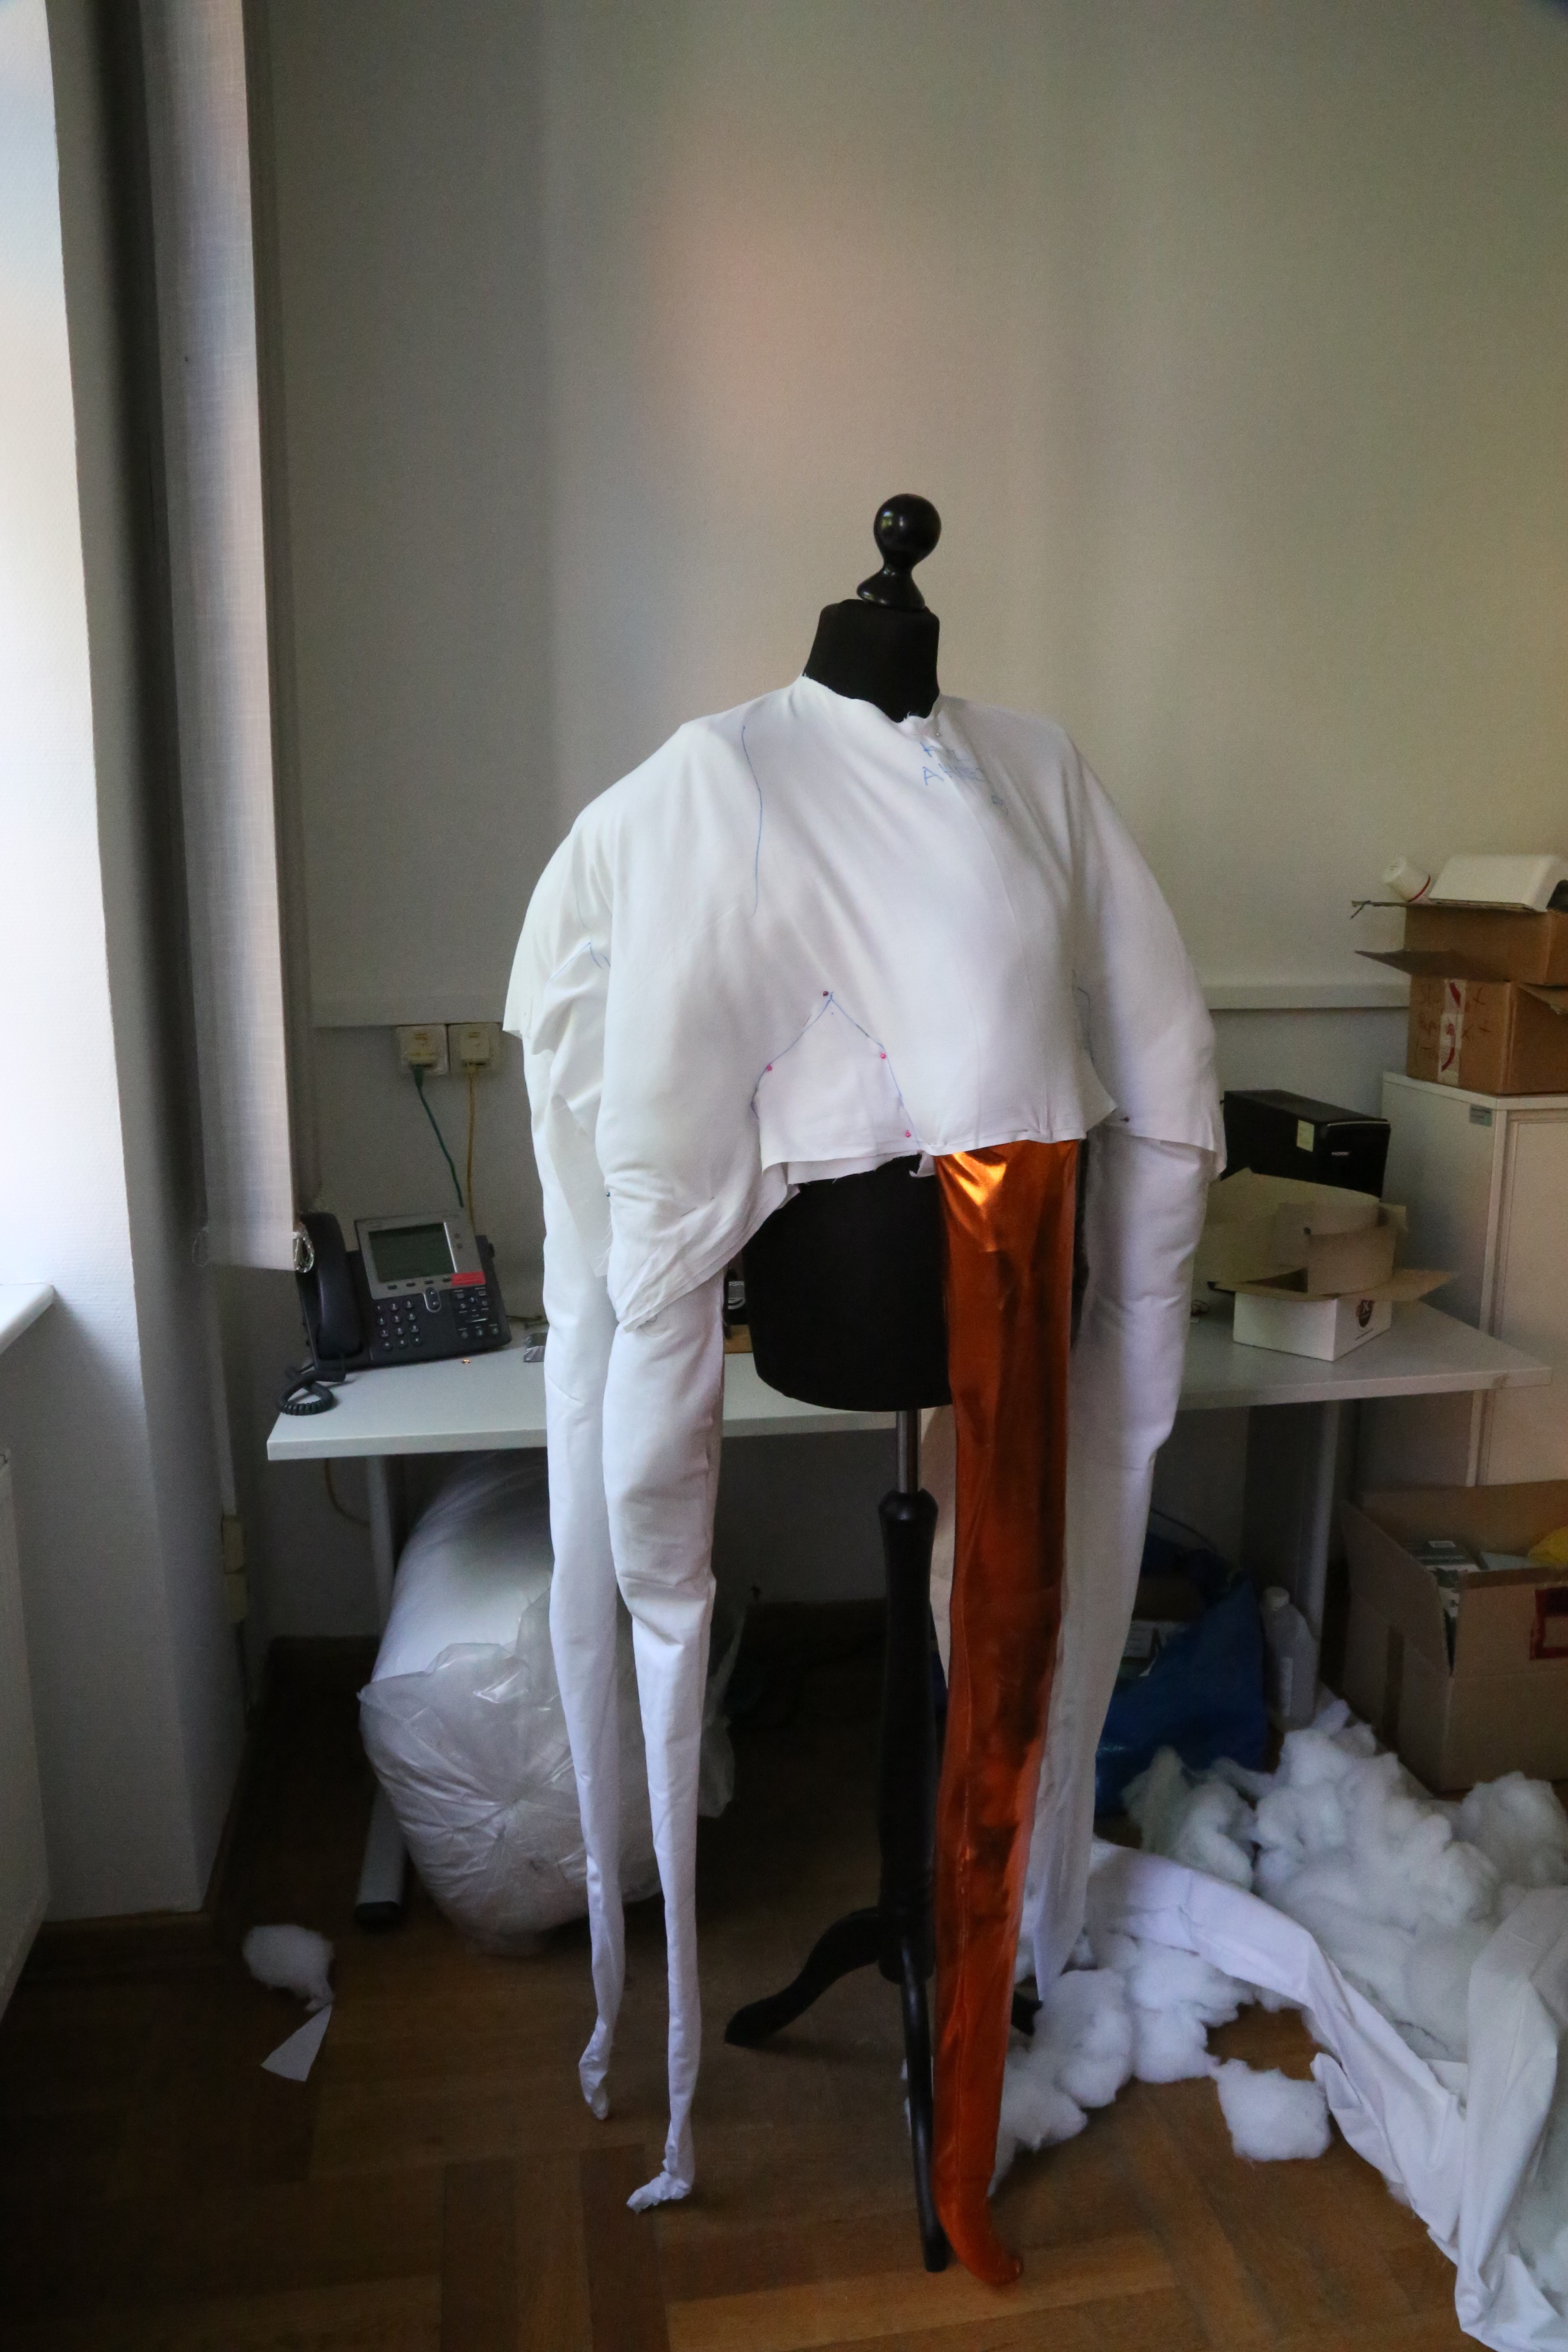
side view finished vest and helmet (protective coat still on); basic wire frame structure for O² pack, that holds up helmet
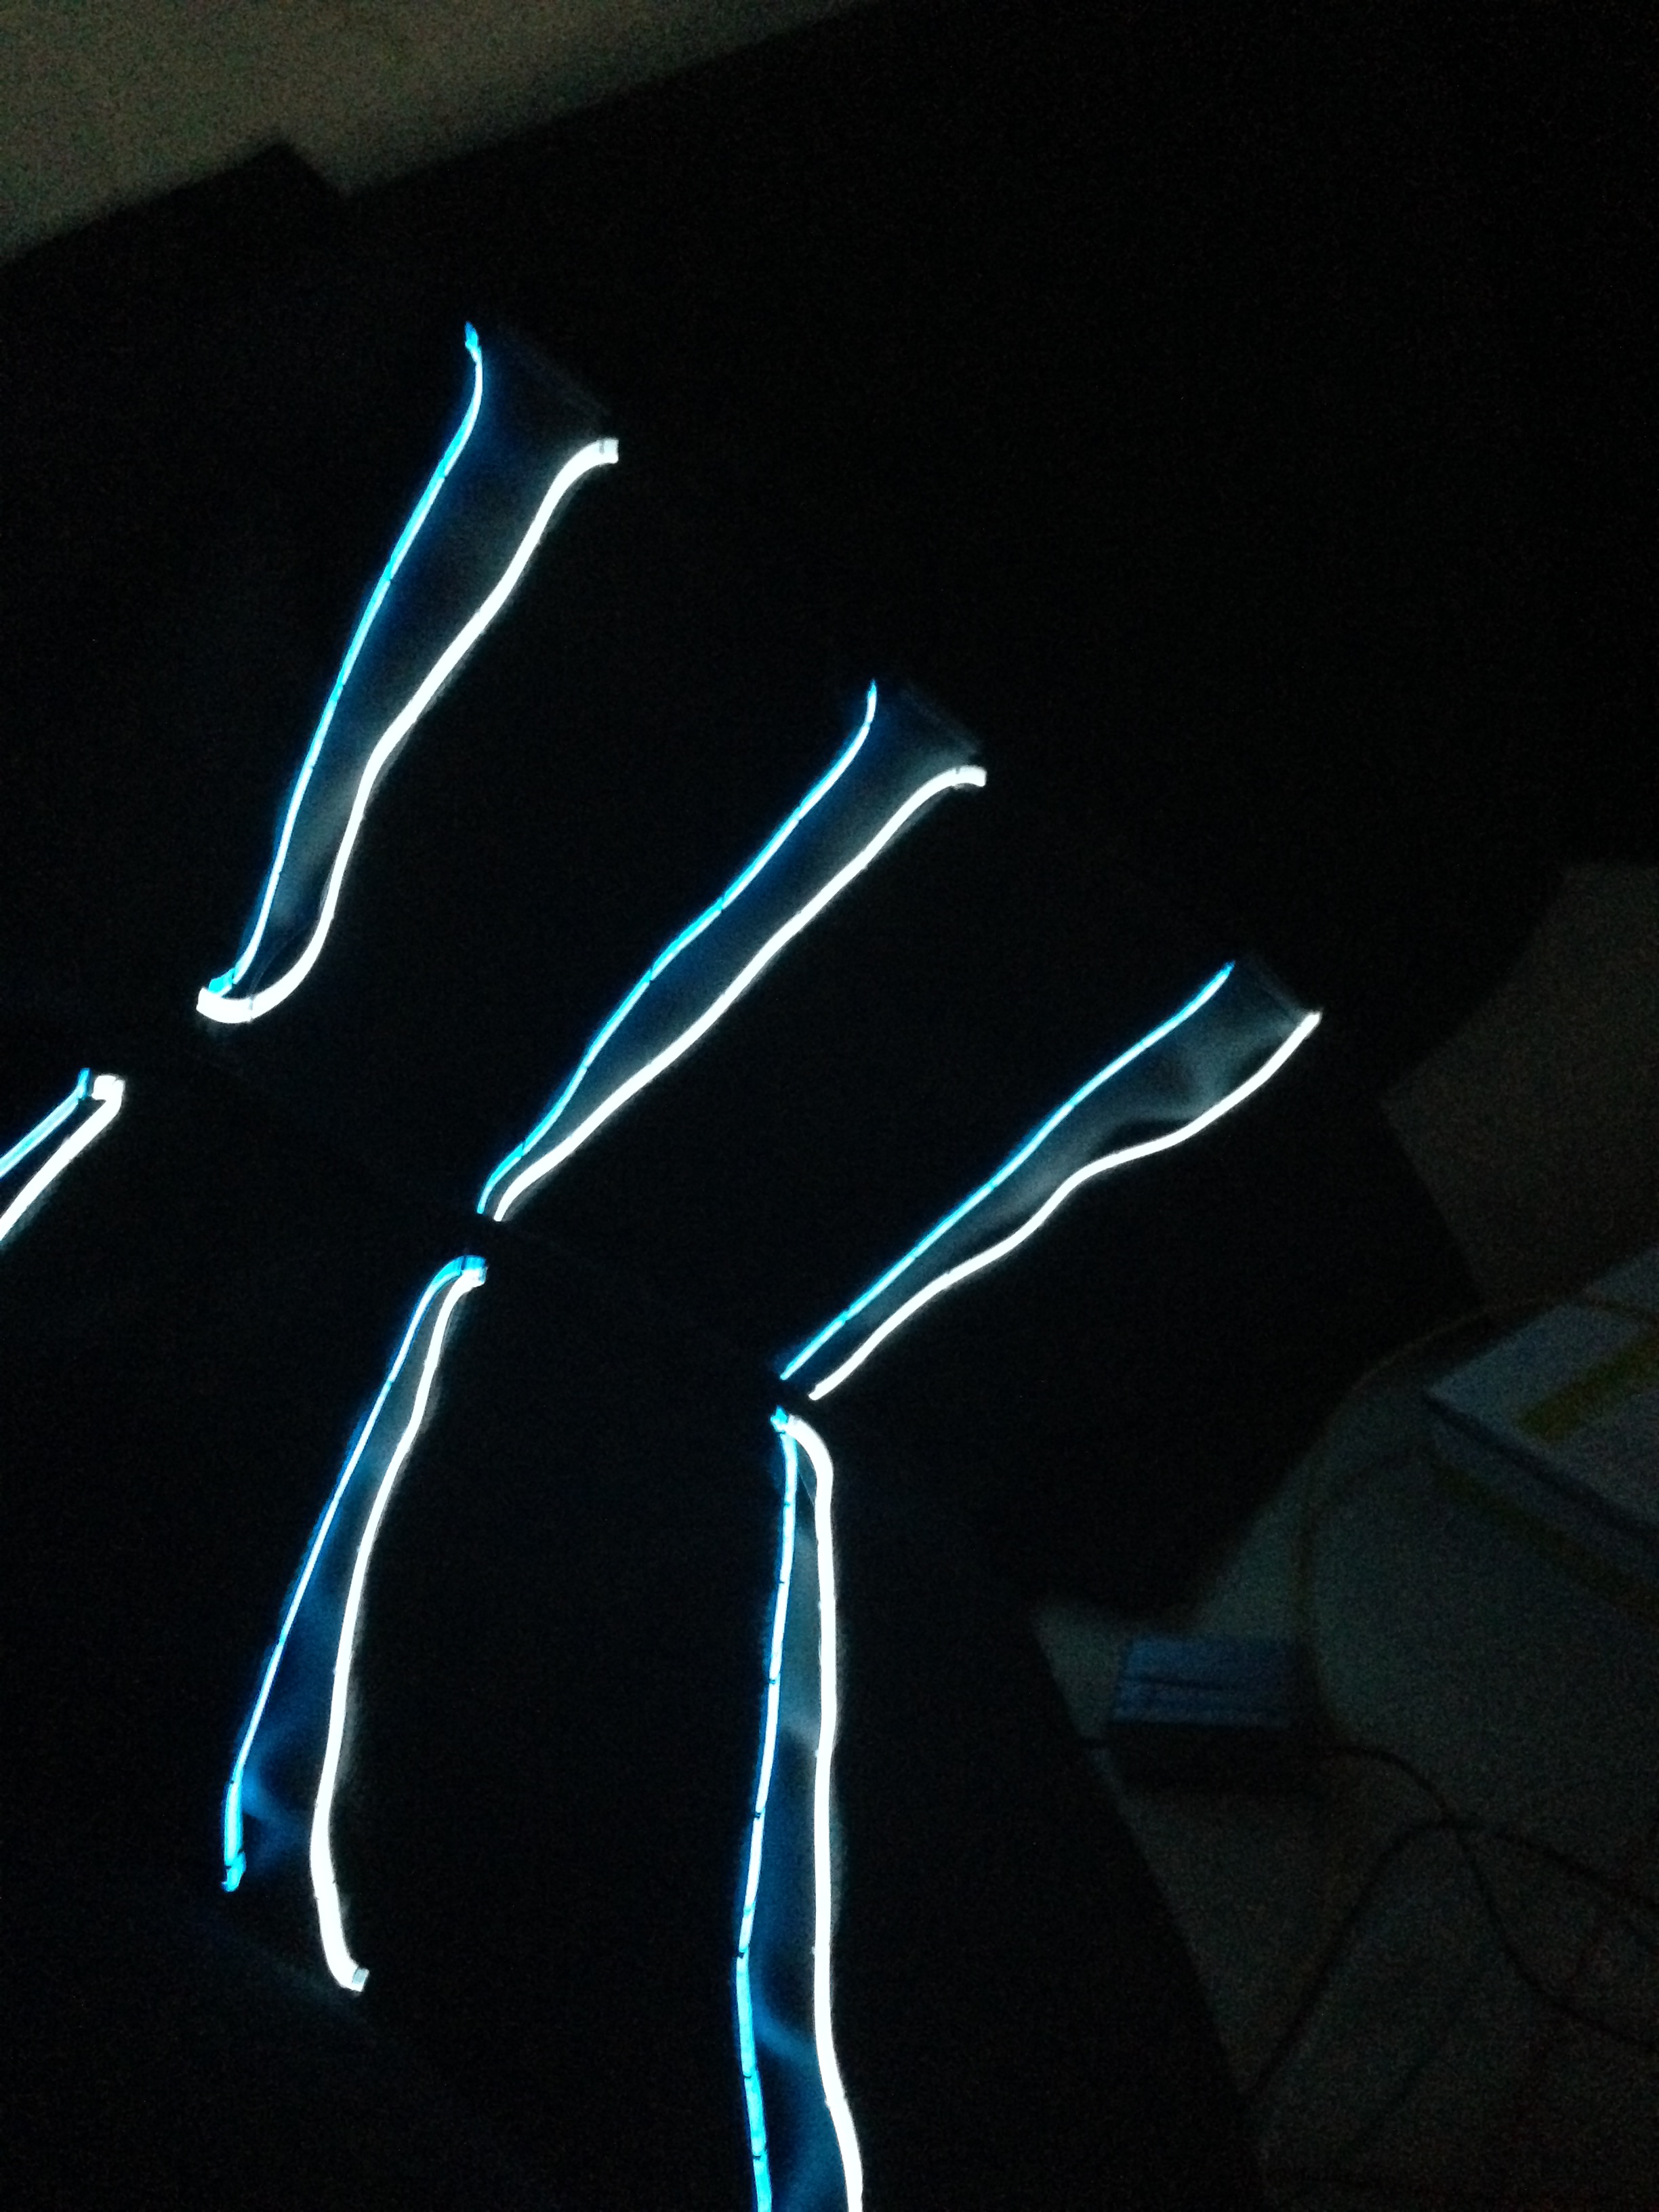
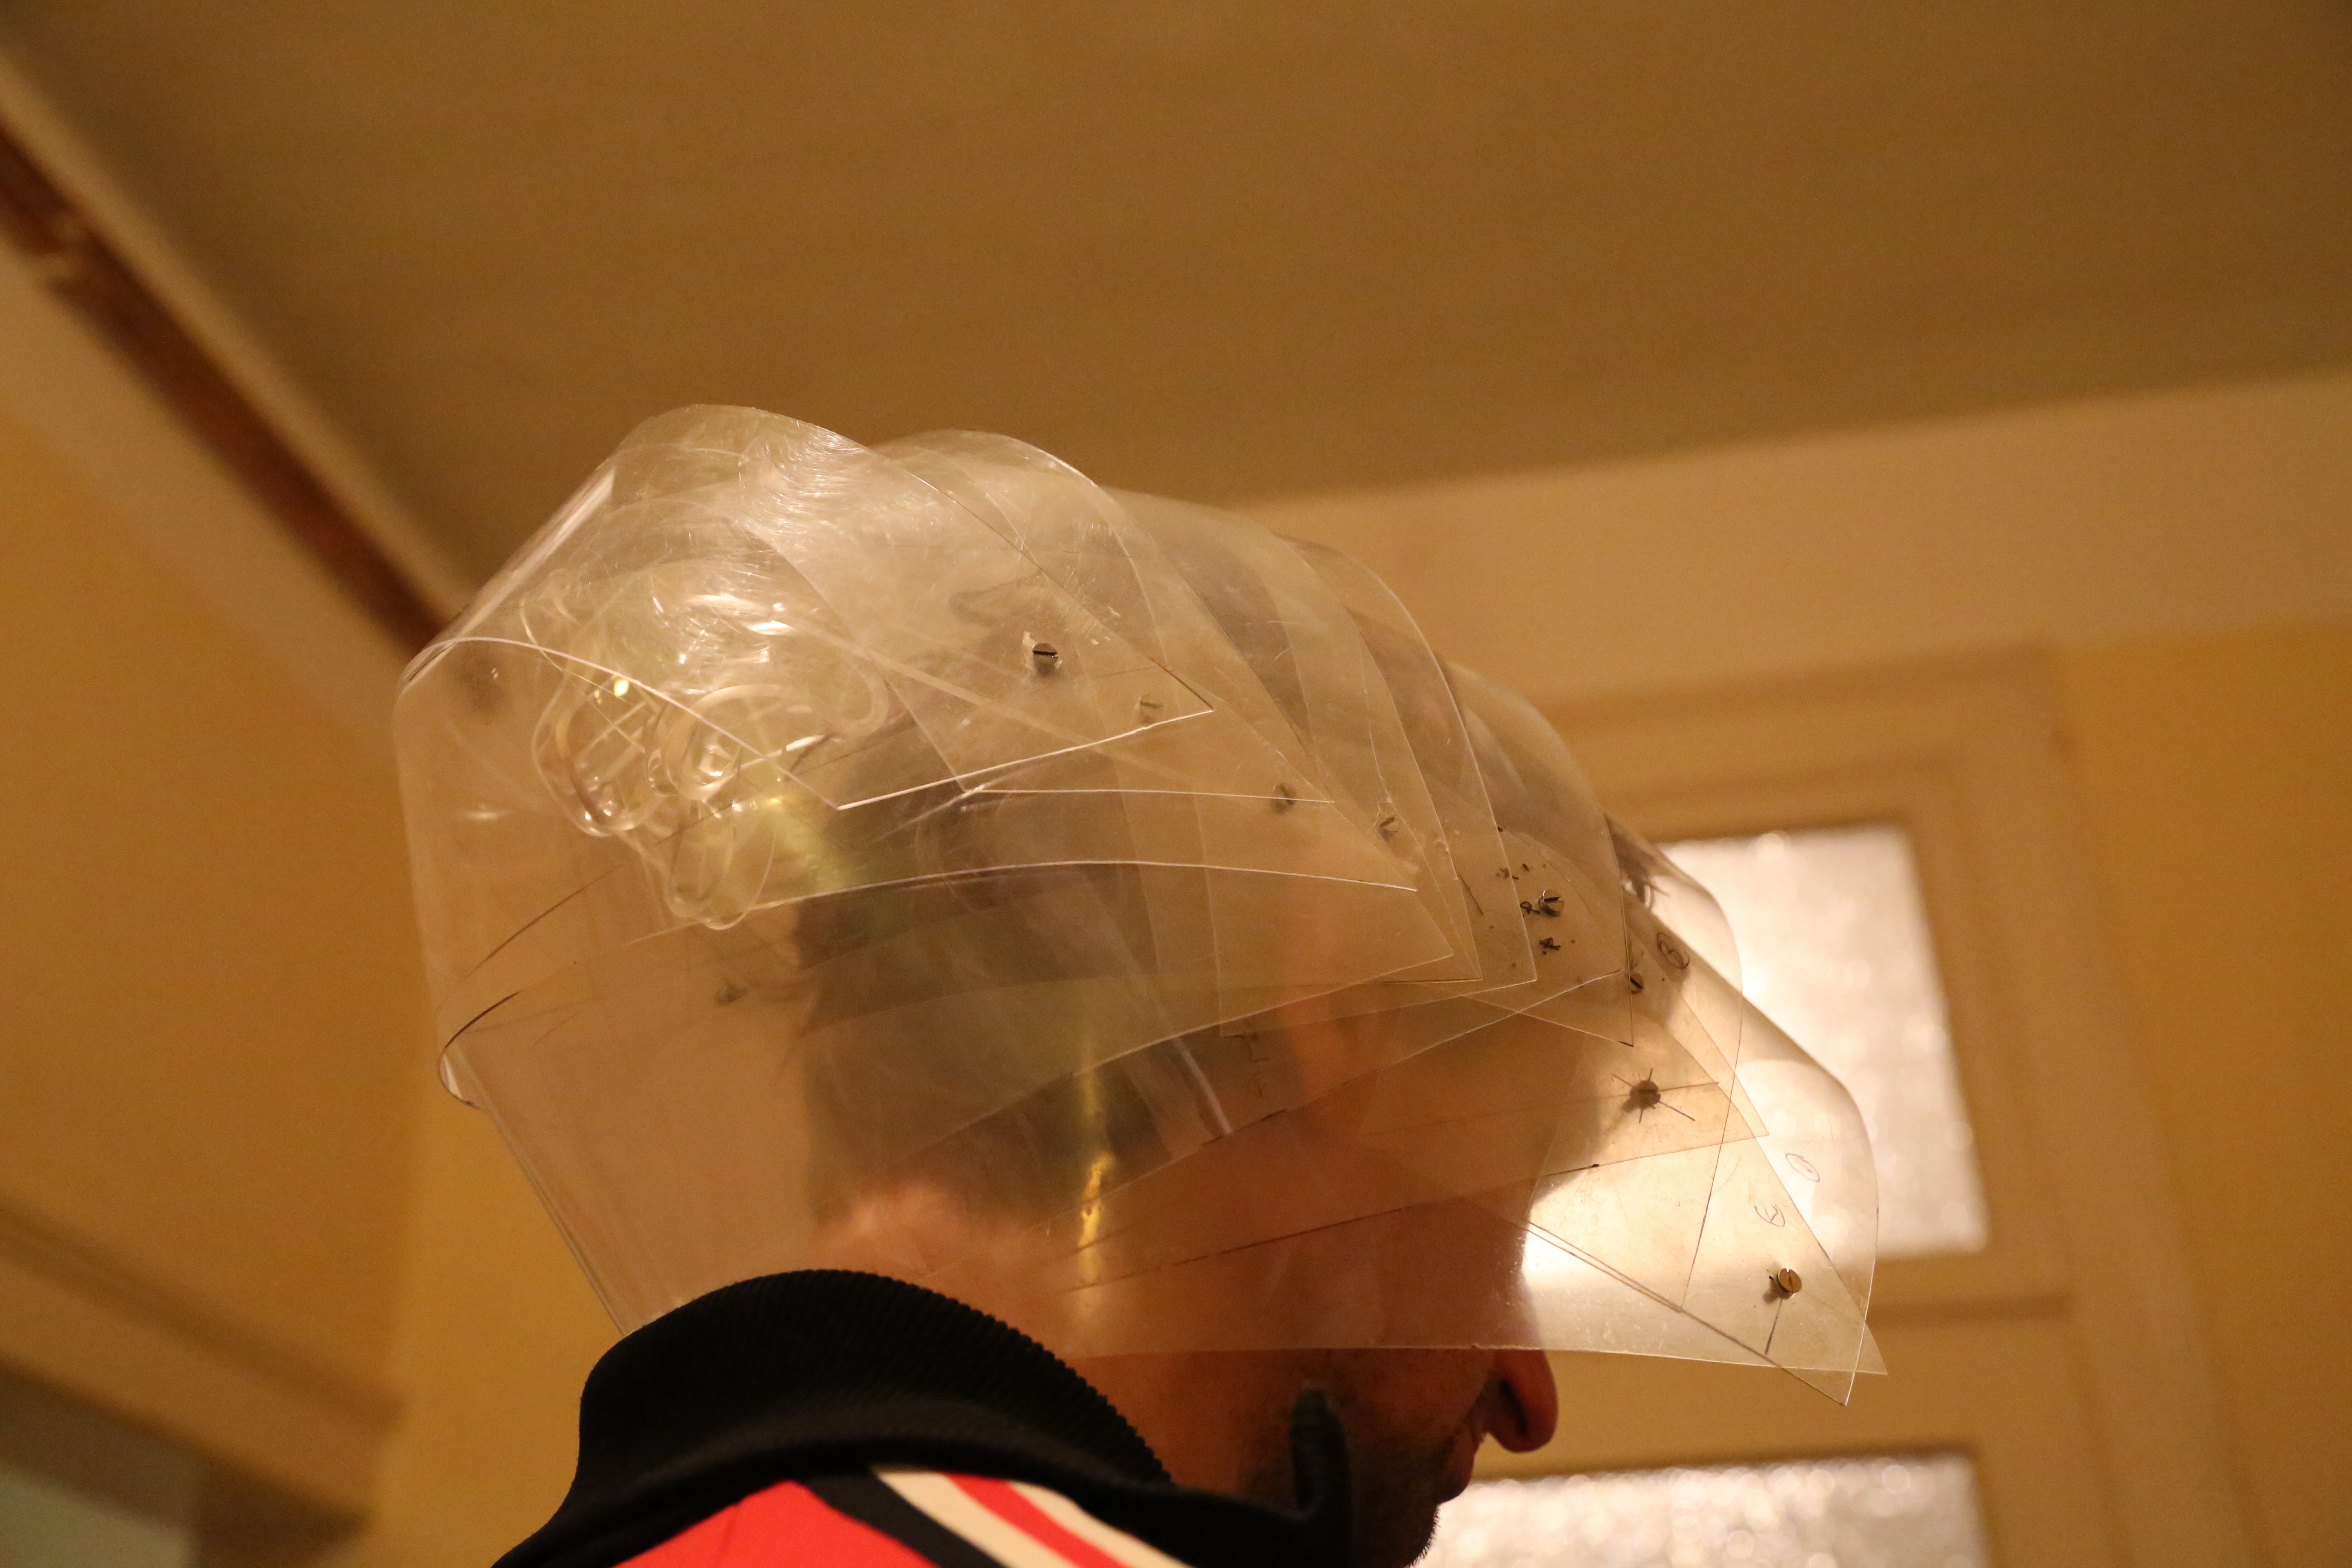
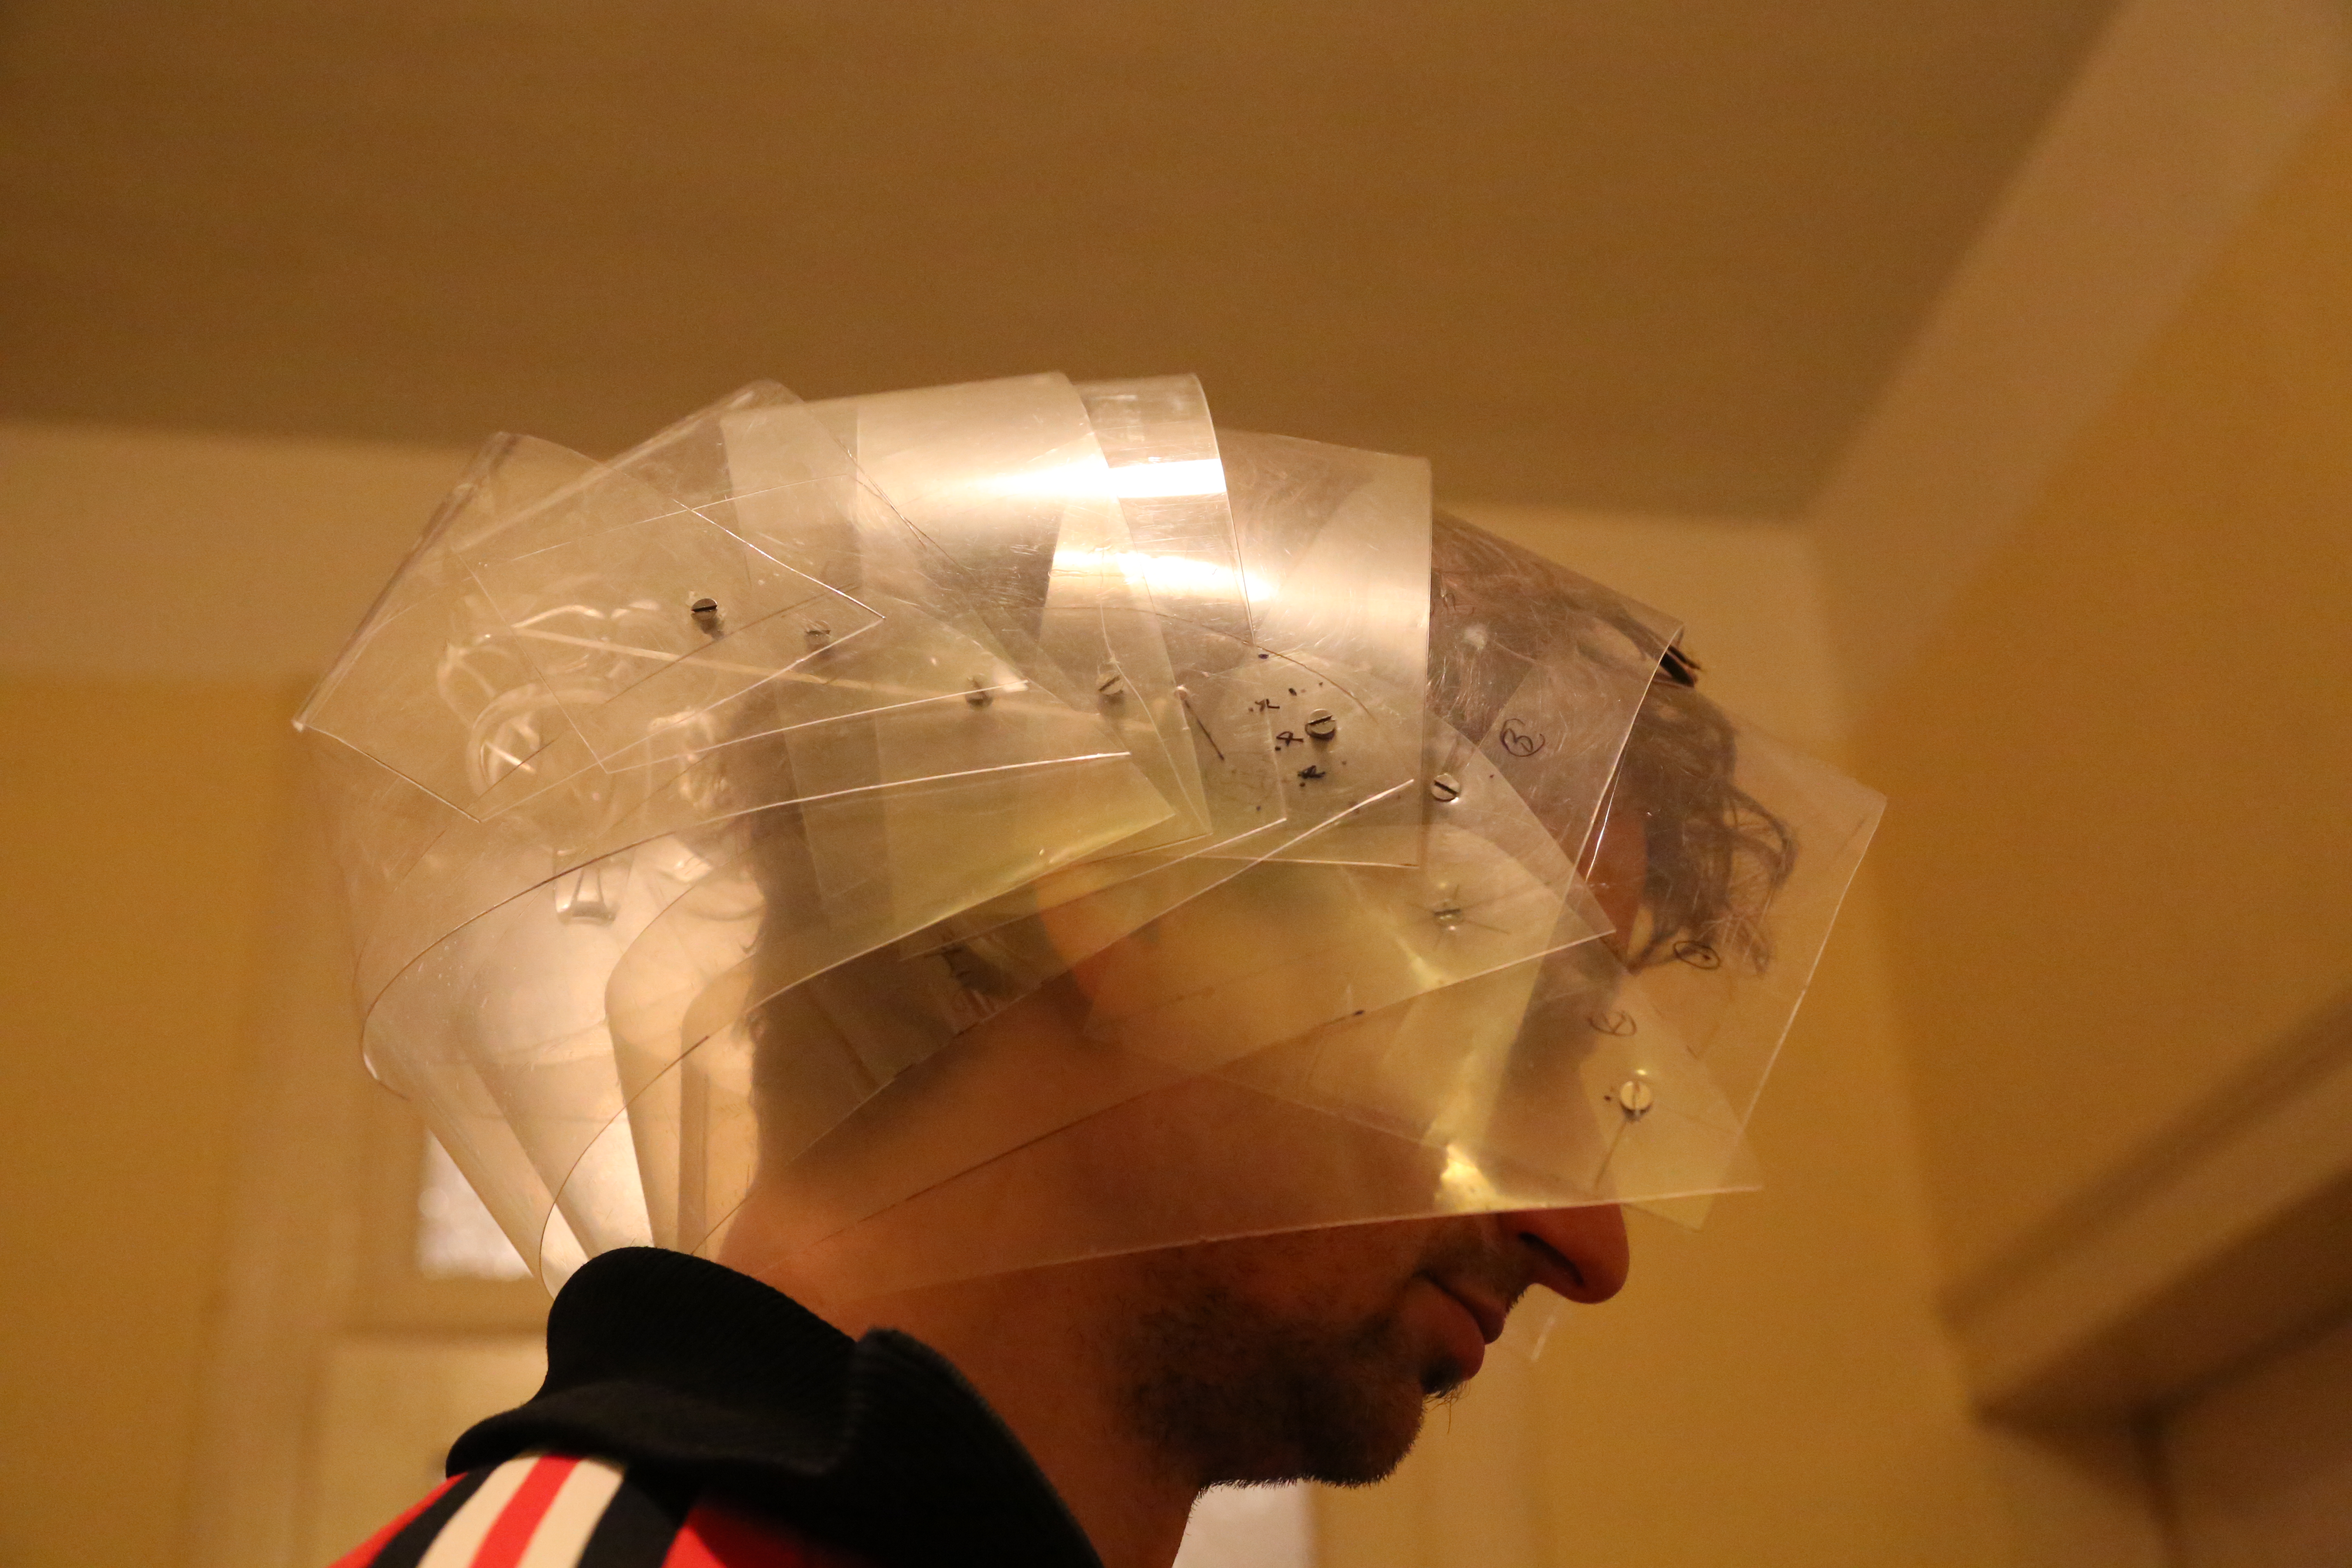
helmet being unfolded
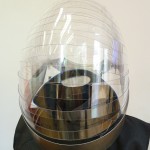
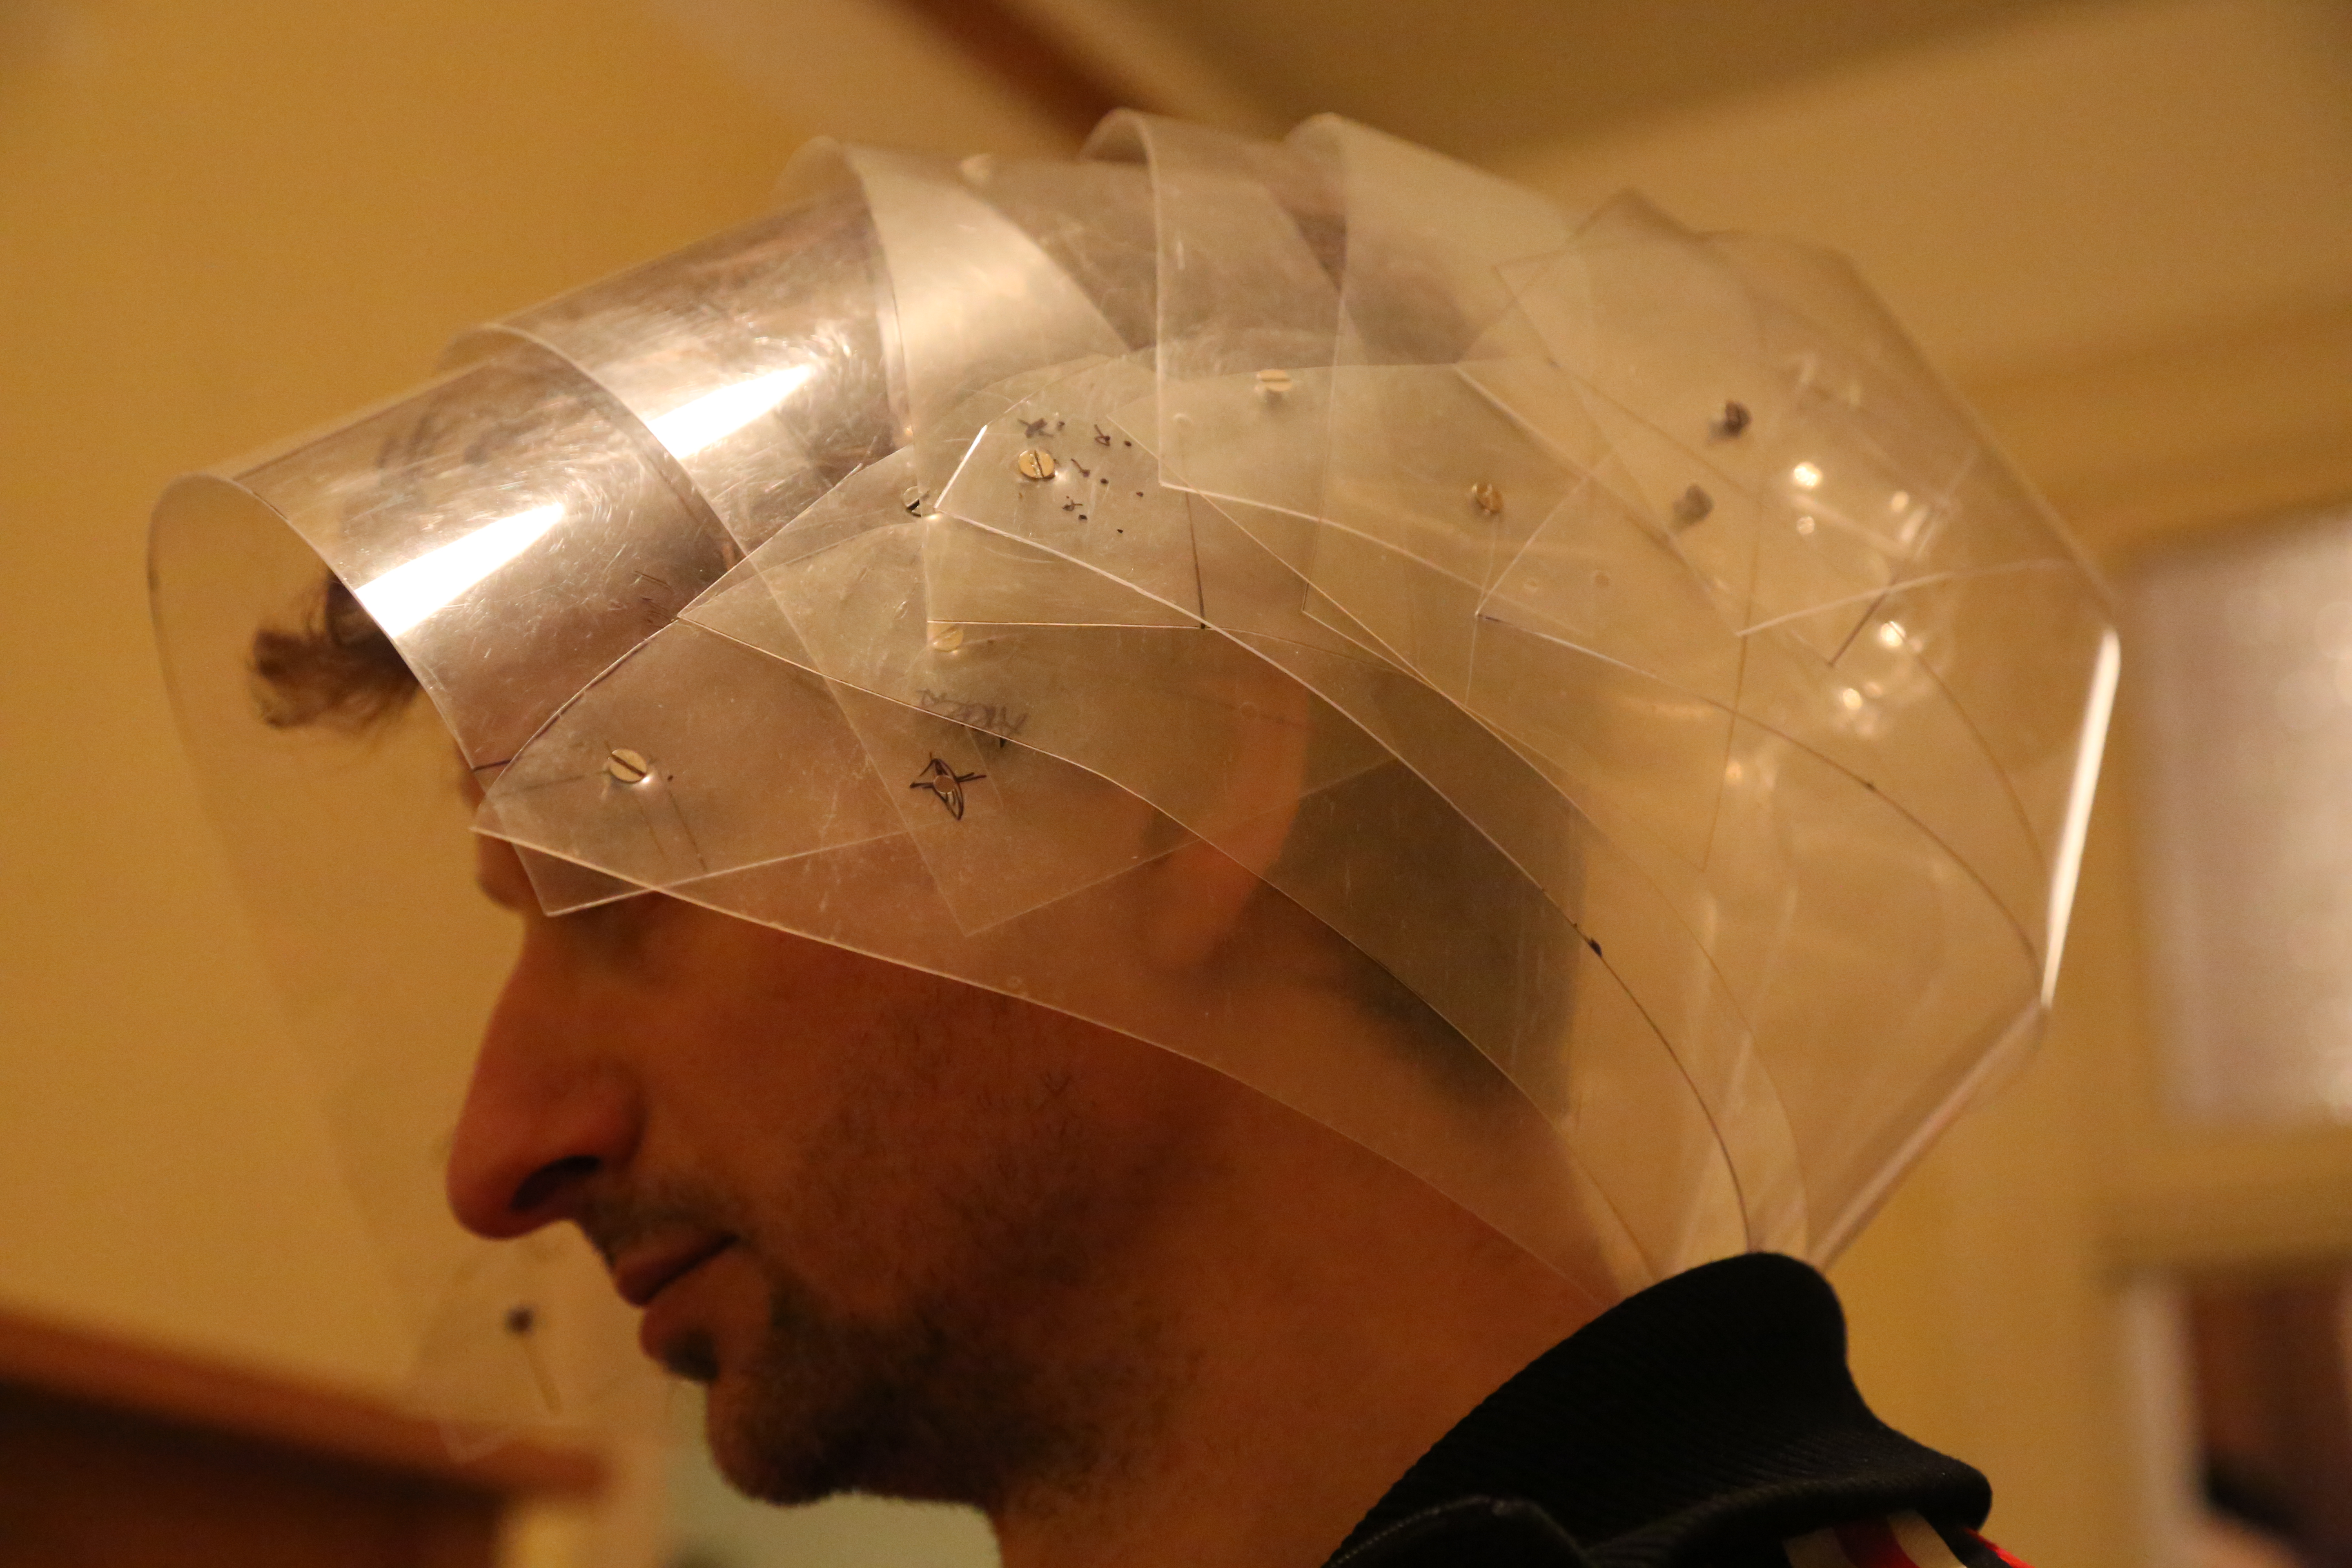
side view helmet
front view helmet
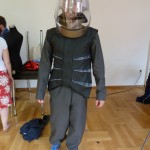
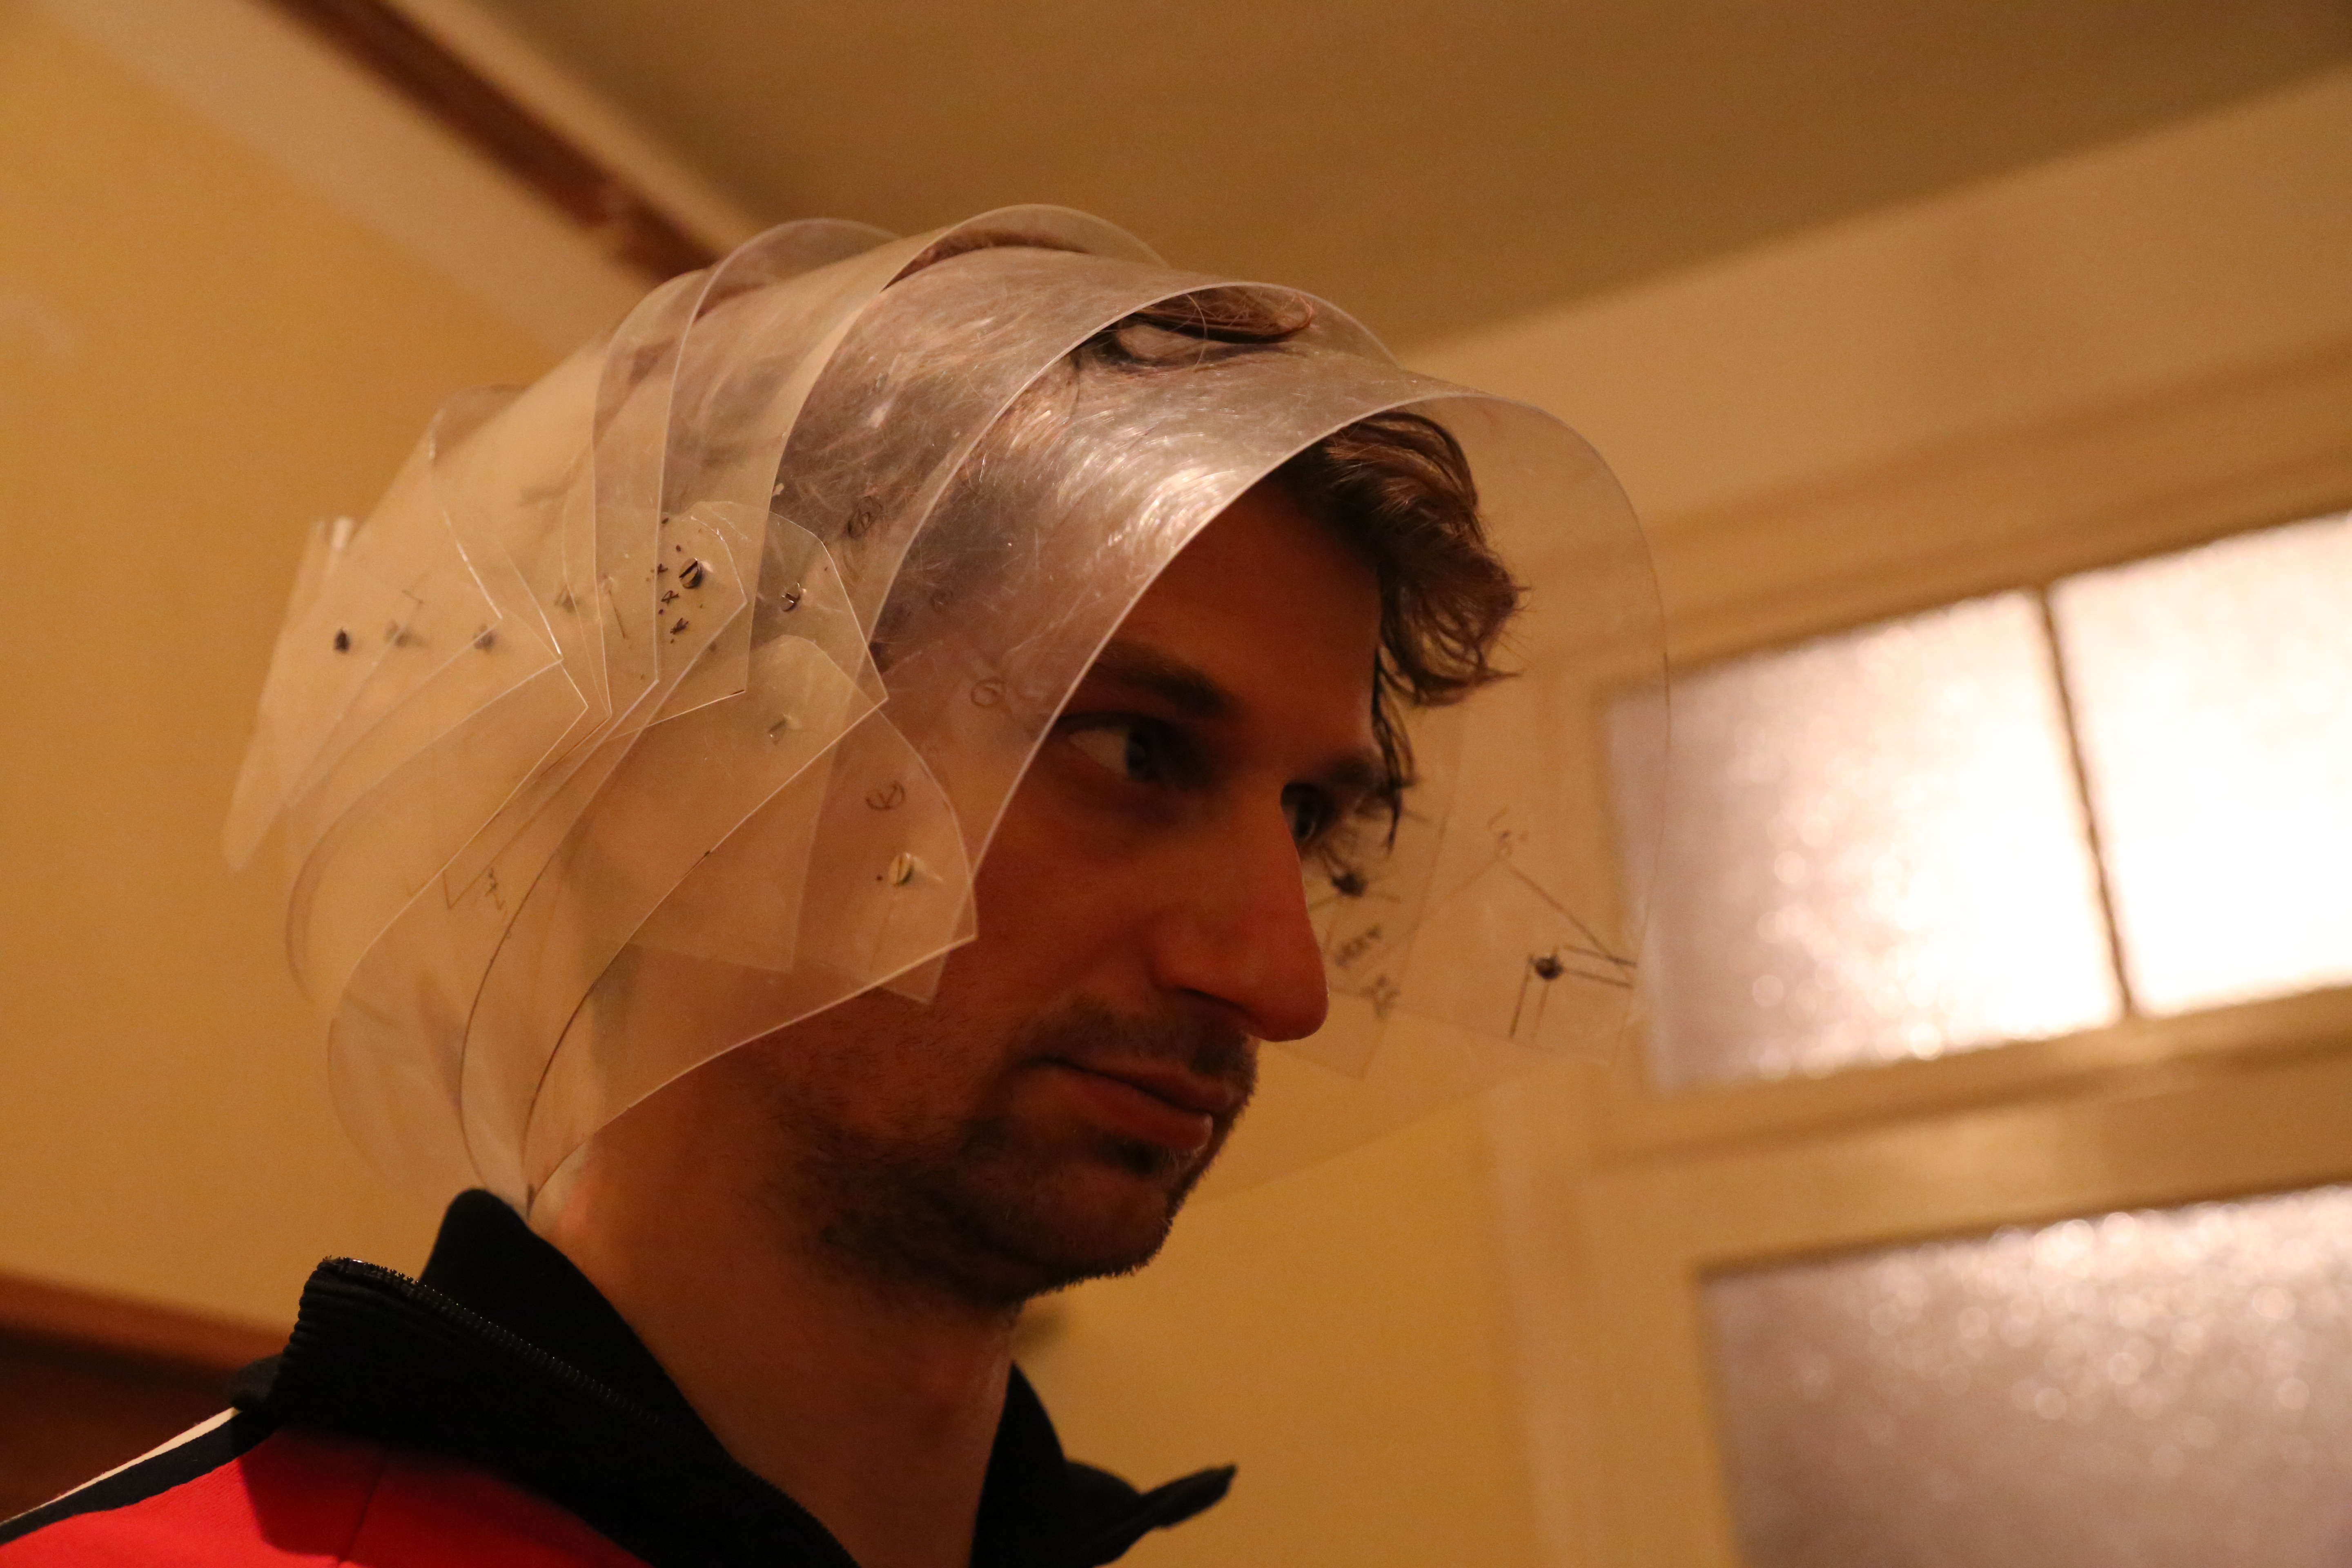
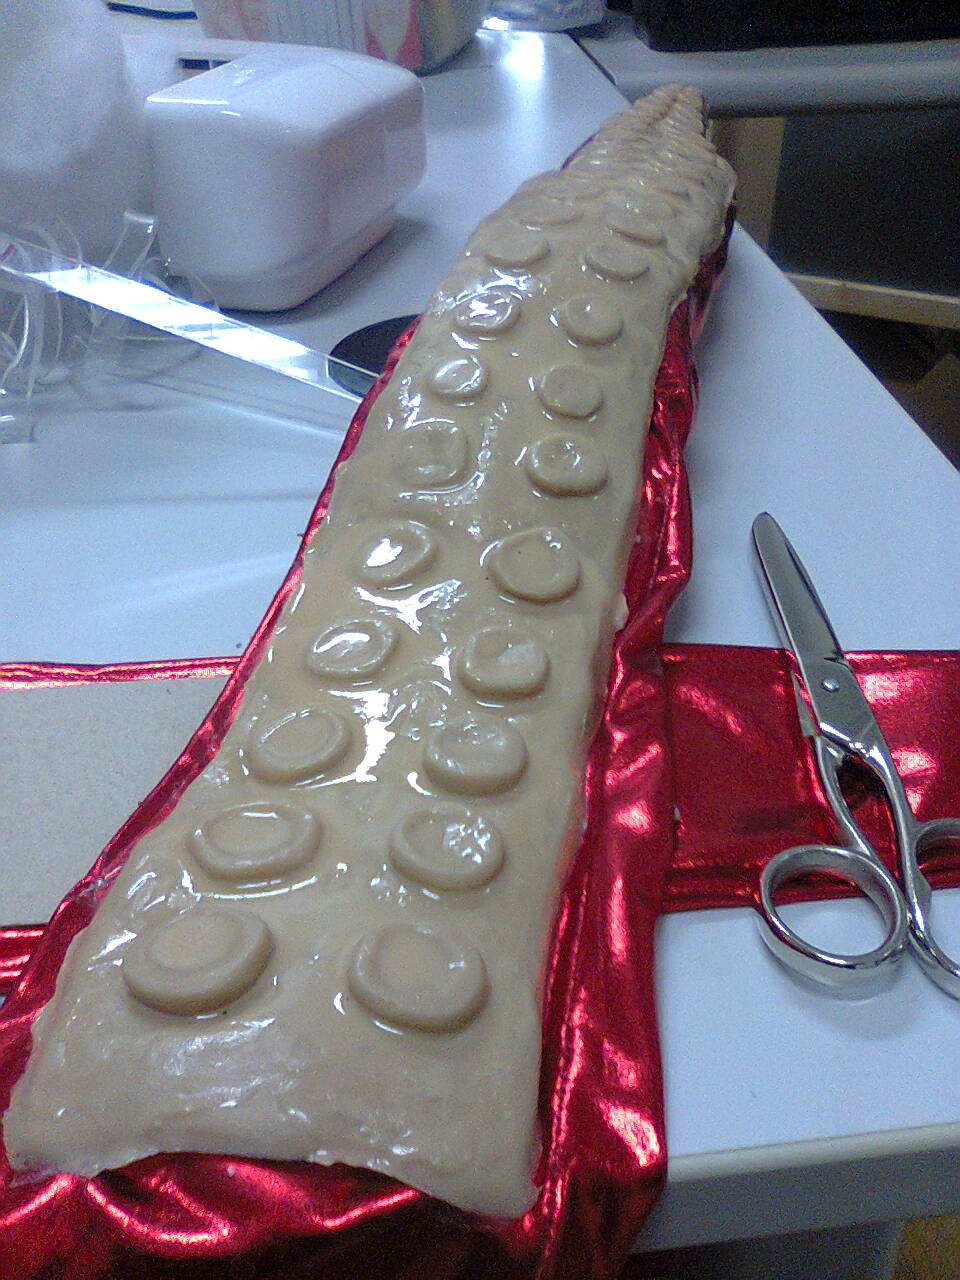
Actor wearing the costume for the first time!
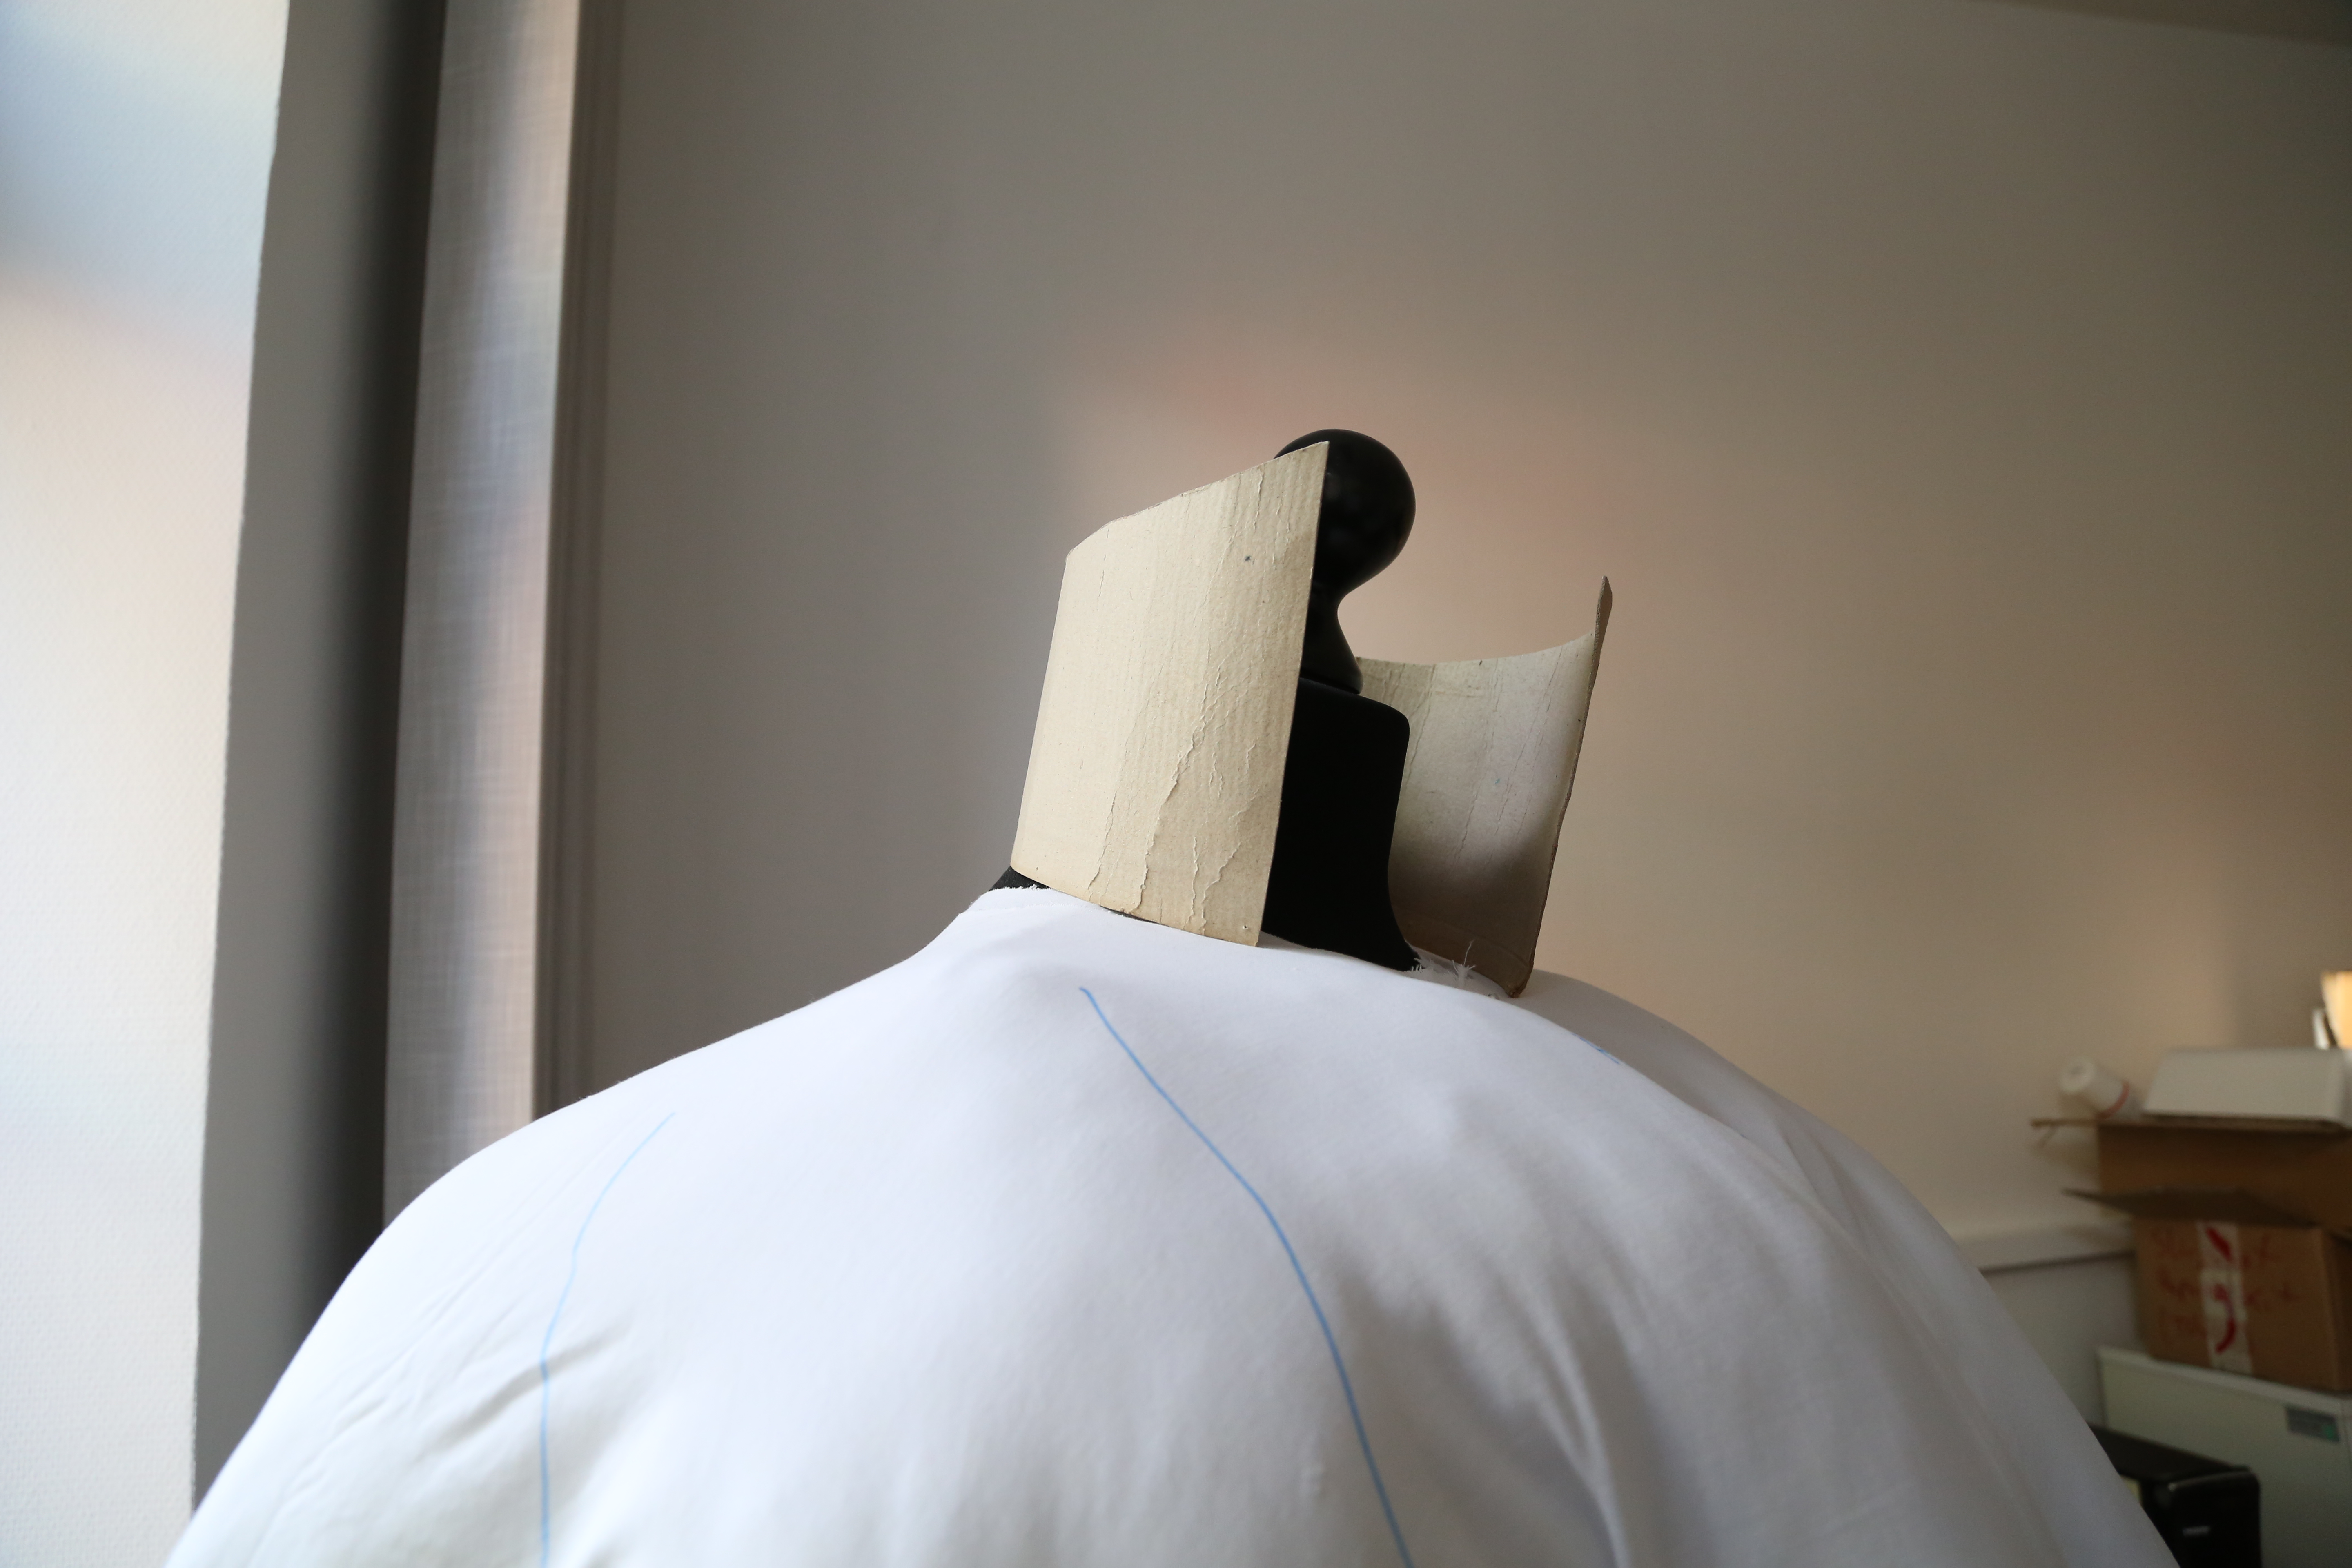
I attached two bend metal parts – the first and the last – to give the helmet enough rigidity to hold it´s shape on it´s own. It´s put together only with two M5 bolts and nuts, plus counter nuts and washers. Not quite the prettiest solution yet. One side though will be hidden in the end, since we are planning to attach an oxygen hose to it.
The helmet looks great! It´s really big, but that also means the actor´s head can move freely. The only problem really is that it is quite fragile. It likes to pop open if the actor isn´t careful with it. Since the single parts of the helmet just lock into to next bigger one by being trapped – the sometimes slip apart. Wich is not so great during a play. What it actually means is that I´d like to built the helmet again. Much more acurate and precise with a locking system. I´ll post my solution ideas soon.
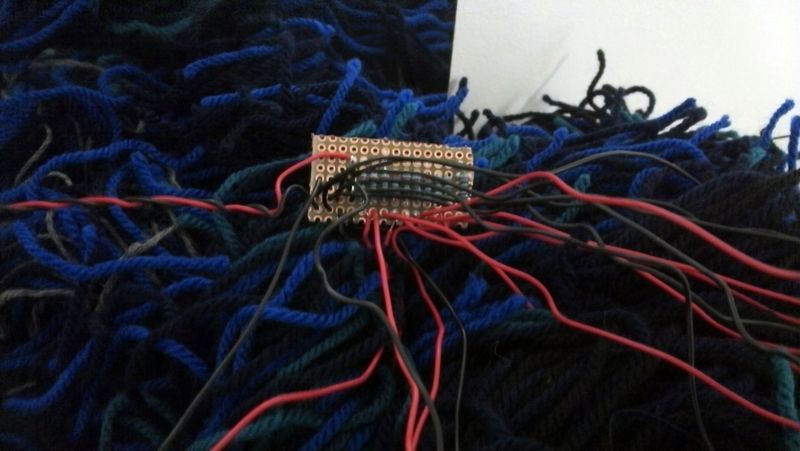
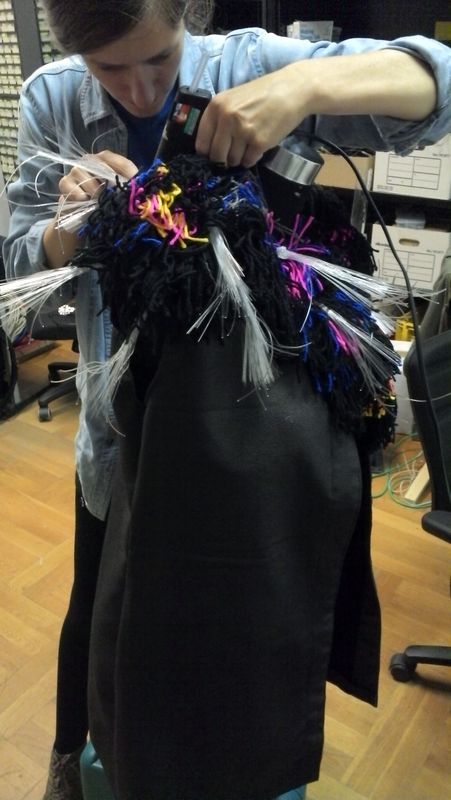
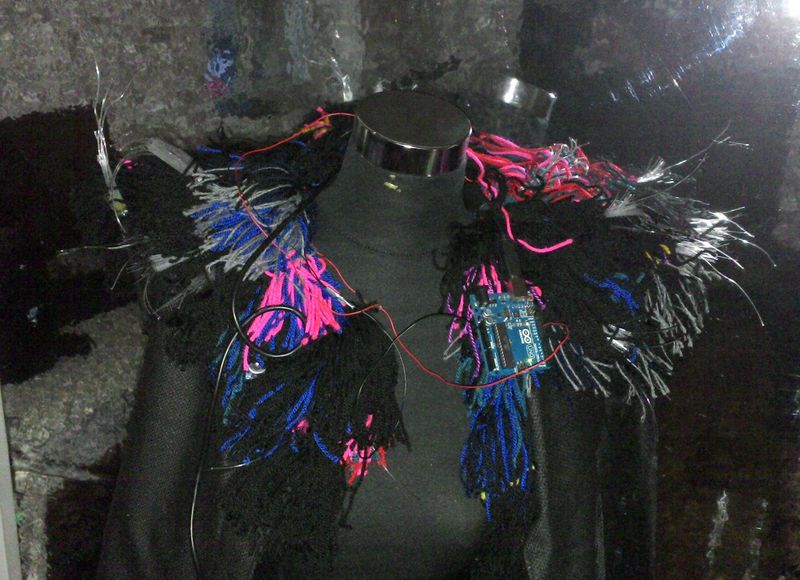
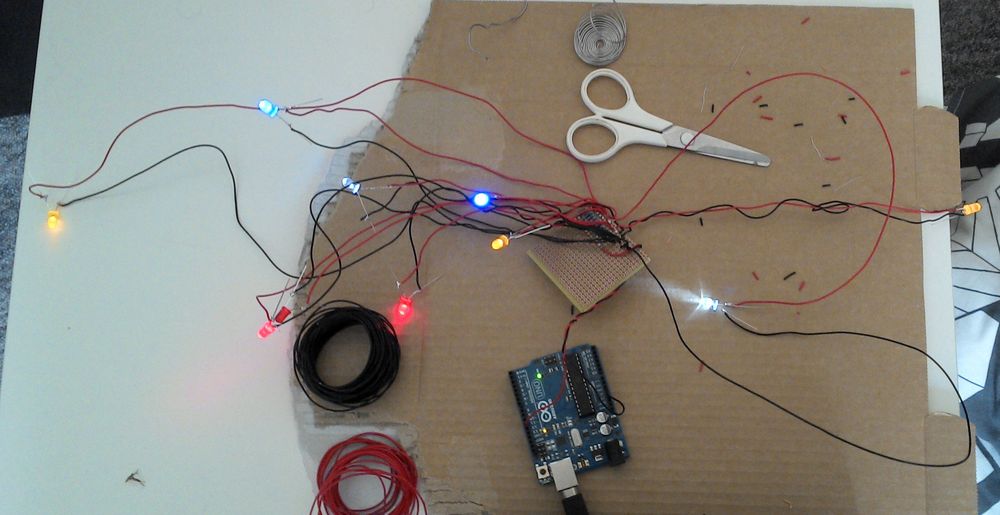
After the two boards with the resistors and connections was soldered to the LEDs (see post), now these two are sewn on both shoulders. The LEDs have a different cable length and were able to different shoulder, back and front areas. the two boards are wired to each other and need for the Arduino Uno only one PWM-pin and ground.
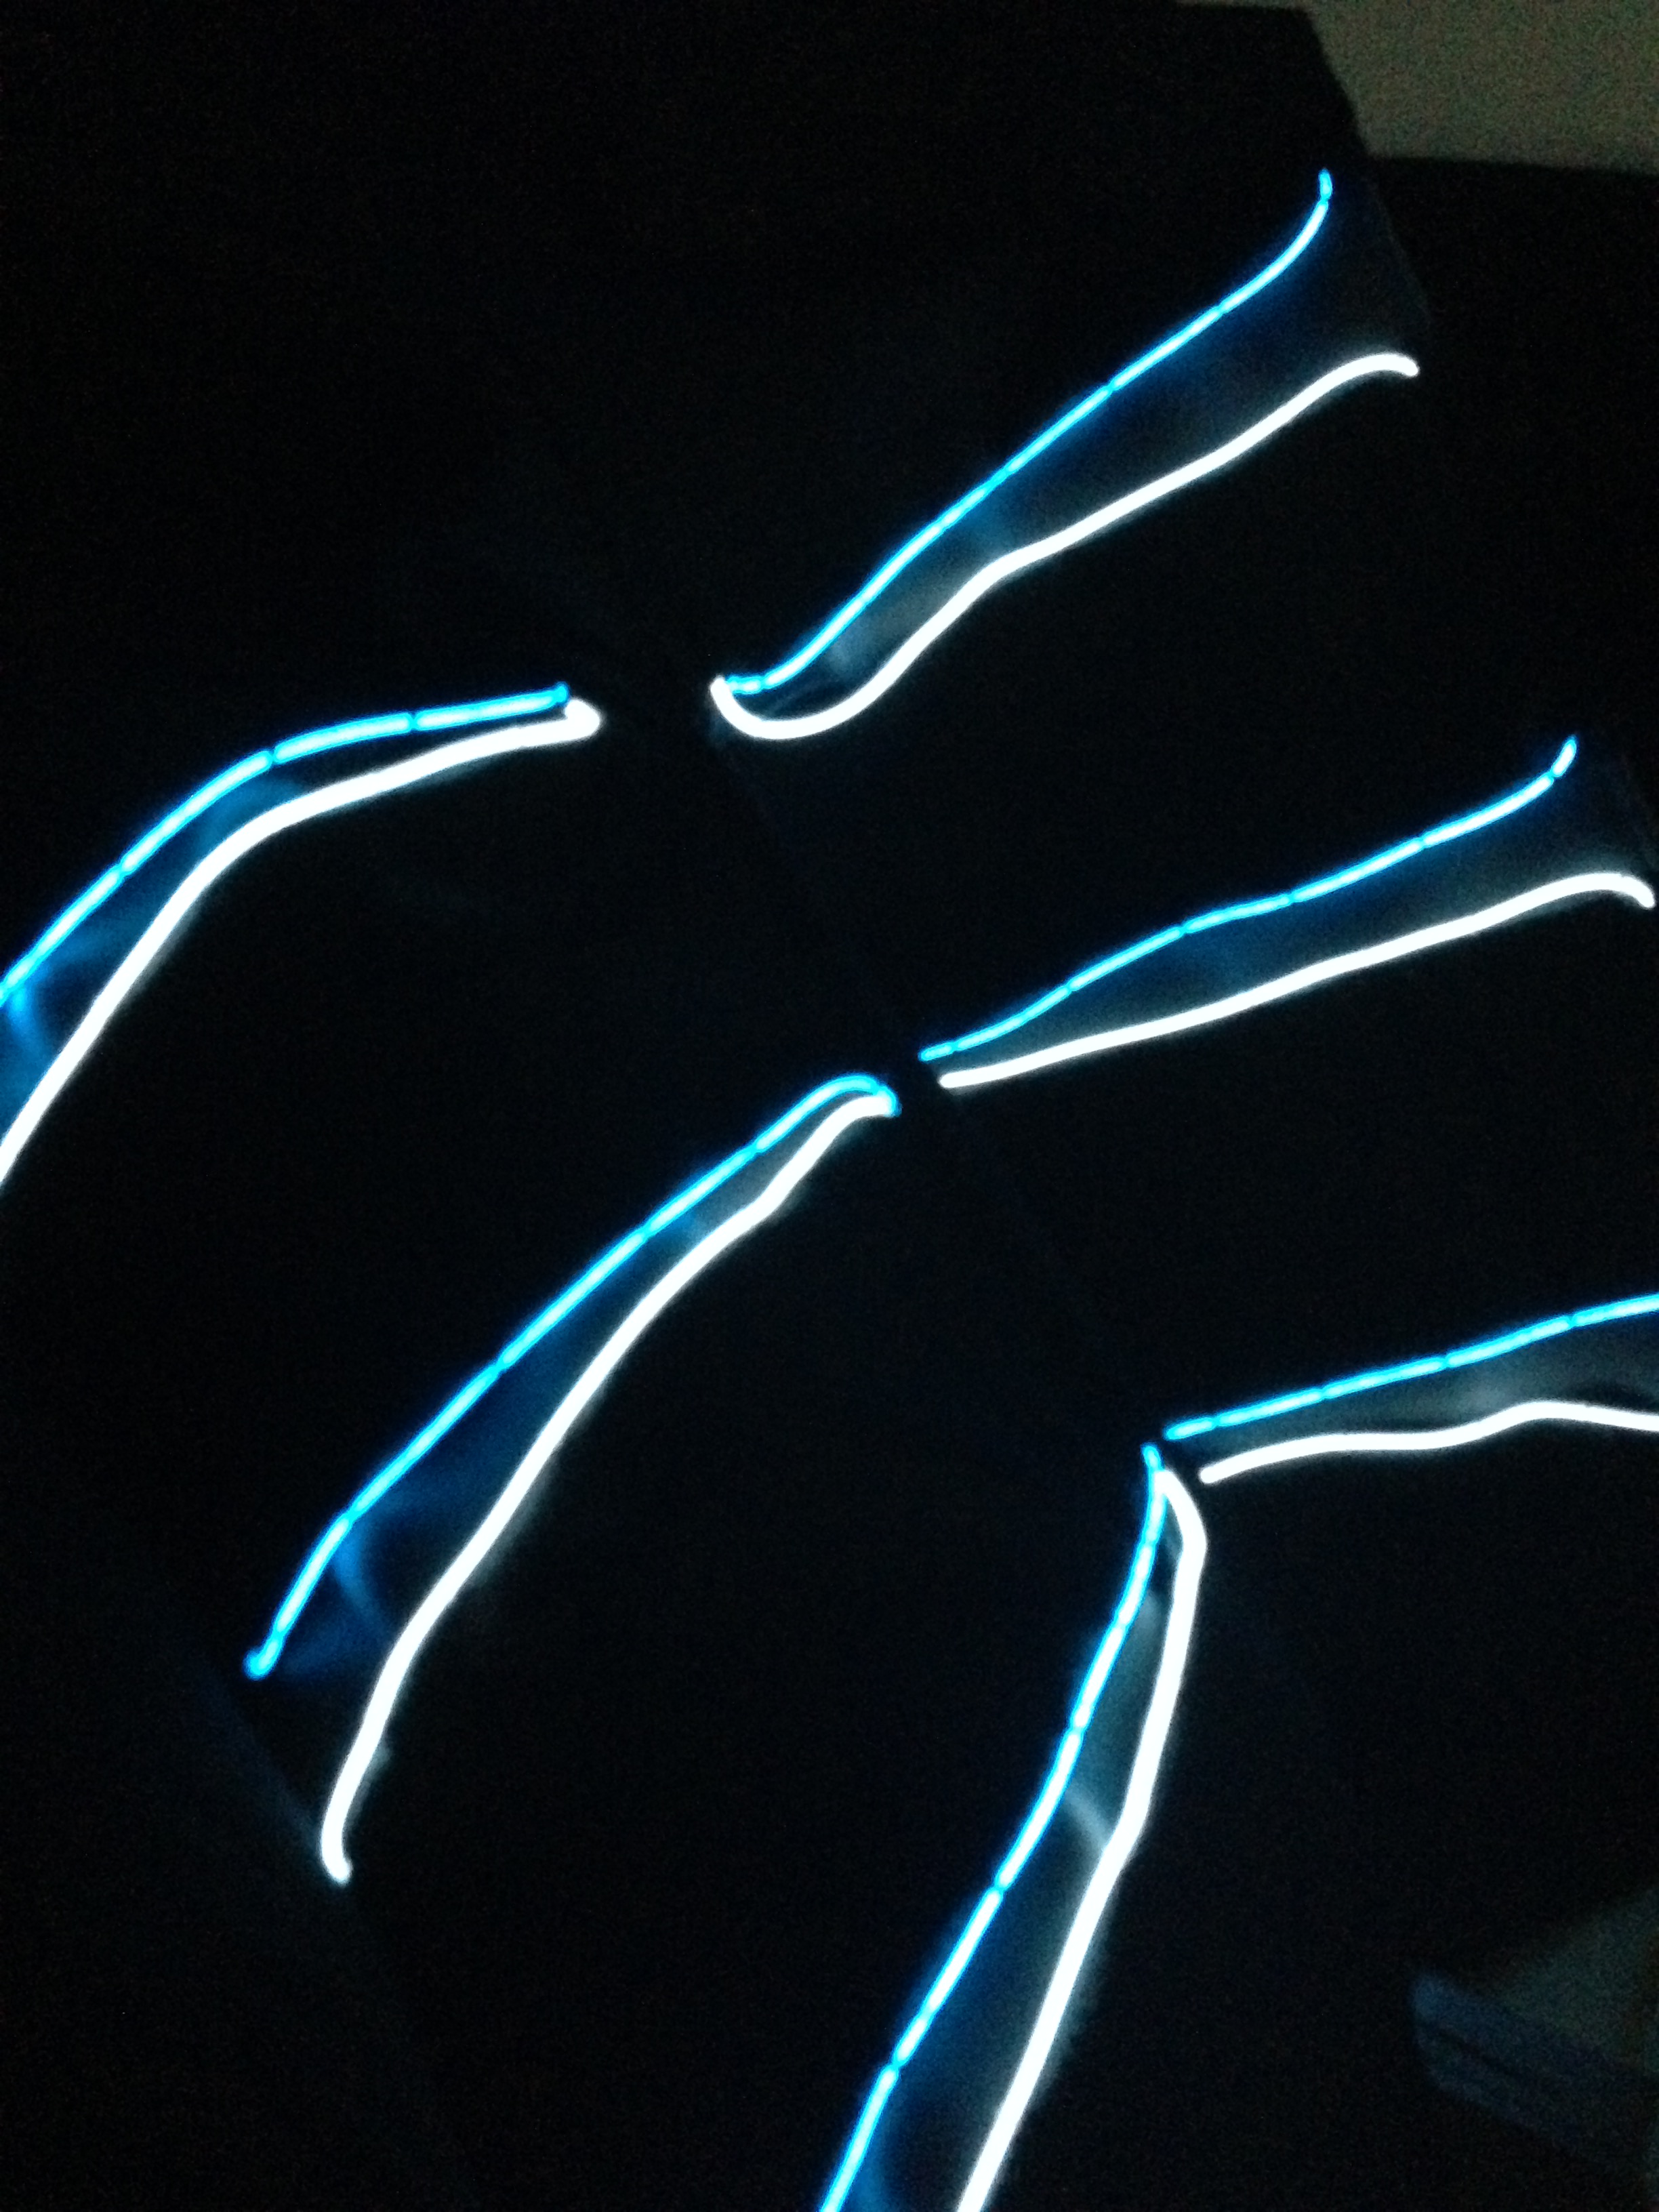
To scatter the light glow of the LEDs, we use fiber optic light cable and glue them on top of the LEDs. Then the length of the fiber optic cable has been adjusted on the costume.
After that I soldered together this structure as a solid variant. We build two boards a 10x LED in different colors. The circuit board is further cut to the appropriate size and the cables are bundled together. To be honest, my first major soldering action. 😉
So if you now are interested in how to build your own movable tentacle, I will explain the steps to realize it. This tentacle can be move in two directions ( so along one axis). But for more complex movements the construction stays the same. Only the motor controlling gets more complex to handle more axes.
Materials:
plywood ( not thicker than 4 mm)
some cable gland screws (I used some from 3 mm to 6.5 mm sealing scope)
a flexible shaft (or some thick steel cable)
some strong threads (these ones are made from aramid fibre)
Tools:
hole cutters (68 mm, 62 mm, 58 mm)
dill machine and different drills
scissor
screw wench for the cable gland screws
Step 1: The wooden disks
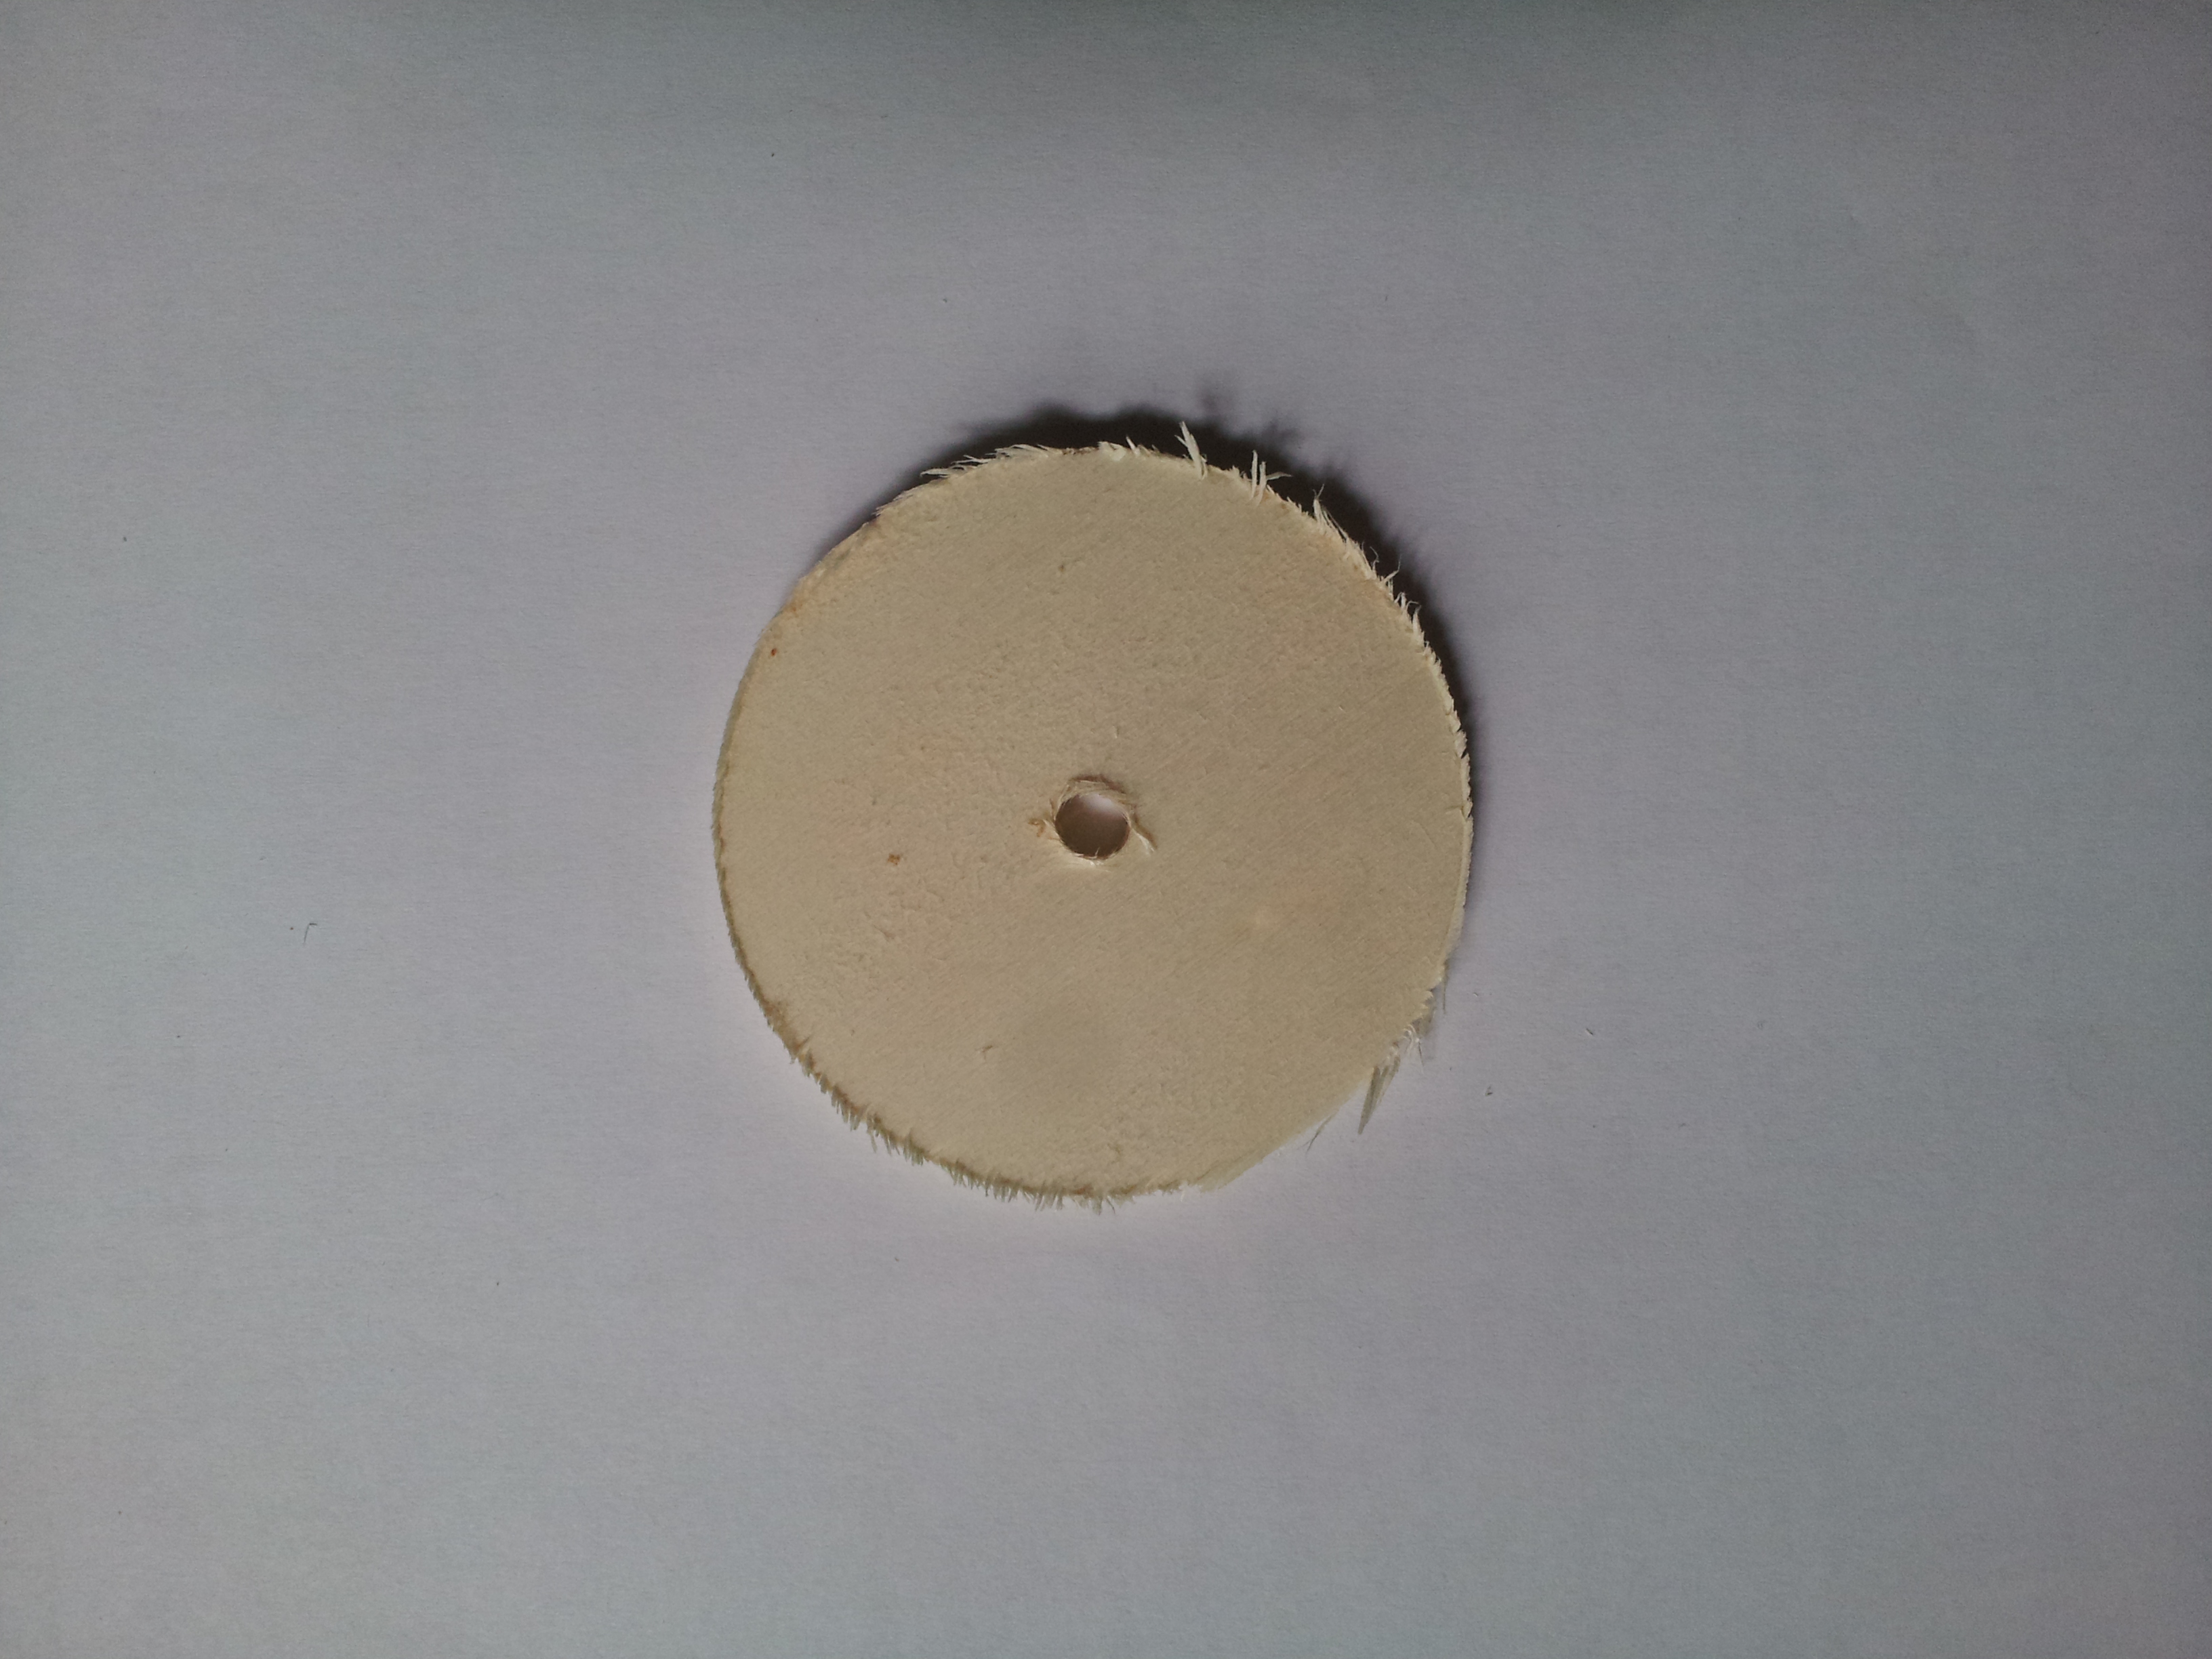
At first you need some vertebrae. Therefore you cut 19 disks with a diameter of 68 mm from the pywood. For the tip of the tentacle you can use one wooden disk with 62 mm and one with 58 mm to indicate the end.
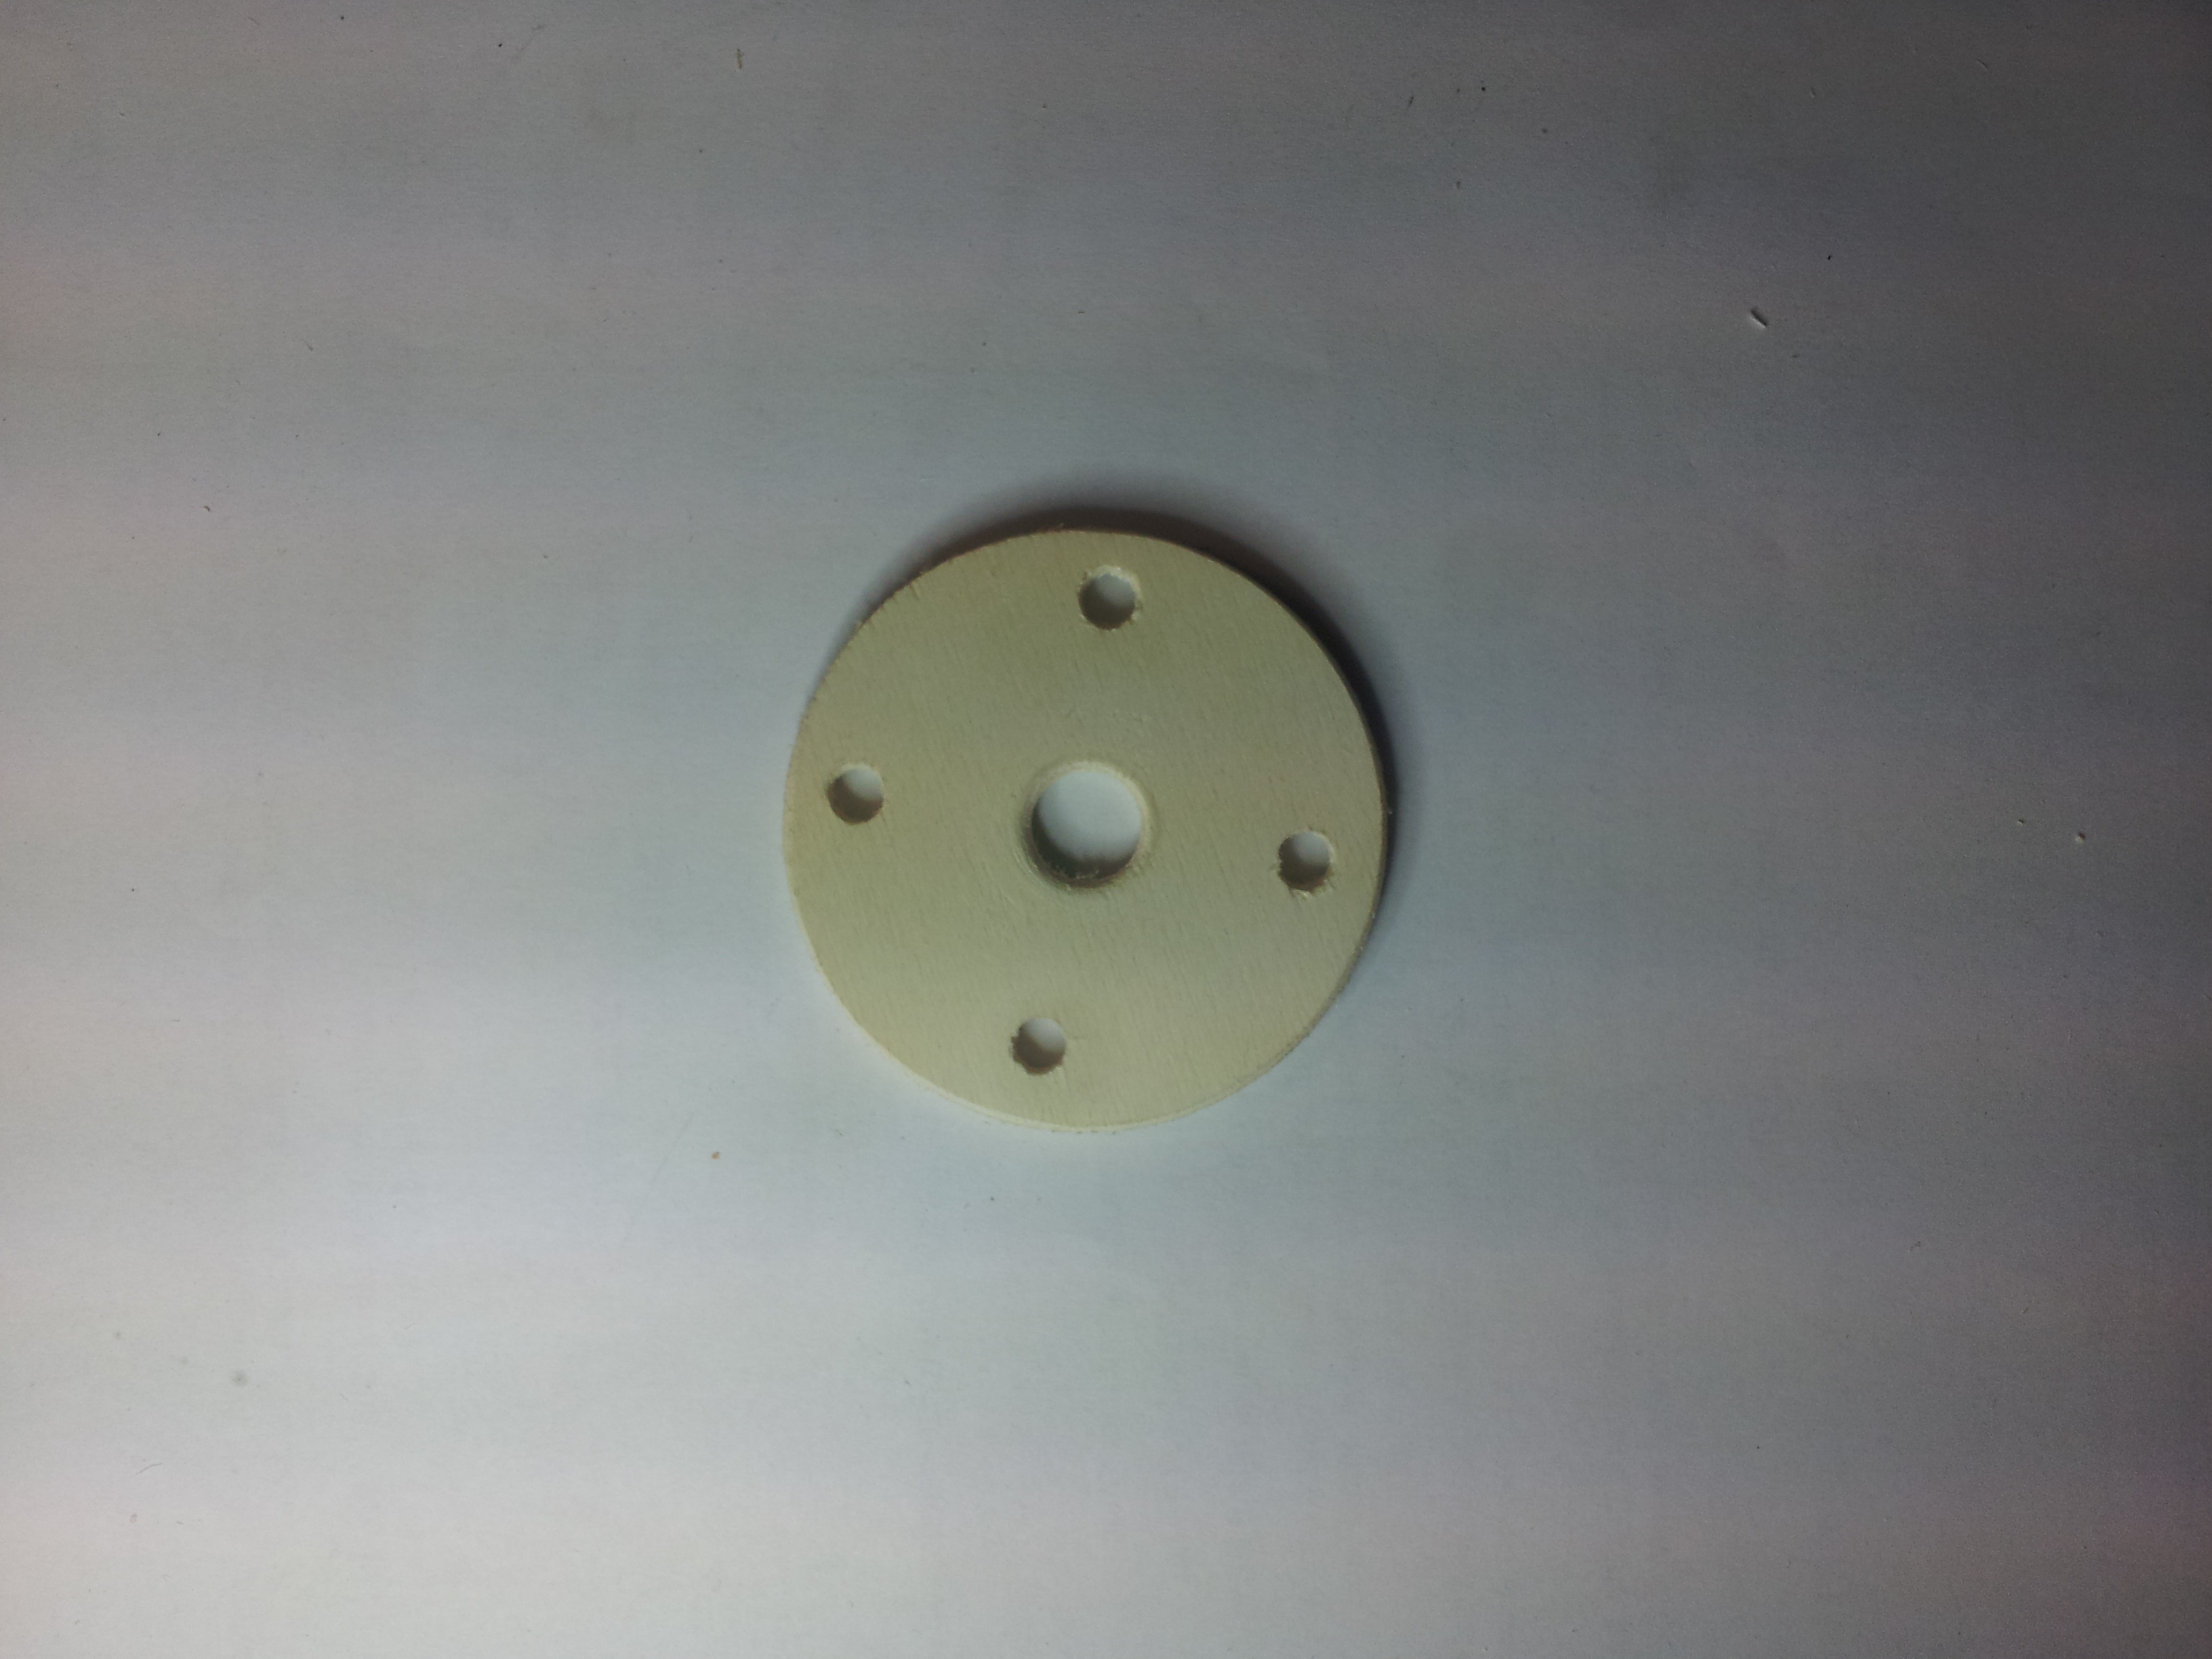
Raw plywood disk
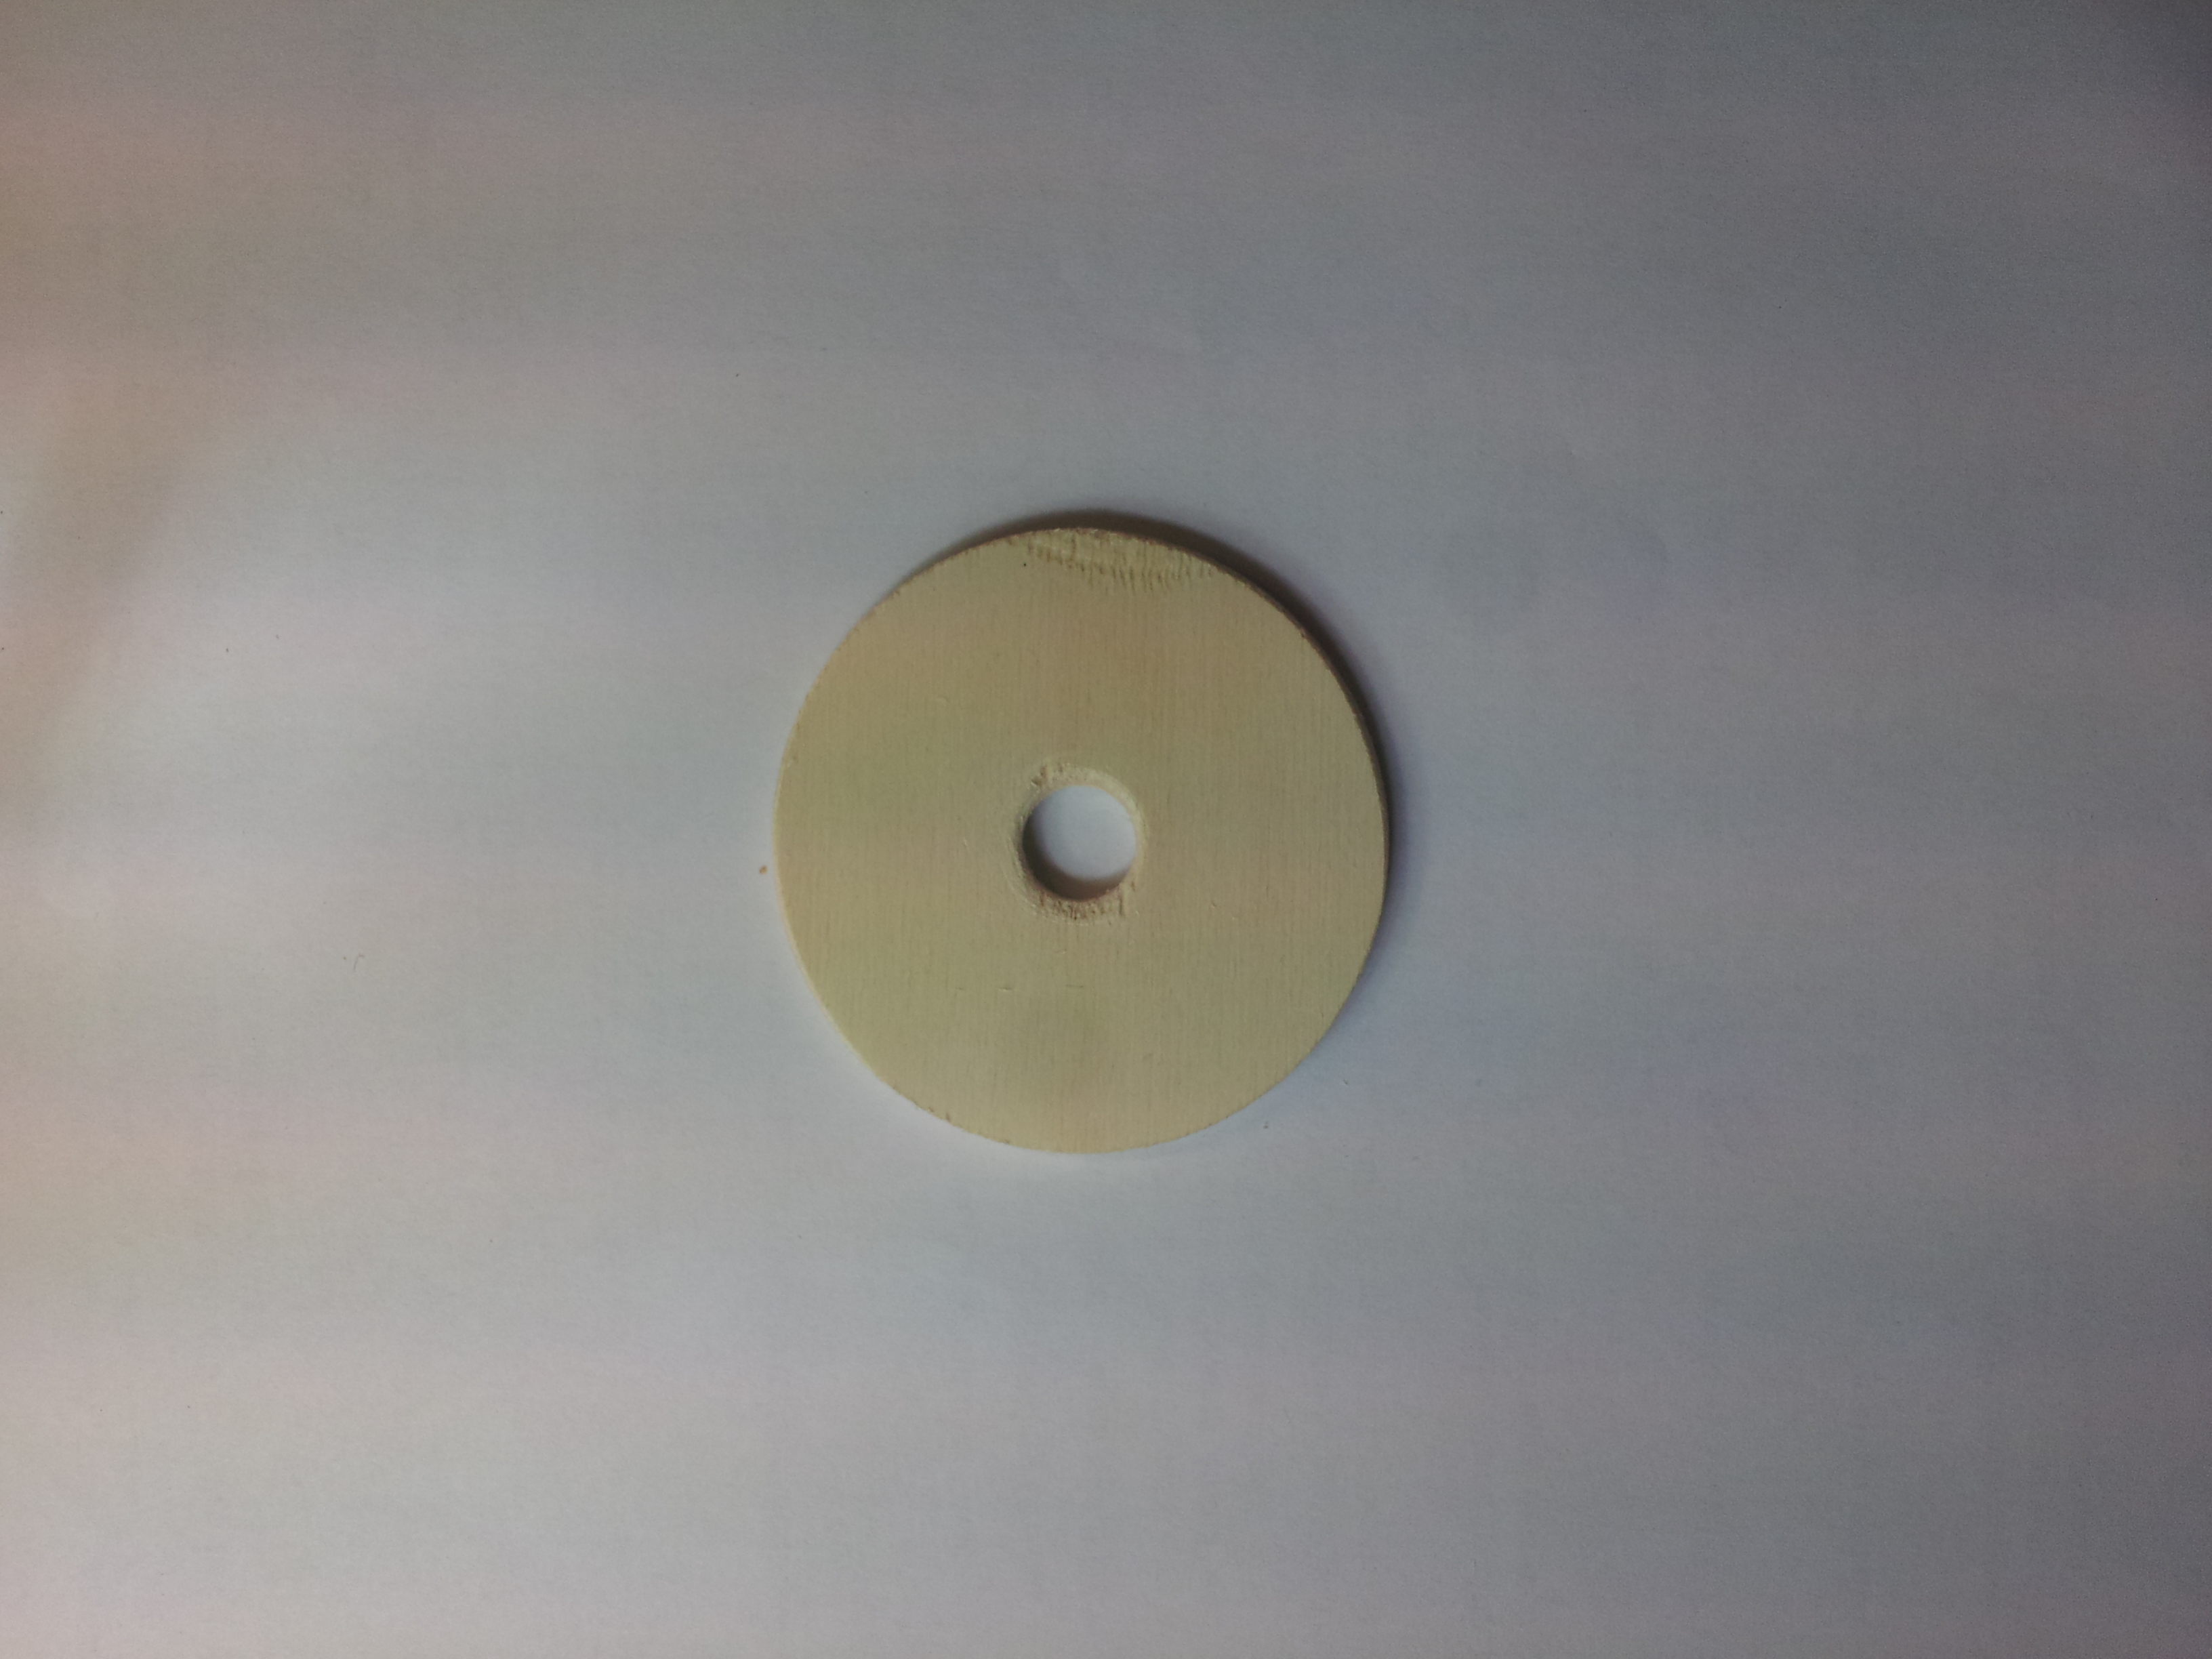
As you can see, after you cut the disk you have to sand it to smooth the edges. Furthermore the hole in the middle of disk which is created by the hole cutter, has to be expanded so that the cable gland screws fit in. Here I used screws with an M12 winding. The result of the sanding and drilling can be seen below.
Sanded wooden disk
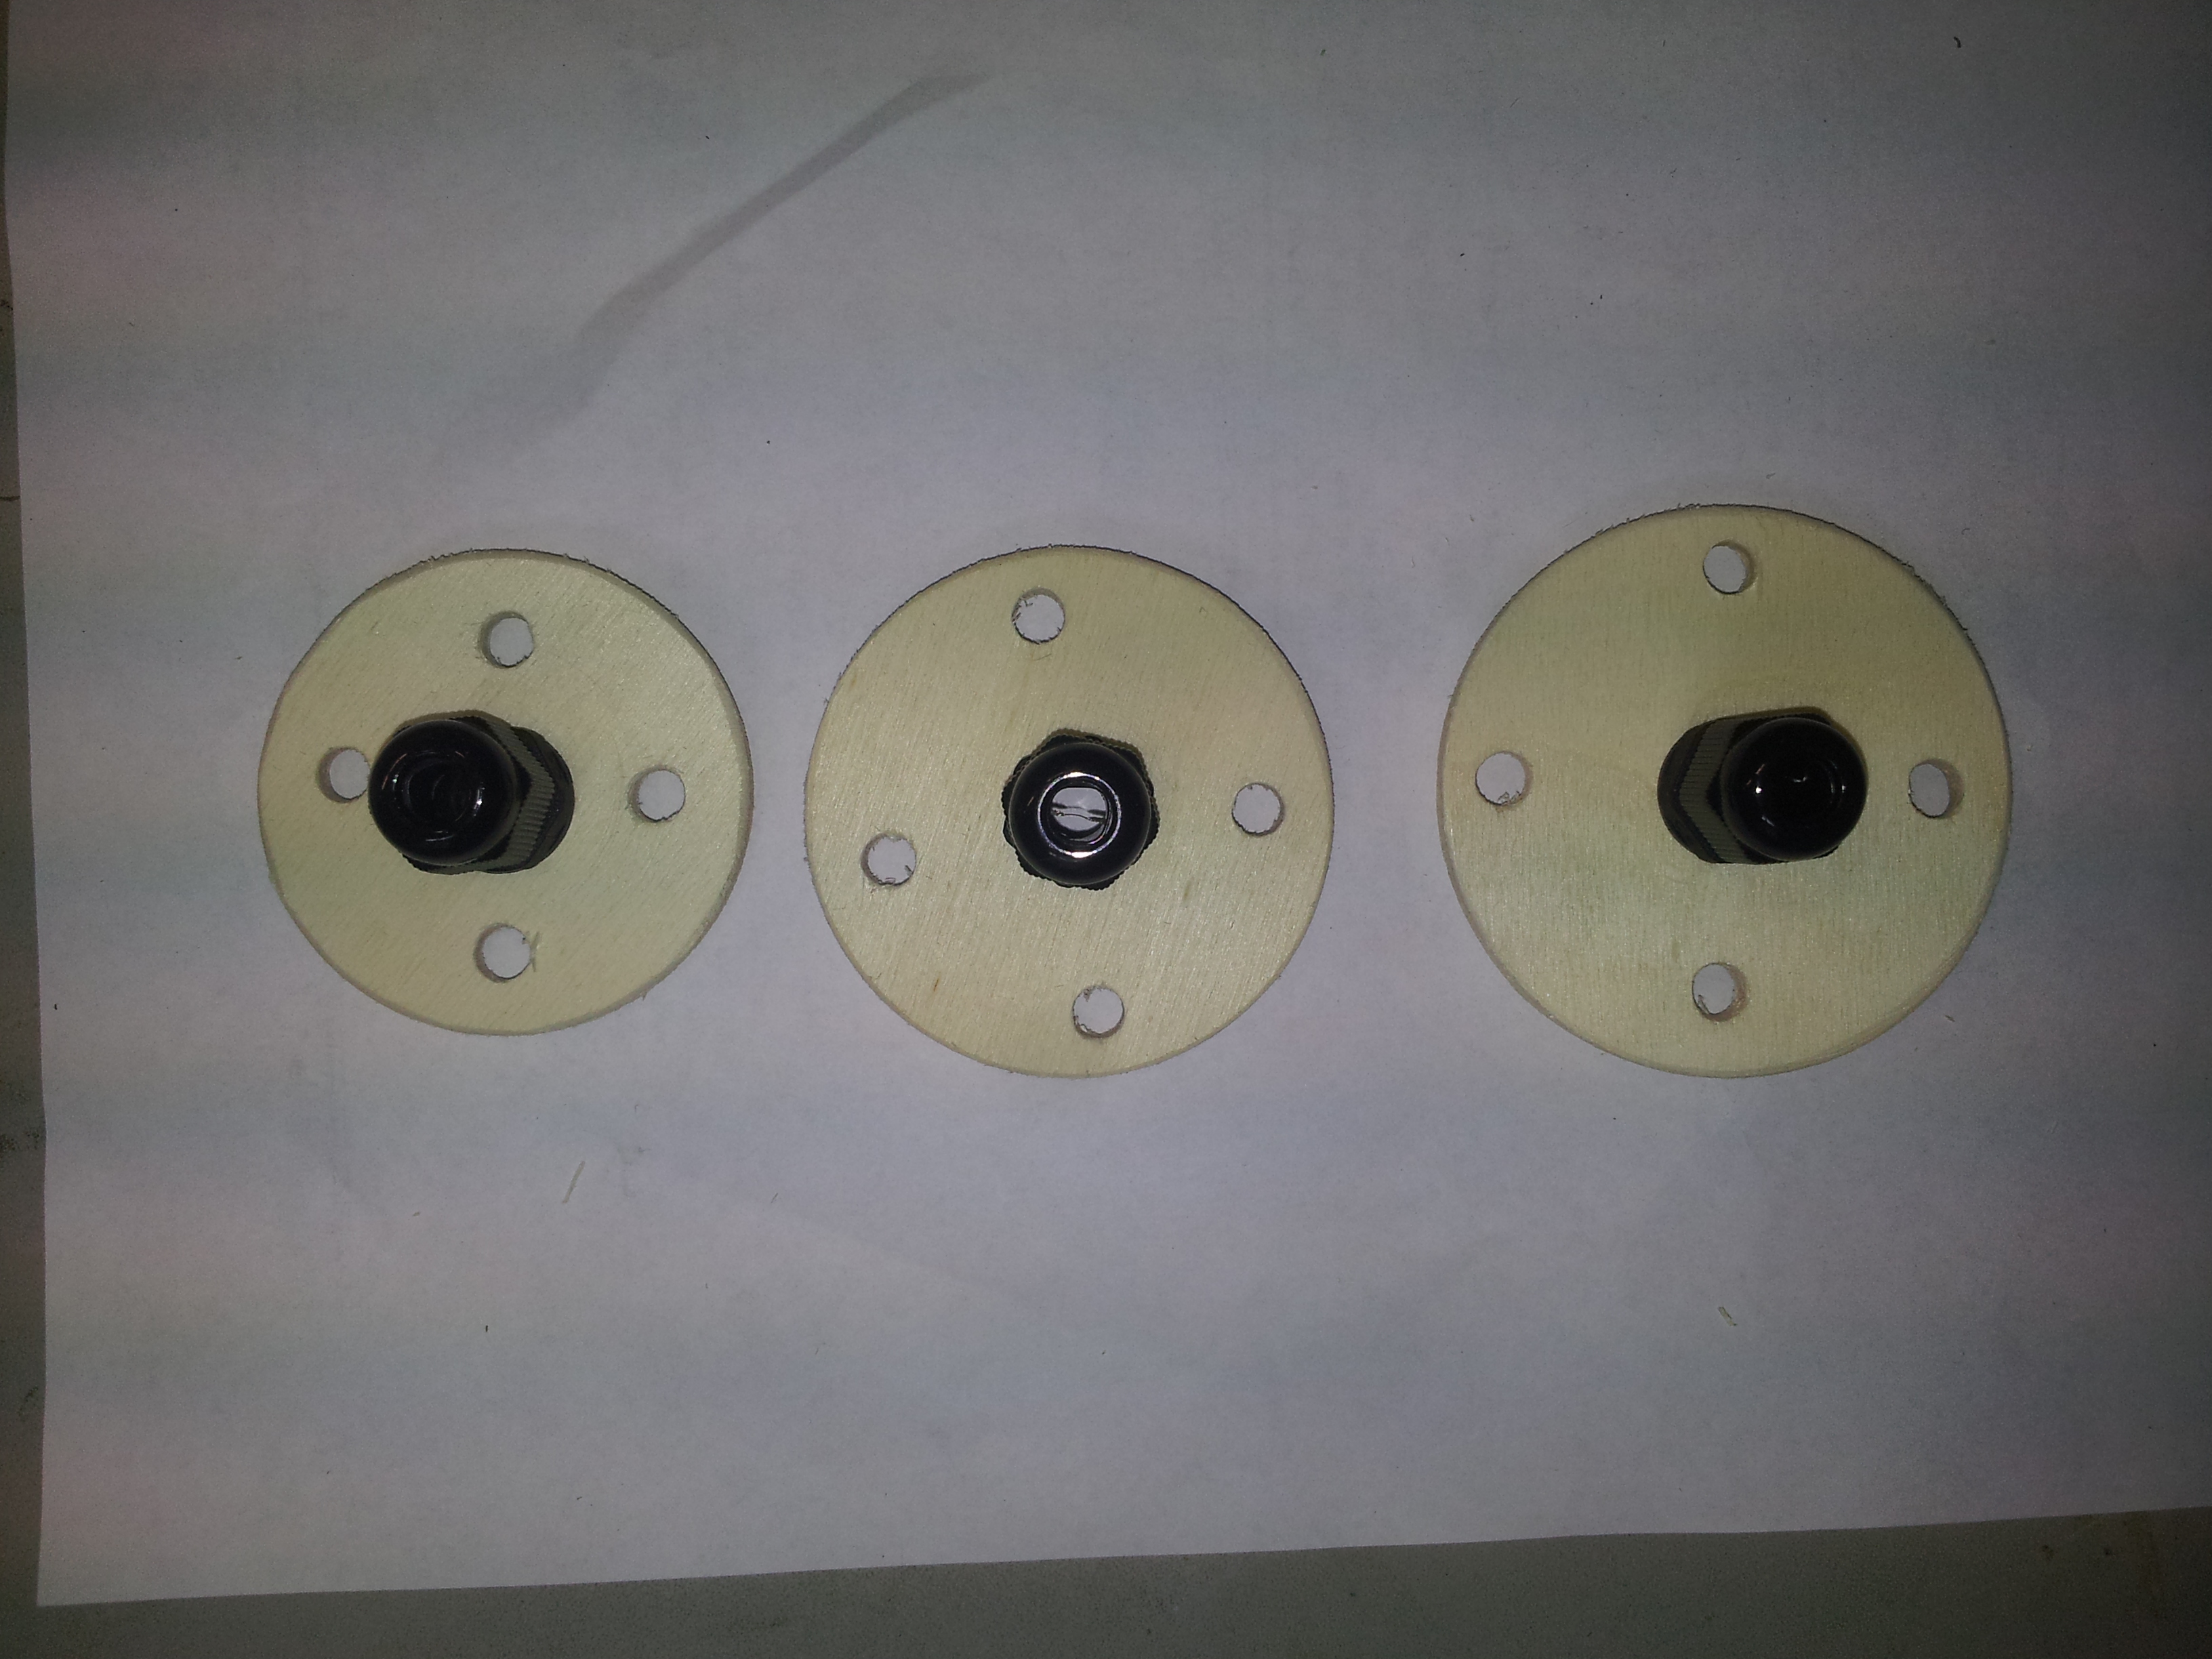
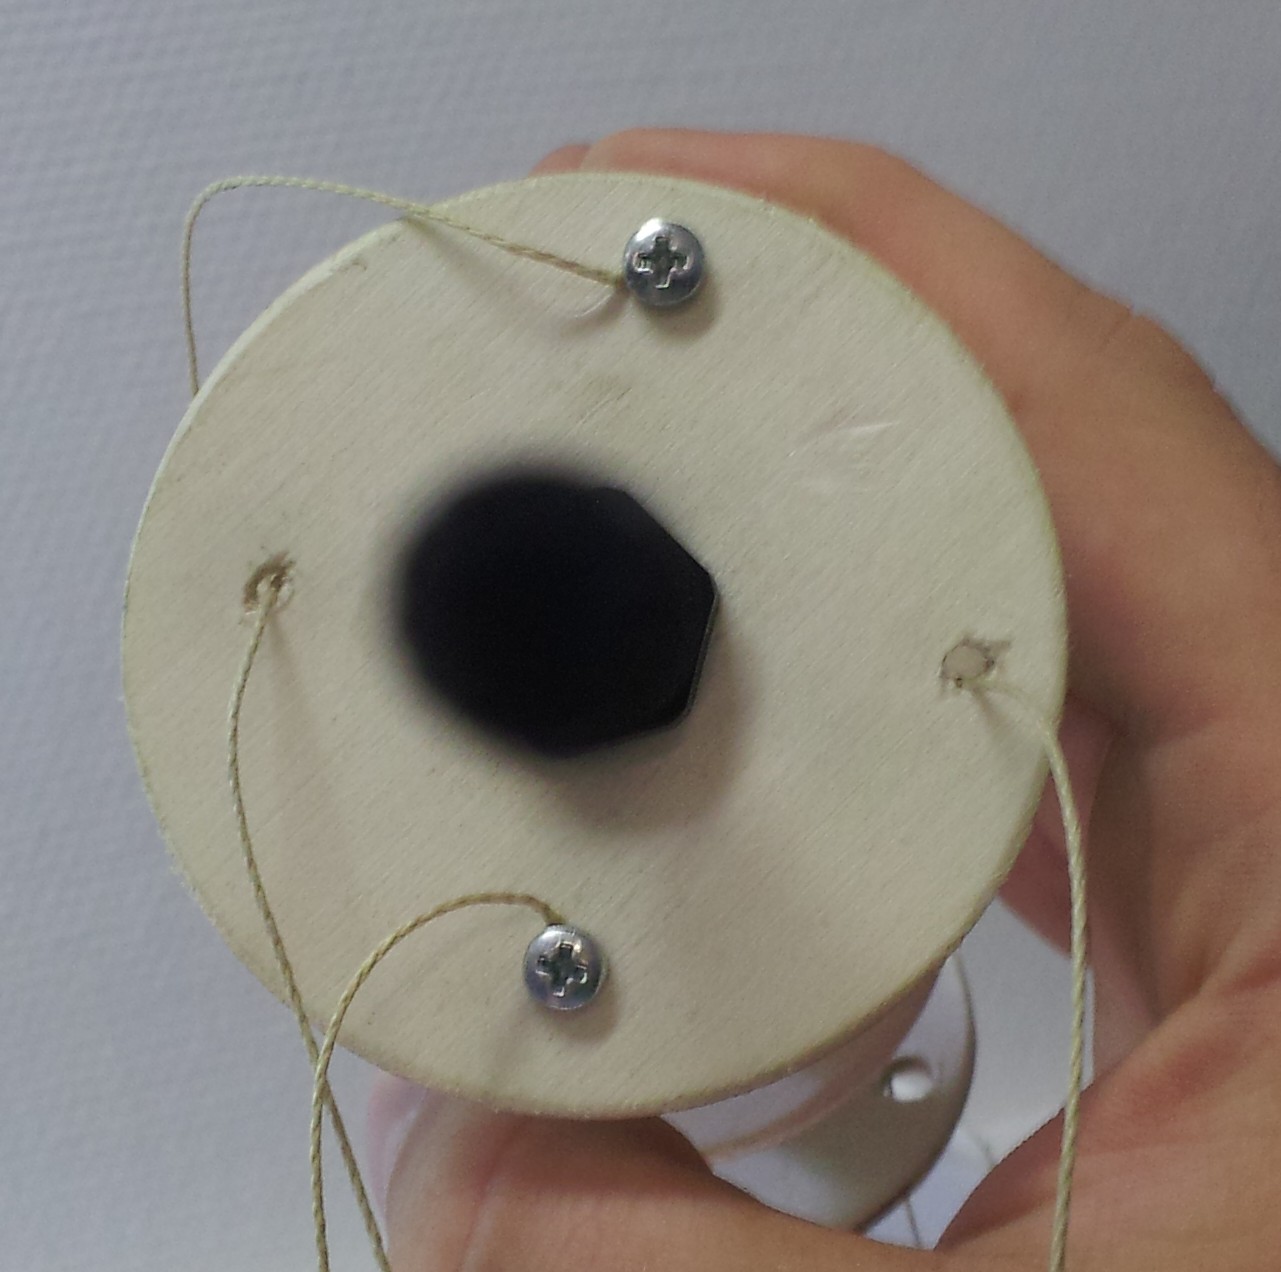
Next you have to drill the holes for the control threads. I used four holes because then we can fix to sides and control two sides for the movement. But if you want to build a tentacle with more movement control, you could use more holes ( you could also use only three holes, then you have to calculate more for the movement; same principle as with the quad-copters). Next you have to drill the holes for the controlling threads. For the big (68 mm) disks I align them on a circle with radius of 24 mm around the center. This is just 1 cm less then the radius of the disk. The diameter of the control holes amounts 5 mm.
Wooden disk with control holes
This is how the wooden disk should look after this step. Next you have to apply the cable gland screws and put them aside.
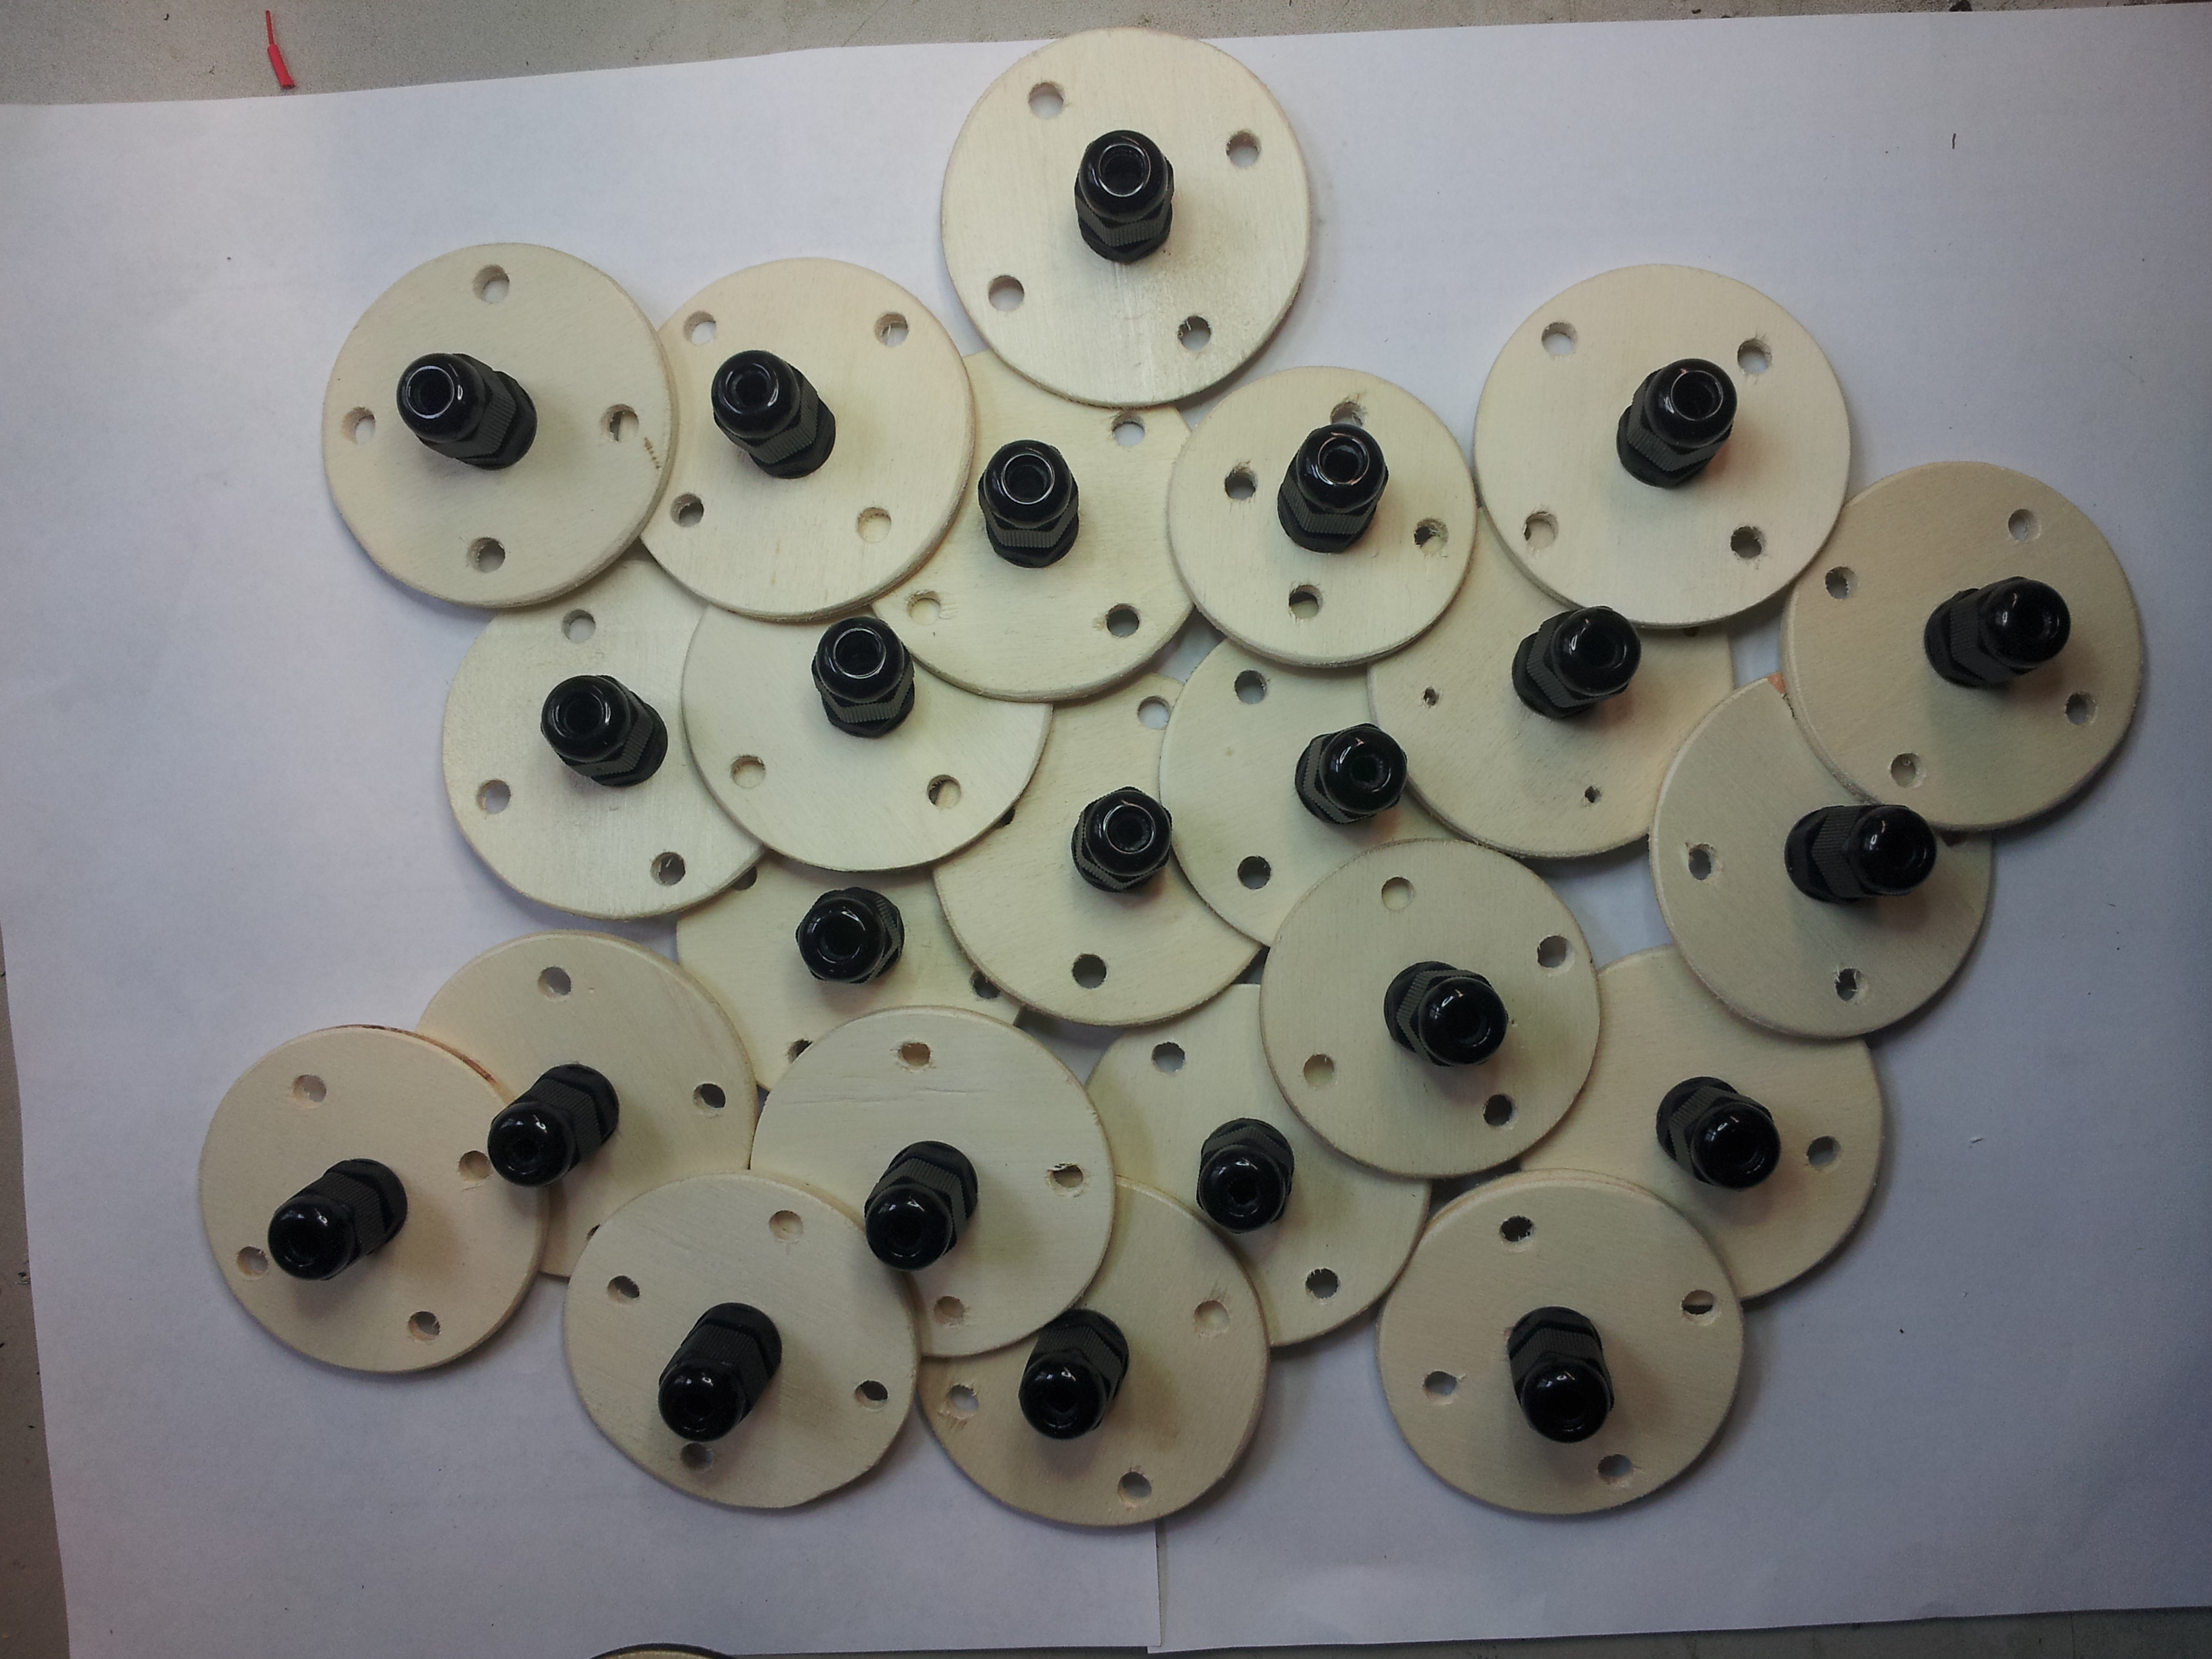
The three different sized wooden disks with applied cable gland screwsThe finished wooden disks
This was the fiddly work. The next steps will be more straight forward.
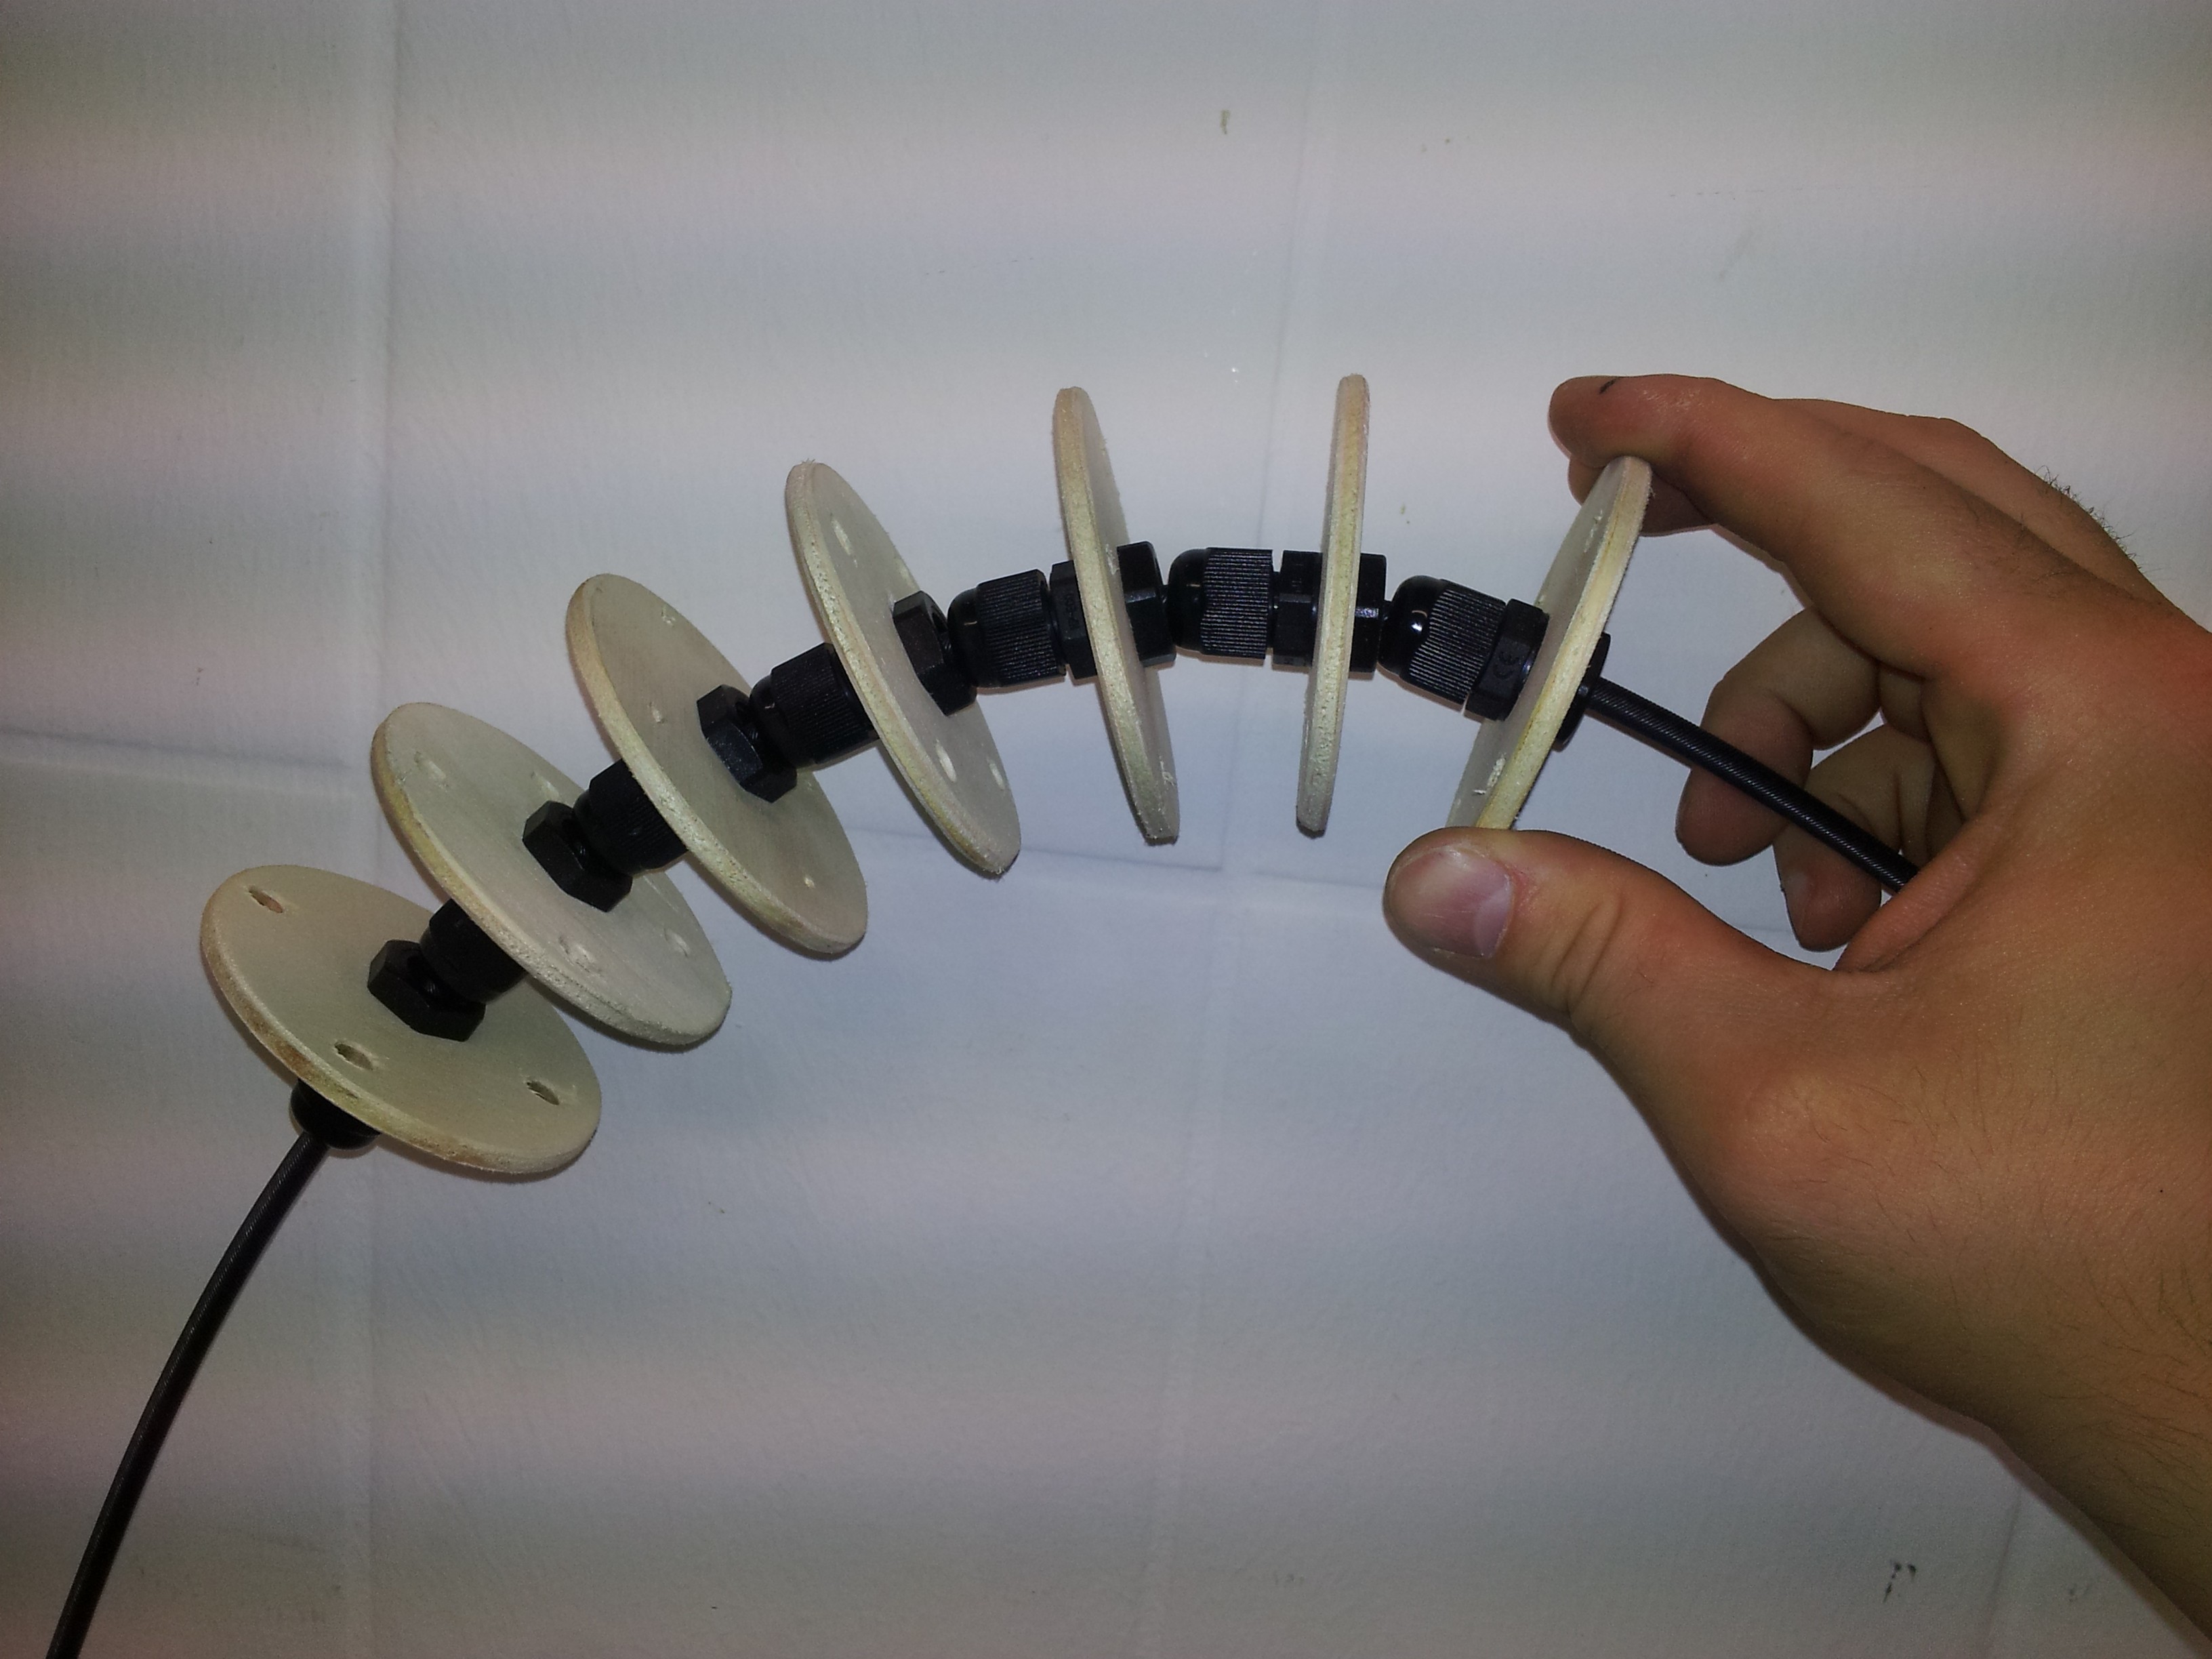
Step 2: Assembling the spine
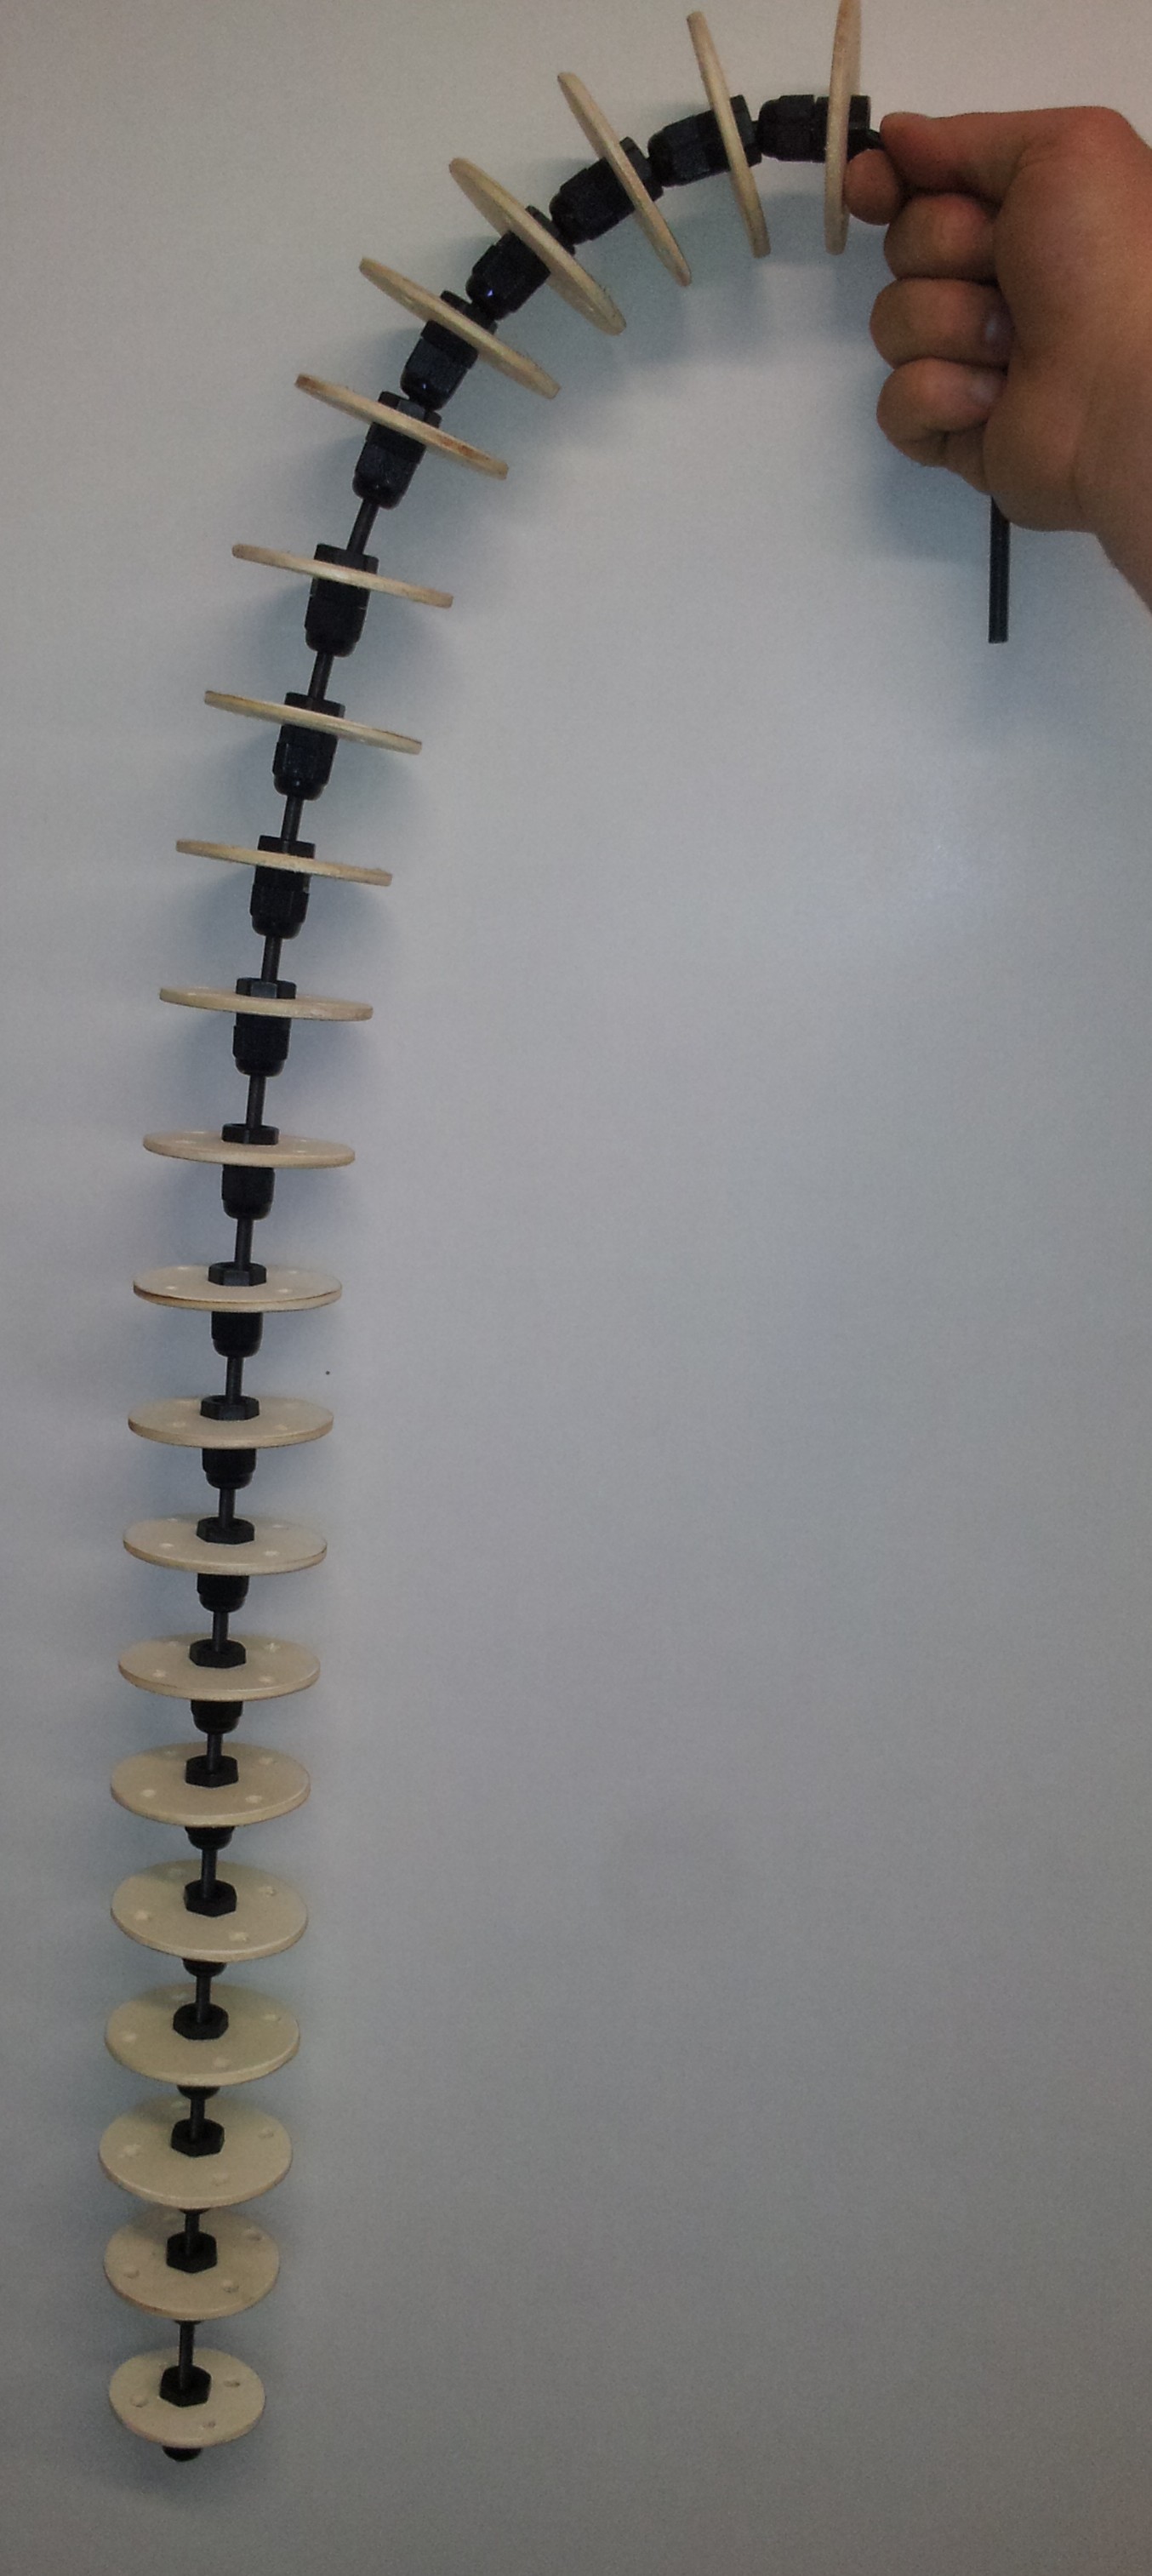
Now you can take the disk with the screws and 1 m of your soul (here the flexible shaft) and put them together. Leave 12 cm from the top of the shaft and place the first disk there. The 12 cm are used to mount the tentacle later to the costumes. The first 6 disks have nearly no space in between to stiffen this part. Therefore it will stick out of the costume a little bit and not just hanging down. The next disks have a distance about 4.5 cm. The two last disks are the smaller one to indicate the tip of the tentacle.
Wooden disk tightened at the flexible shaftStiff part at the beginningWhole tentacle
Step 3: Attach the controlling threads
Up/Down – Fixed threads Left/Right – Control threads
The last step is to attach the controlling threads. I used 1.6 m for the movable threads and 1.2 m for the fixed dimension. You should take care about the tip. To have a smooth movement the threads should placed carefully as you can see below.
Controlling threads build a cross
This is how the tentacle mechanism is built. The controlling threads are then attached to a motor. The movement will be described in another post.