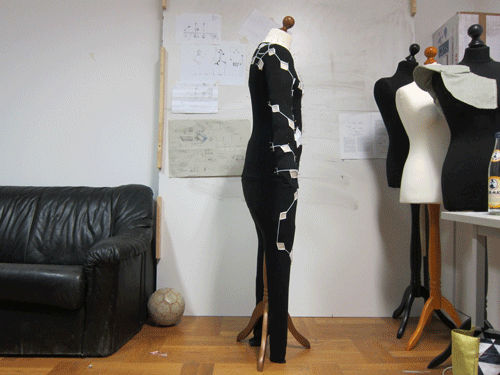
Output: Light
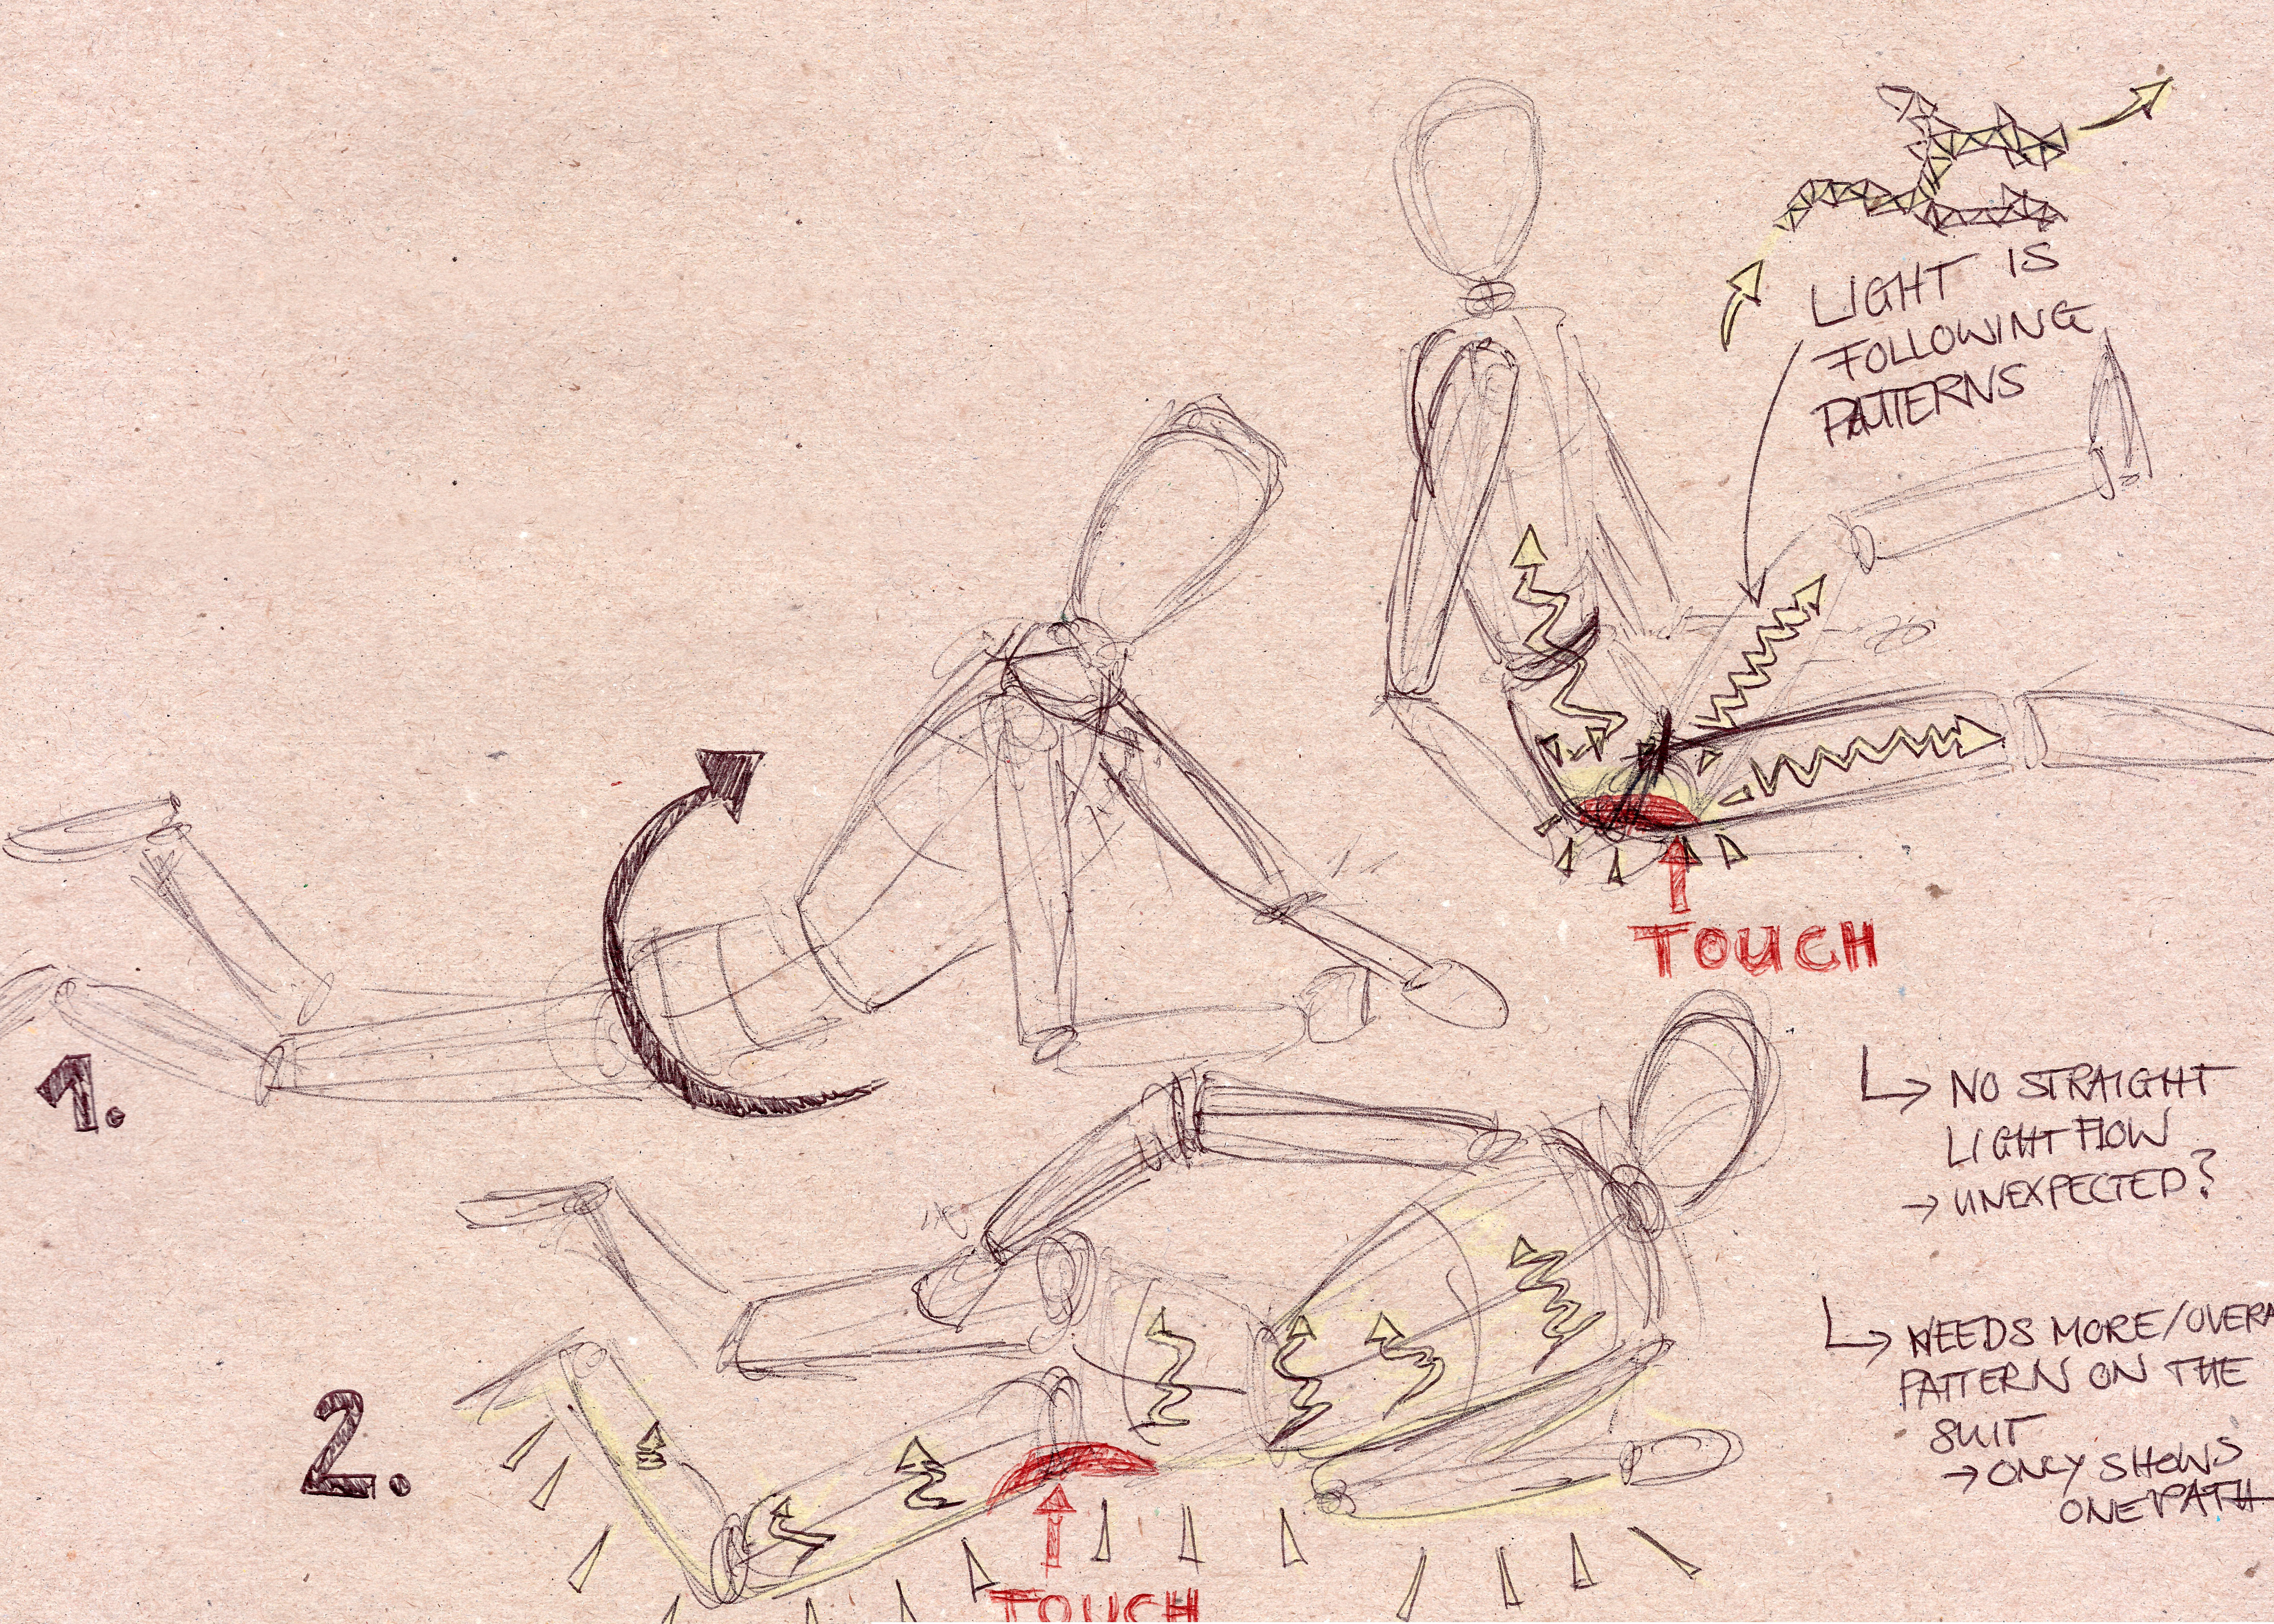
After trying out different sensors, our idea was to use them to integrate a light flow into the costume. For this we wanted not only light that can be switched on and off, but also to create a flow from one body part to another. For example, if the sensor at the knee is touched a light flow will go from there to the upper body.

Input: Stretch Sensors and Buttons
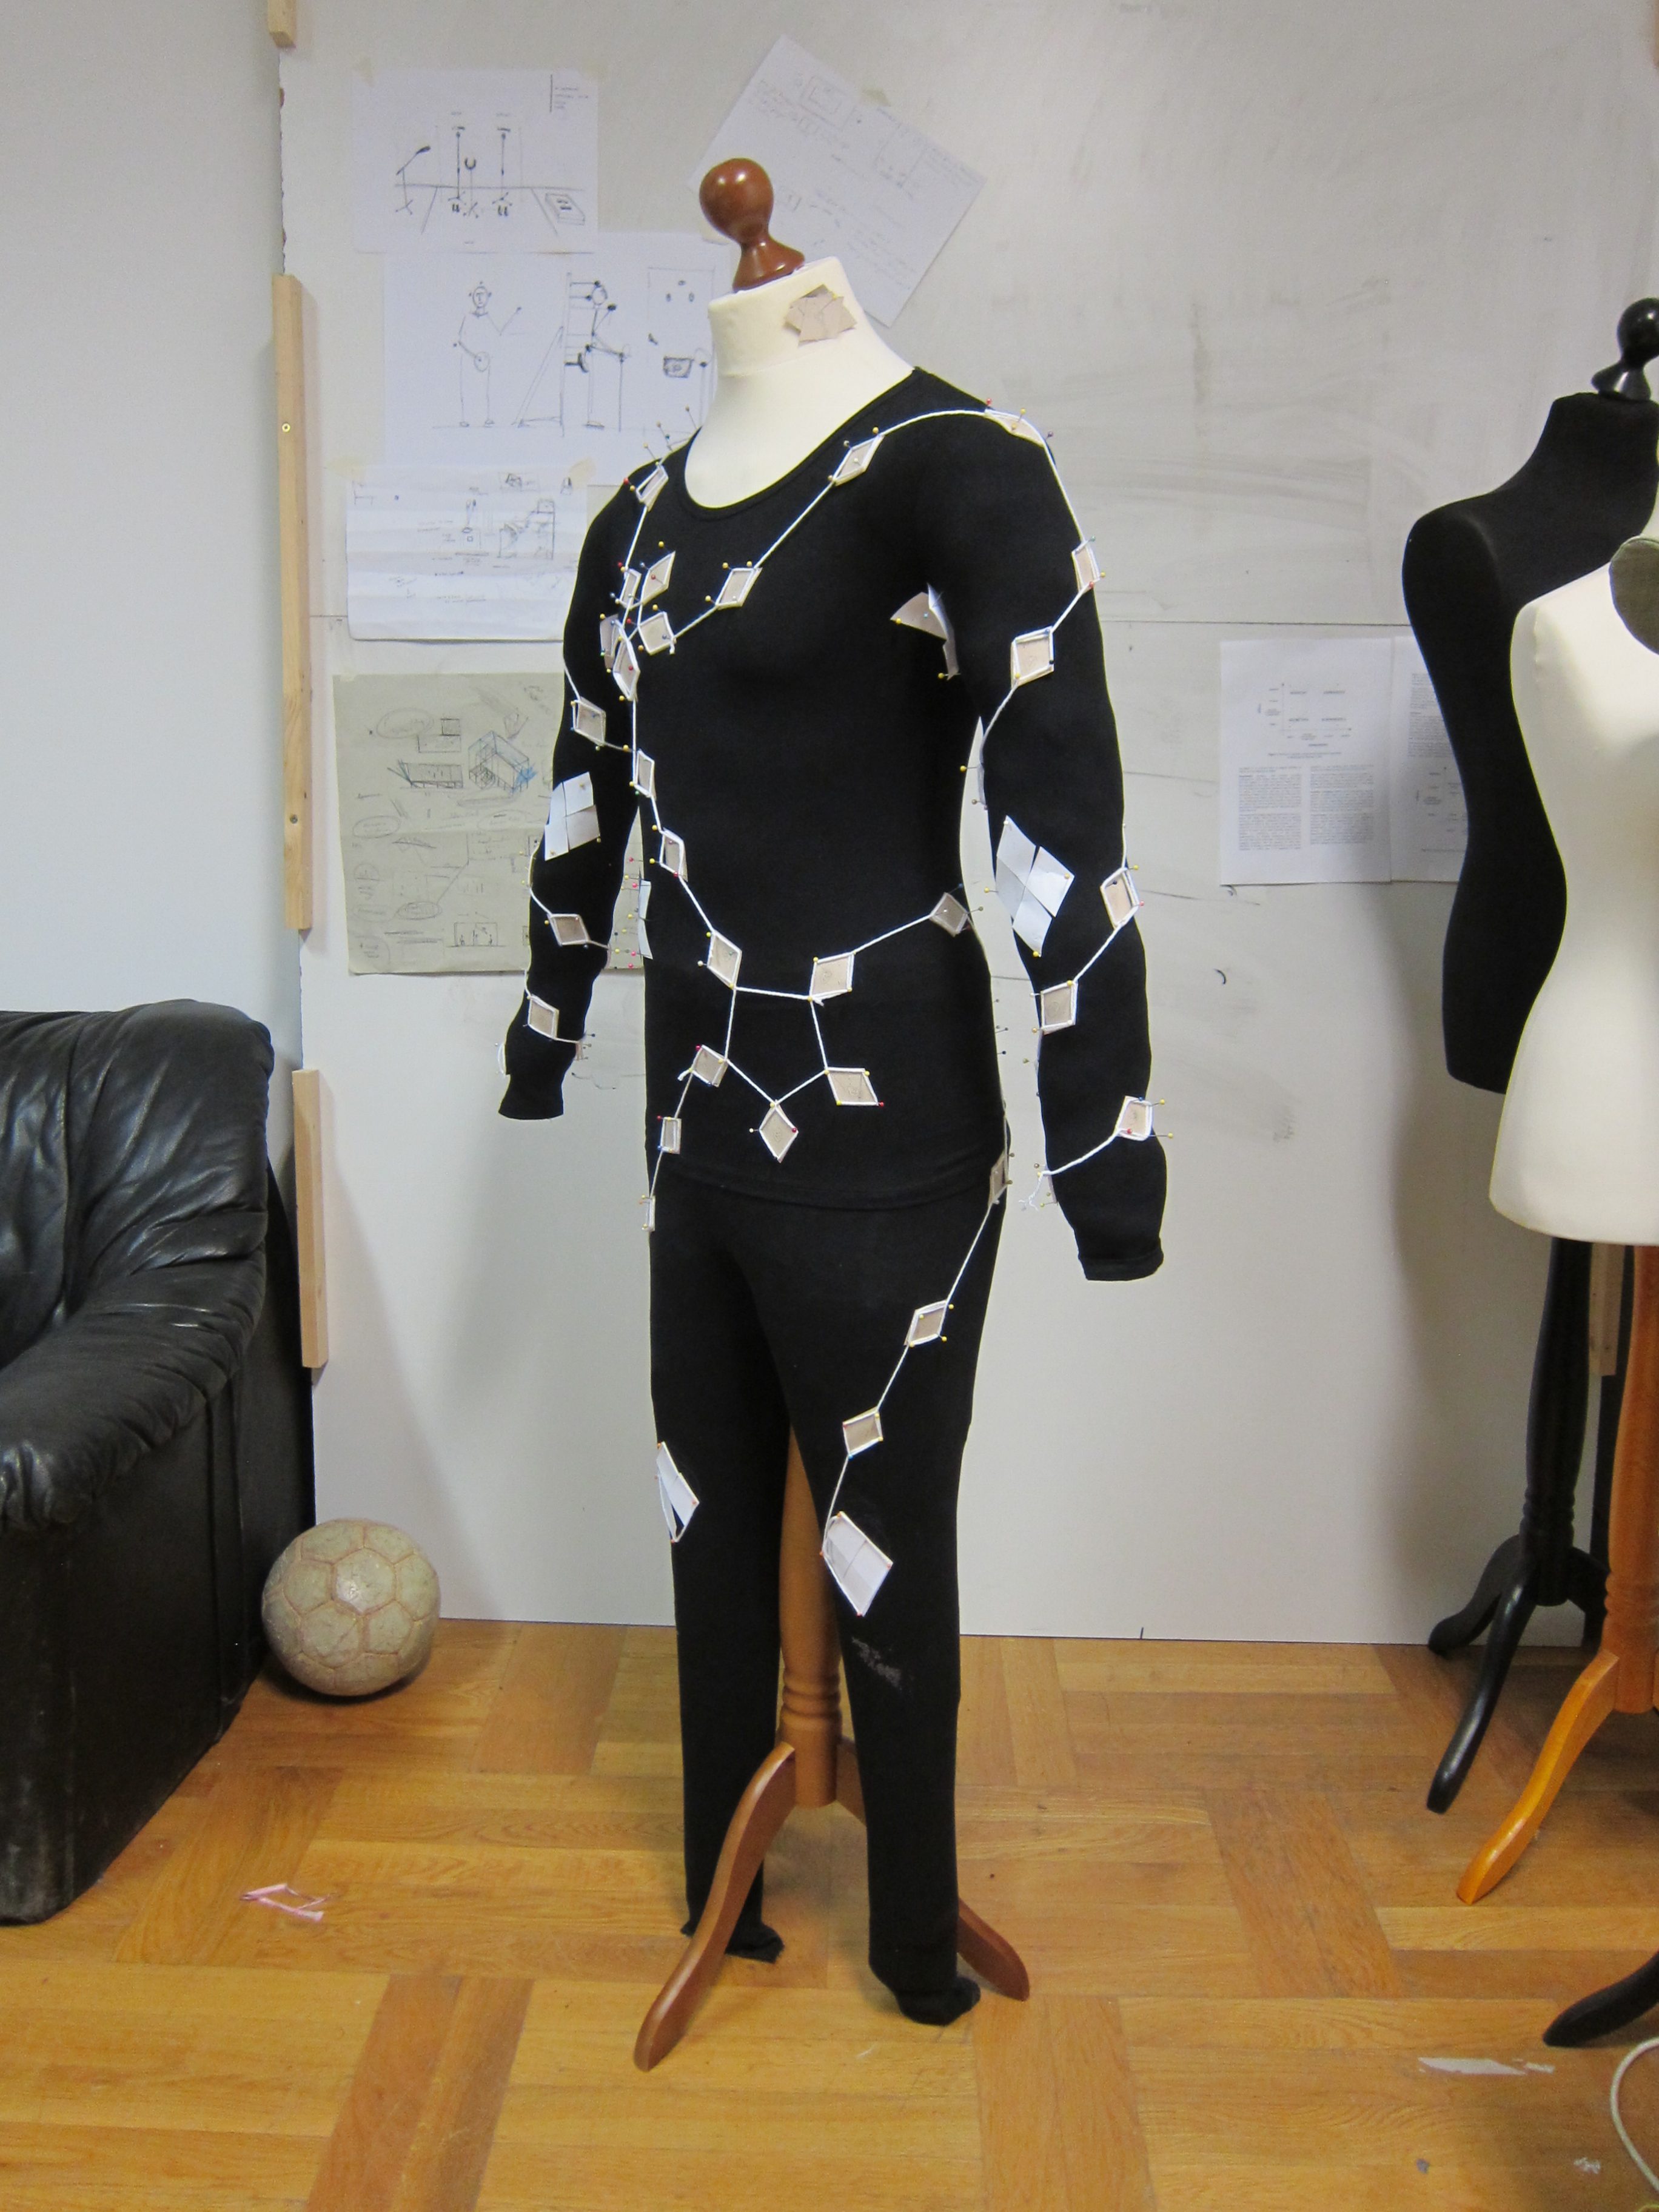
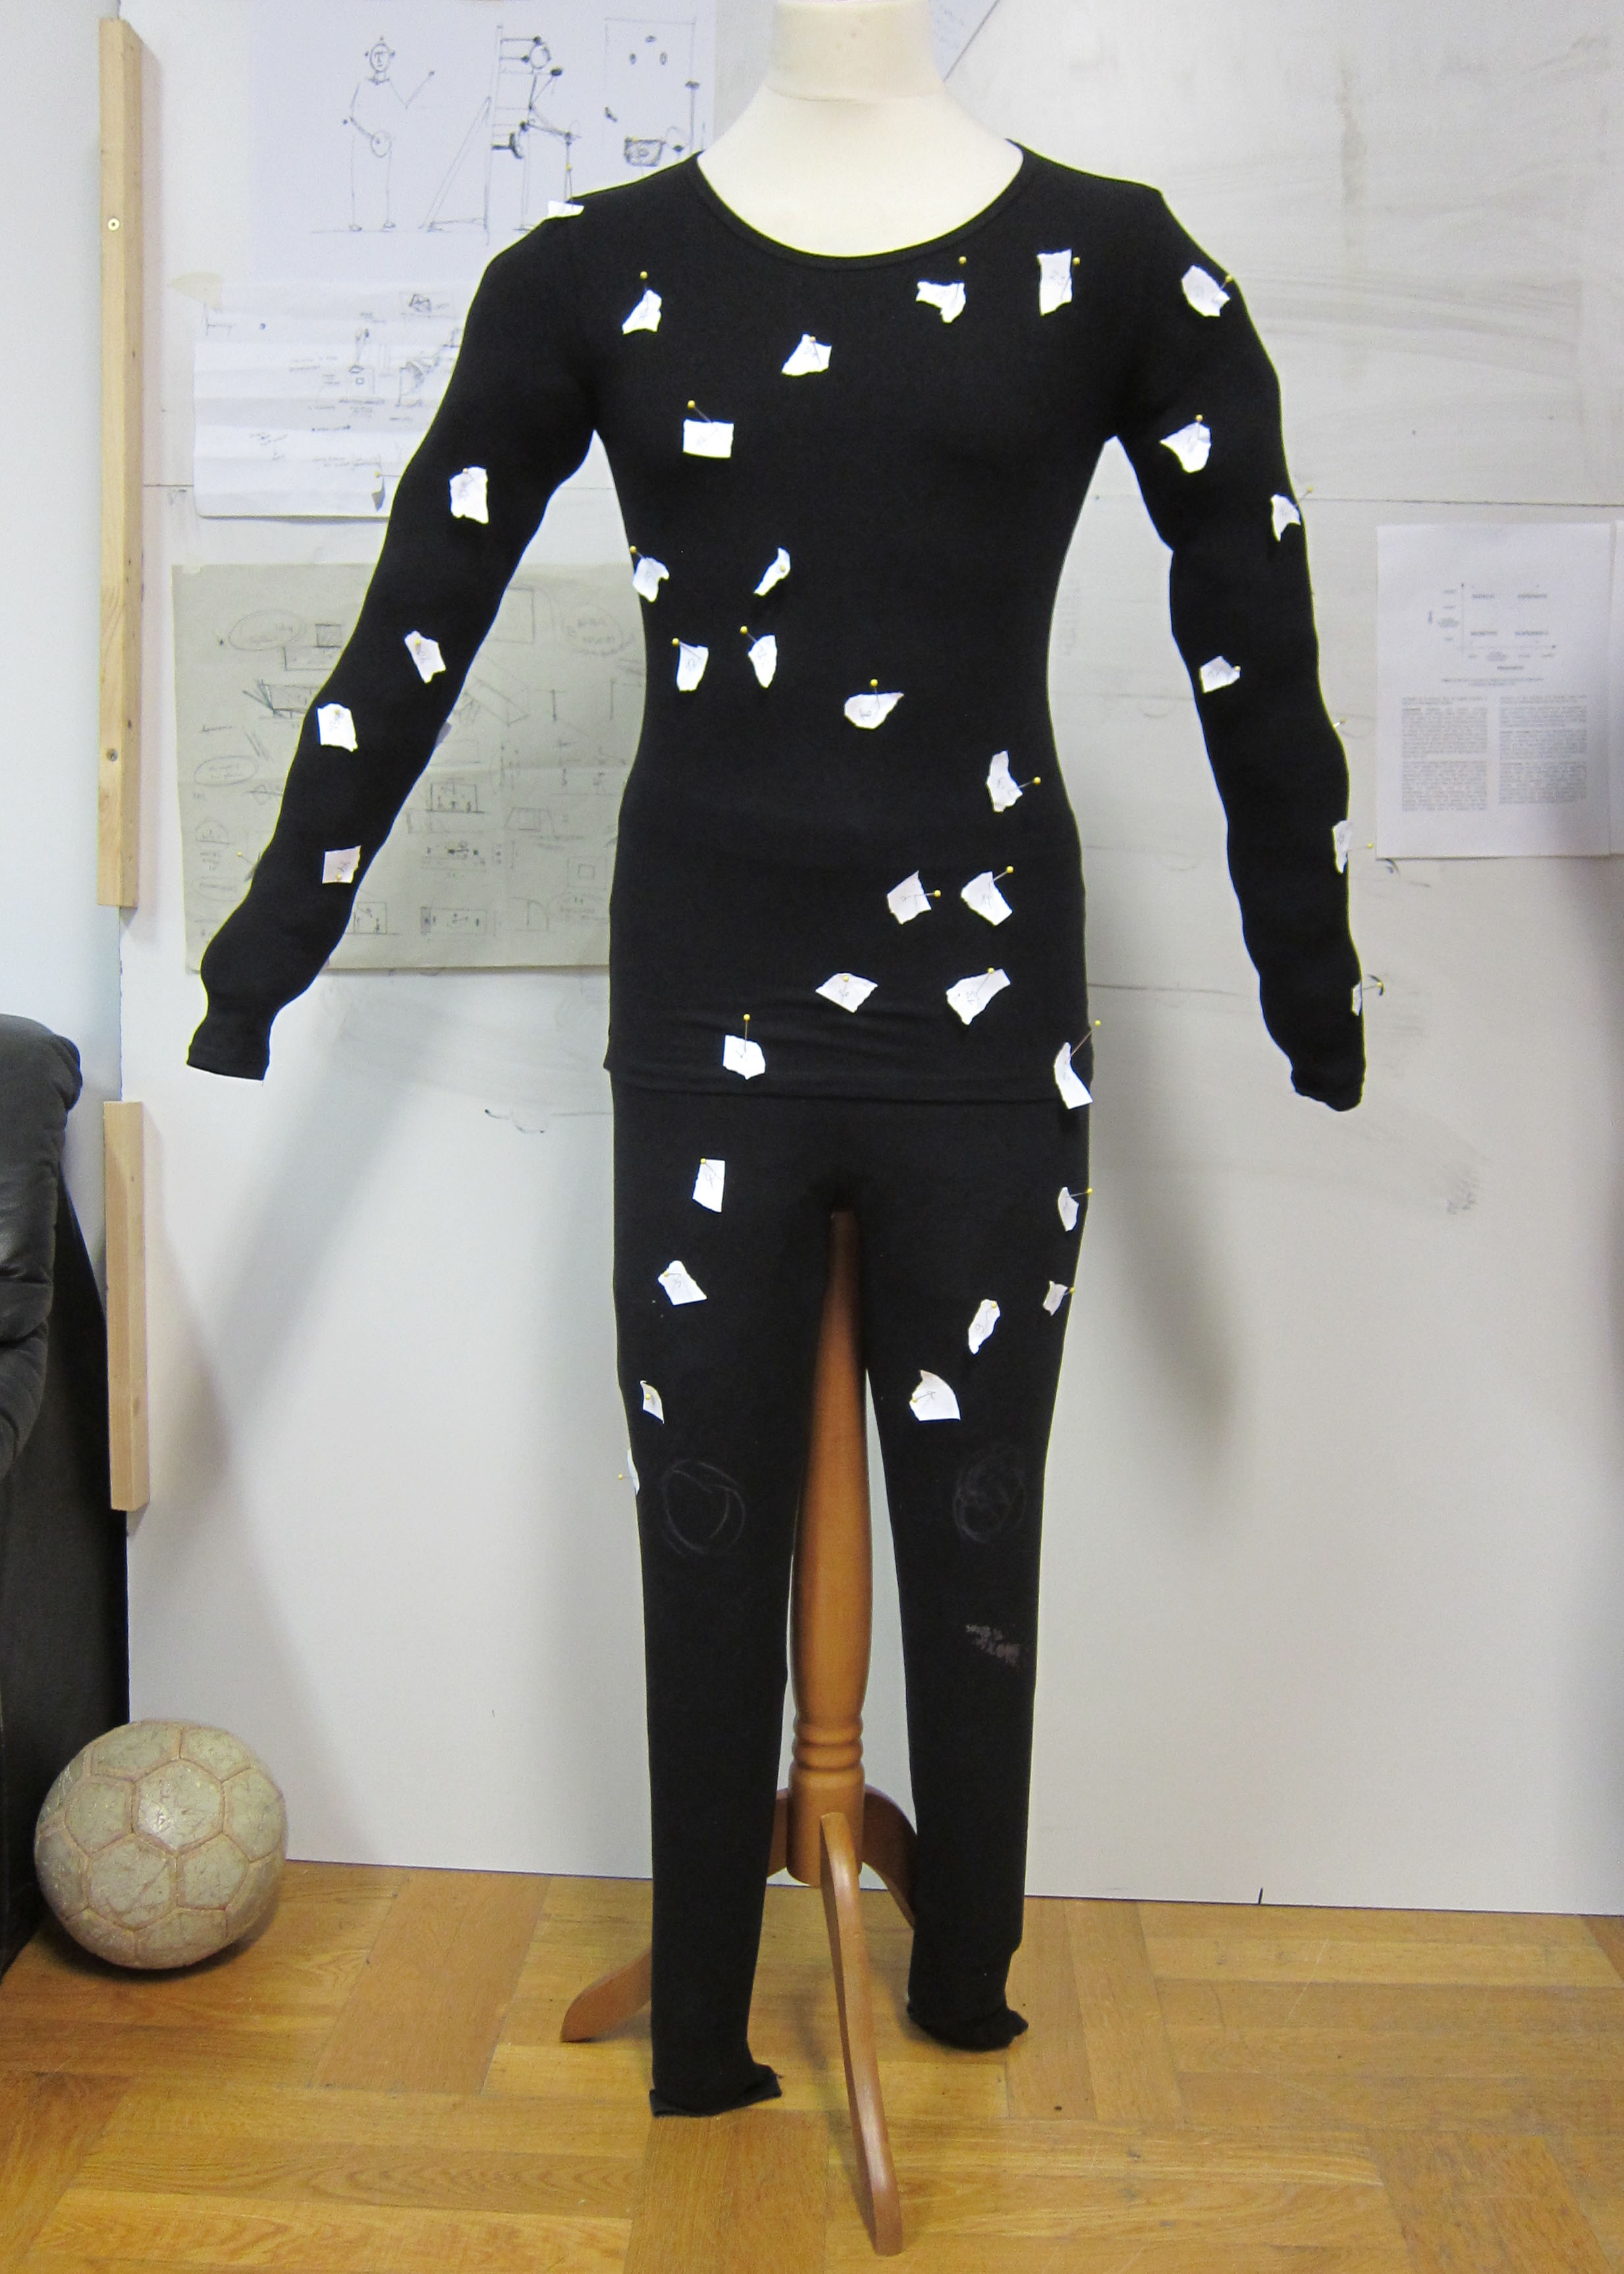
For our final costume we decided to use the stretch sensors for the upper body, located at the crook of the arm, under the armpit and at the back.
For the lower part of the body the area of the knees will be used to sense the contact to the floor. First we planned to use pressure sensors, but as we don't really need to sense the amount of pressure, but more a simple signal, if there is a contact to the floor, we will now use a push button.
This decision makes it possible to use only one Lilipad and we can make one system for the light output with a connection between the upper and lower body.

Button: red
Stretch Sensors: green

The first full layout of lights and sensors, where they are planned.
The light flow should go from the knees to the upper body.
The arms will get the most of the light output, as they are the body parts which can be seen best while dancing. The light flow should go around the arms in spiral.
2 Replies to “Sensor and Light Layout”
Comments are closed.