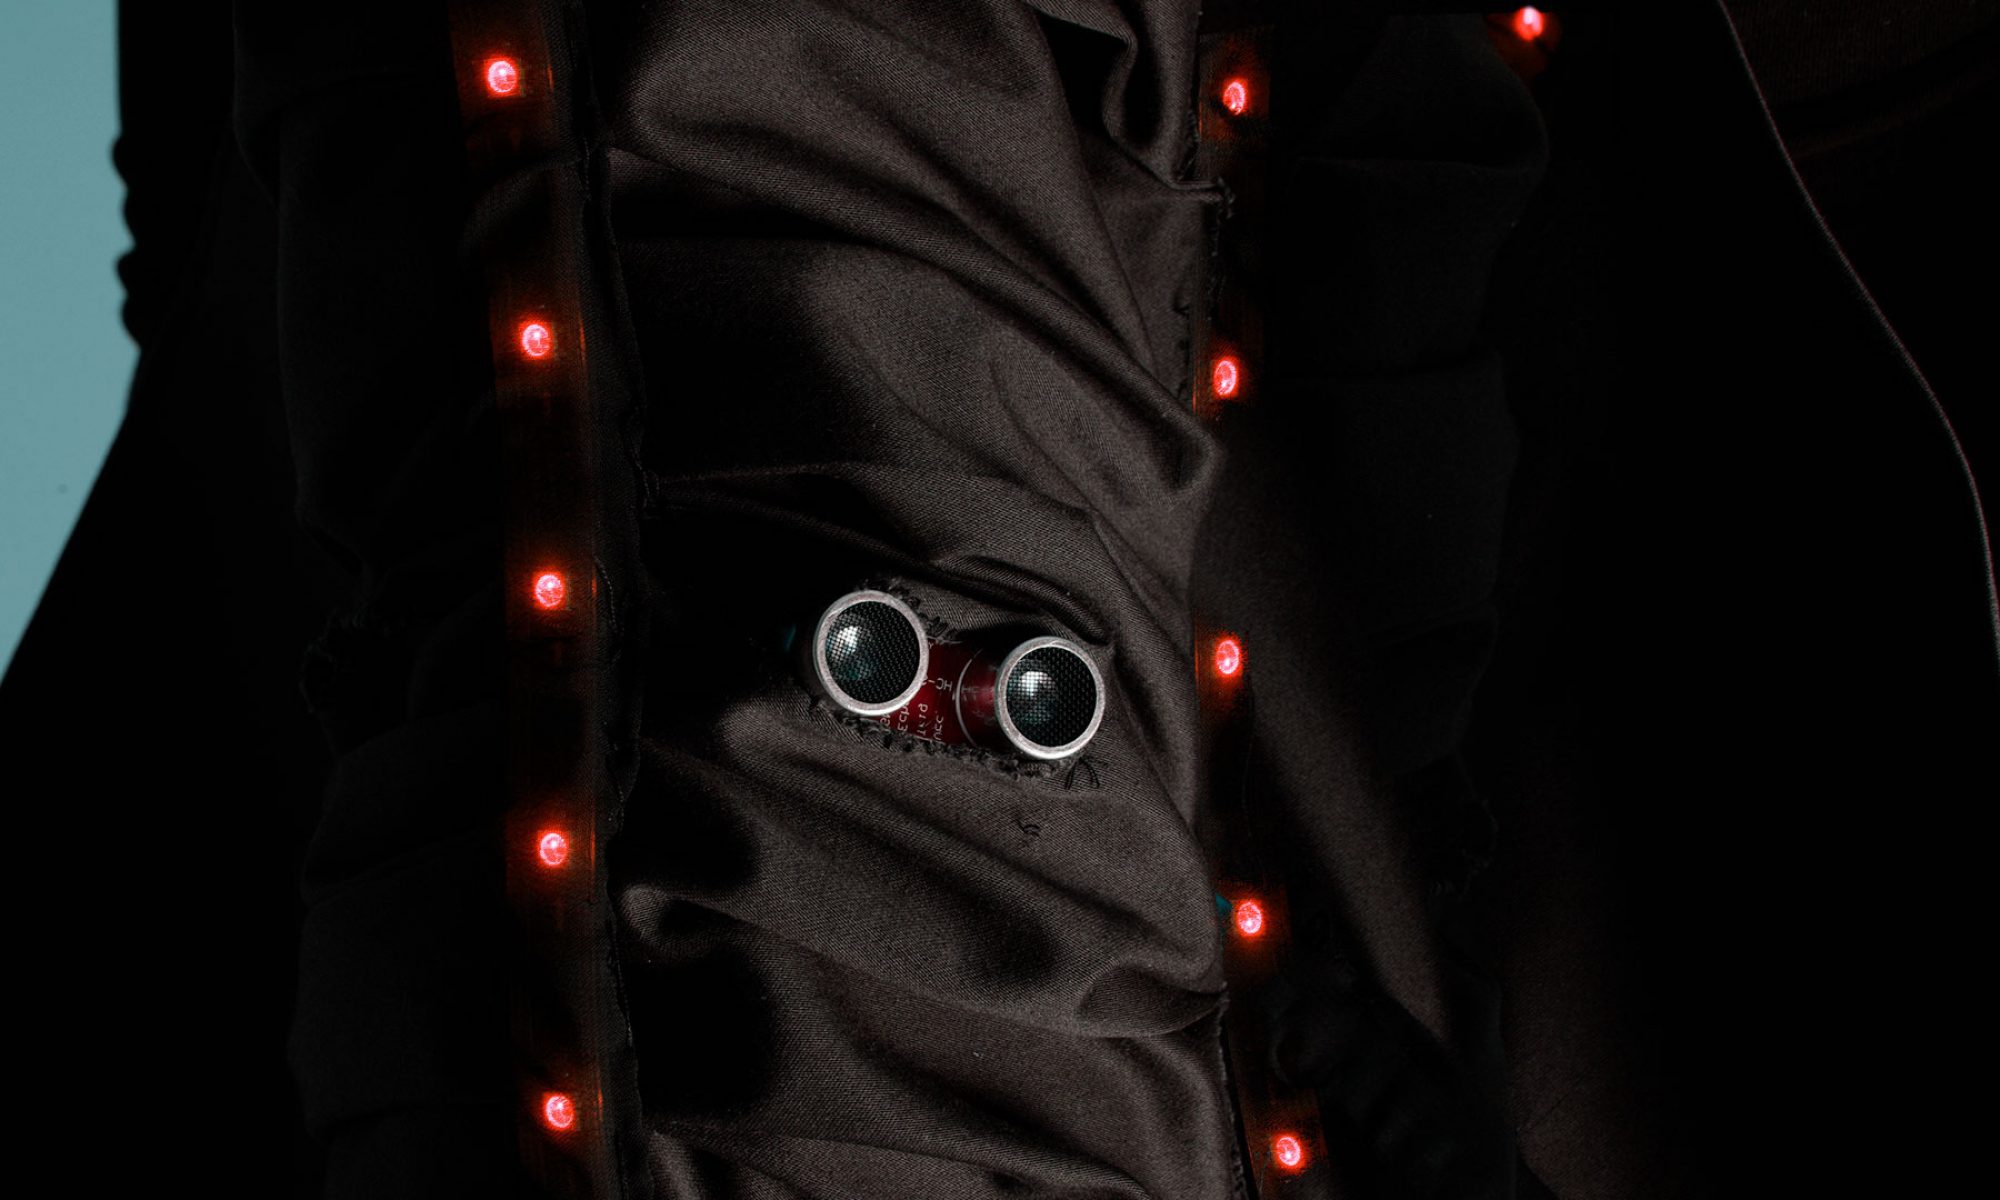

To build interactive costumes for dance, the performers must be given maximal free movement. Therefore sooner or later all connections from the costume to outer interfaces must be wireless. The first step to do so is to send sensor data through wireless networks to a PC. The following tutorial shows how to quickly set up two Xbees for sending and receiving analogue sensor data.
You need Hardware:
- Two XBee Series 1
- 1 Lilypad Arduino
- 1Lilypad Xbee Shield
- 1 LilyPad FTDI Basic Breakout (or alternatively the Lilypad USB)
- 1 Xbee USB Shield
- multiple crocodile clips
- Resistors
- Resistive Fabric
- 6-pin-right-angle Male-Headers or a battery pack to power the Xbee on the Lilypad
Software:
- Processing
- Arduino
- XCTU for Configuring the XBees(it is easier to use than Coolterm)
To make out of resistive fabric a sensor. Is very easy. Just think of it as a resistor which resistance you want to measure. Turn your Arduino Lilypad into an ohm meter. The best resistance to choose for the known resistor with which you compare is the average resistance of the fabric. Use a multimeter to measure its relaxed and its stretched resistance and take the average as the resistor value you compare against.
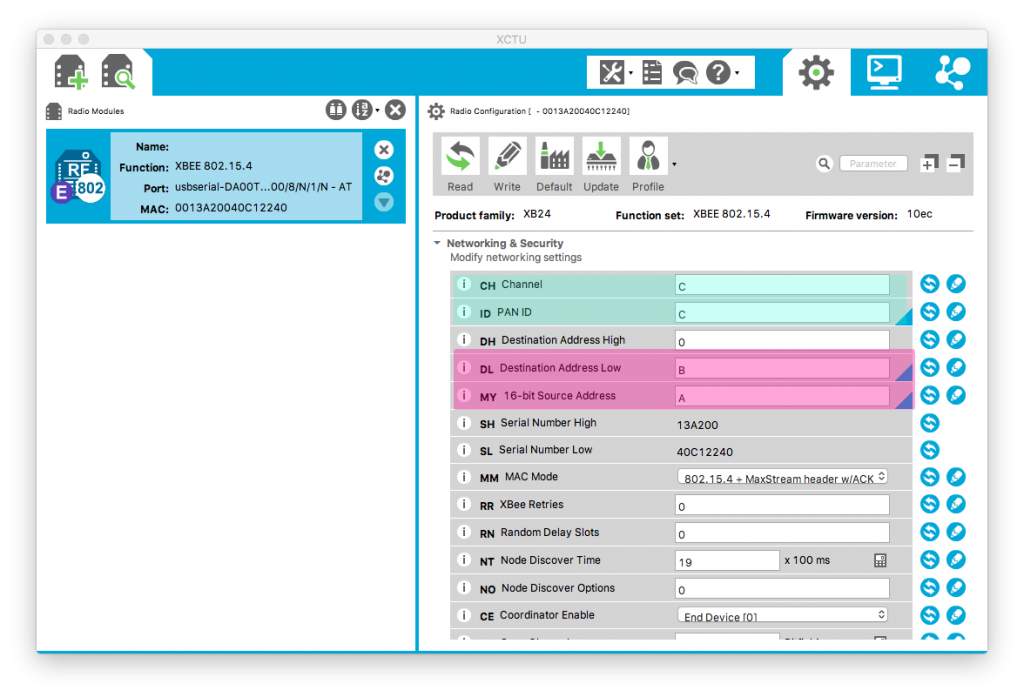
Connect your Xbee with the Xbee USB shield to the computer and set the configuration in XCTU. You can either configure both Xbees with the USB shield (switch them out, disconnect USB in between) or you can solder the male headers onto the Lilypad Xbee shield, connect it with the FTDI Shield to the computer and do the configuration via this interface.
Within the XBEE configuration use the Same Channel and Pan ID for both xbees and the alternating settings for Destination and Source address.
If the Xbees are configured you can upload the Arduino sketch to the Lilypad. If you are able to send Serial Data you can continue to the next step and wire the Xbee Shield.
Arduinos most basic sketch does work with the XBee!:
int analog2 = analogRead(A2);

void setup() {
  Serial.begin(9600);
}
void loop() {
  int analog0 = analogRead(A0);

  Serial.println (analog0, DEC);
  if (analog0 > 550) digitalWrite(13, HIGH);
  else digitalWrite(13, LOW);
  delay (100); /
}
The Xbee Shield comes with a Voltage Regulator, which allows you to use traditional batteries to power both the Lilypad and the Xbee. Batteries in connected in series add up their voltage. So as the Lilypad runs on 3.3V you need at least two batteries.

Next set up some Processing sketch to visualize your data. As we want to use sonification later on I chose to play some sound and turn up a color:
import processing.serial.*;
import ddf.minim.*;
Minim minim;
AudioSnippet sound_0;
int intString;
Serial myPort;
int xPos = 0; //accelerometer data from pin X
int[] xArray = new int[8]; //smoothing
void setup () {
  size (800, 1000);
  background(0);
  println(Serial.list());
  myPort = new Serial(this, Serial.list()[1], 9600);
  myPort.clear();
  minim = new Minim(this);
  sound_0 = minim.loadSnippet("arpeggio.wav");
}
void draw() {
  if (getAverage(xArray) > 600) {
    background(255, 0, 0);
    if (!sound_0.isPlaying()) {
      sound_0.play();
      sound_0.rewind();
    }
  } else if (getAverage(xArray) <460)
    sound_0.pause();
  else background(0);
}

int getAverage(int valueArray[]) {
  int i;
  int sum = 0;
  int average;
  for (i=0; i<valueArray.length; i++) {
    sum += valueArray[i];
  }
  average = sum/valueArray.length;
  return average;
}
void addEntry(String value, int valueArray[]) {
  int i;
  for (i=0; i<valueArray.length-1; i++)
  {
    valueArray[i]=valueArray[i+1];
  }
  valueArray[valueArray.length-1] = int(trim(value));
}
//Listen for data coming in through the Serial port
void serialEvent(Serial myPort) {
  String serialString = myPort.readStringUntil('\n');
  if (serialString != null) {
    serialString = serialString.replaceAll("(\\r|\\n)", "");
    intString = parseInt(serialString);
    println(intString);
    addEntry(serialString, xArray);
  }
}

// close the AudioSamples before we exit
void stop() {
  sound_0.close();
  super.stop();
}
And if the Xbees are configured properly you can now send the the stretched fabric signals to your computer!
Troubleshooting:
Unfortunately most problems here will have to do with the USB interface. It might be that you need to install additional drivers to get the FTDI board running. The USB Xbee interface should work out of the box on a Mac as well as the Lilypad should be directly visible in your Arduino Port Settings.
One Reply to “Tutorial: Simple Wireless Textile Stretch Sensor with XBee and LilyPad”
Comments are closed.