| Line 27: | Line 27: | ||
[[Media:microscope lasercut1.pdf]] | [[Media:microscope lasercut1.pdf]] | ||
== | == Microscopic Material Collection | 19.11.2012 == | ||
This week I began to collect samples (such as rotting water from flower vases at the cemetery) to look at under the microscope. | This week I began to collect samples (such as rotting water from flower vases at the cemetery) to look at under the microscope. | ||
Revision as of 17:47, 22 November 2012
Web Cam De-Construction | 22.10.2012
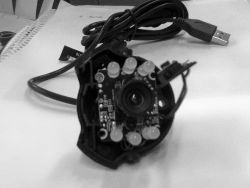
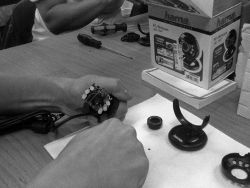
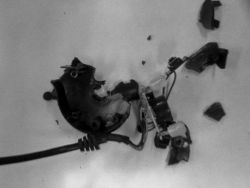
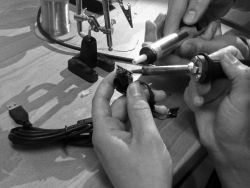
I took apart the webcam by removing all of the screws and pieces that would come off freely. Next I had to use a plier to forcefully break off the rest of the plastic case around the cam until I only had the microchip and cam remaining. After this I used a solder to remove the 6 LED lights from the microchip.
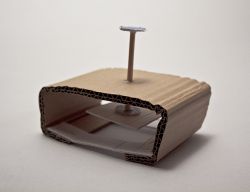
Microscope Construction / Cardboard Model | 29.10.2012
I wanted to create a microscope that could be used similarly to a mouse during a live performance. My first model in cardboard was the most basic sketch of this concept using one screw in the middle to move the camera up and down.
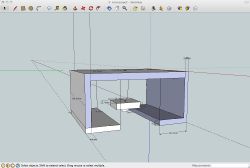
3D Model | 5.11.2012
Using SketchUp I re-created my cardboard model in 3D. Along the way I made a couple of minor changes to my original concept.
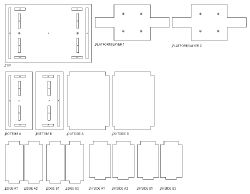
Laser Cutter Model | 12.11.2012
The 3D printer was not available so I decided to re-design my model for the Laser Cutter. This design requires 3mm thick plexiglass so the microscope will be strong enough not to break during a live performance. Working with the limitations of the Laser Cutter gave me another opportunity to modify my design and to make some minor structural and engineering improvements.
You can download the file for the laser cutter here: Media:microscope lasercut1.pdf
Microscopic Material Collection | 19.11.2012
This week I began to collect samples (such as rotting water from flower vases at the cemetery) to look at under the microscope.
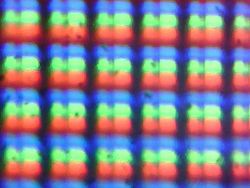
I also used my microscope to photograph my iPod screen in order to make calculations of the magnification depth of my microscope.
