Deconstruction

The outer components of the webcam. I have removed the lens but will reattach it later. The plastic casing proved somewhat hard to remove. The plastic is tough and had to be removed with the help of pliers.

This is the circuit board of the webcam. Three of the wires on the back side of the board became detached so I soldered them back onto the board. I have kept the button for capturing still images on the webcam for now, but may remove it later.
Failed Idea

My first idea was to also create the plastic housing for my microscope out of a plastic container. However, this failed because the plastic was too brittle and would crack when I attempted to cut it. Using a thicker plastic container also failed as the plastic proved too hard to cut with a craft knife, and splintered, causing injury to my fingers while I was attempting it. Perspex is much less brittle and will be a much better material with which to house my microscope.
Design

I have decided to keep my microscope design fairly simple as I have no experience in creating such an object. My design will be made of perspex cut with the use of the laser cutter, but I will also create a .stl file for the 3D printer.
This is the pdf version of the design for the laser cutter.
File:Maria.ai.zip This is the link to the .ai file for the laser cutter.
A tutorial of how to build my microscope.
Model

I also created a rough cardboard model of how my microscope will look. I found this extremely helpful as now I can work out what size to make my microscope housing and how it will all fit together. I think my design will be somewhat successful due to its simplicity- it has no moving parts that are liable to break during its usage.
Almost Complete


My perspex microscope housing is almost complete. I assembled it using superglue as hot glue would not hold the pieces together. All it needs now are the bolts glued in place on the movable shelf- this is where the specimens will sit under the lens of the camera.
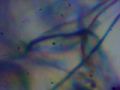
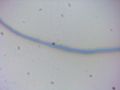
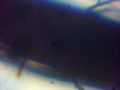
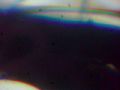
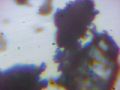
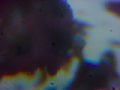
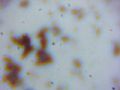
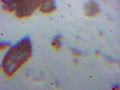
Images
My microscope still needs some adjustments but I was able to create some images using it.
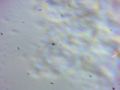
Household dust

Household dust
A hair almost invisible to the naked eye


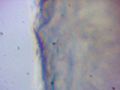
A piece of thread
Thread


Some grains of sugar
Some grains of sugar
Some grains of sugar
Some grains of sugar


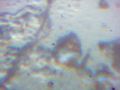
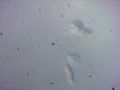
Some tissue from inside my mouth
Mouth tissue and saliva
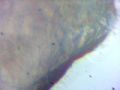
Mouth tissue and saliva
Mouth tissue and saliva
Mouth tissue and saliva


Final Work
<videoflash type=vimeo>63353651|437|346</videoflash>