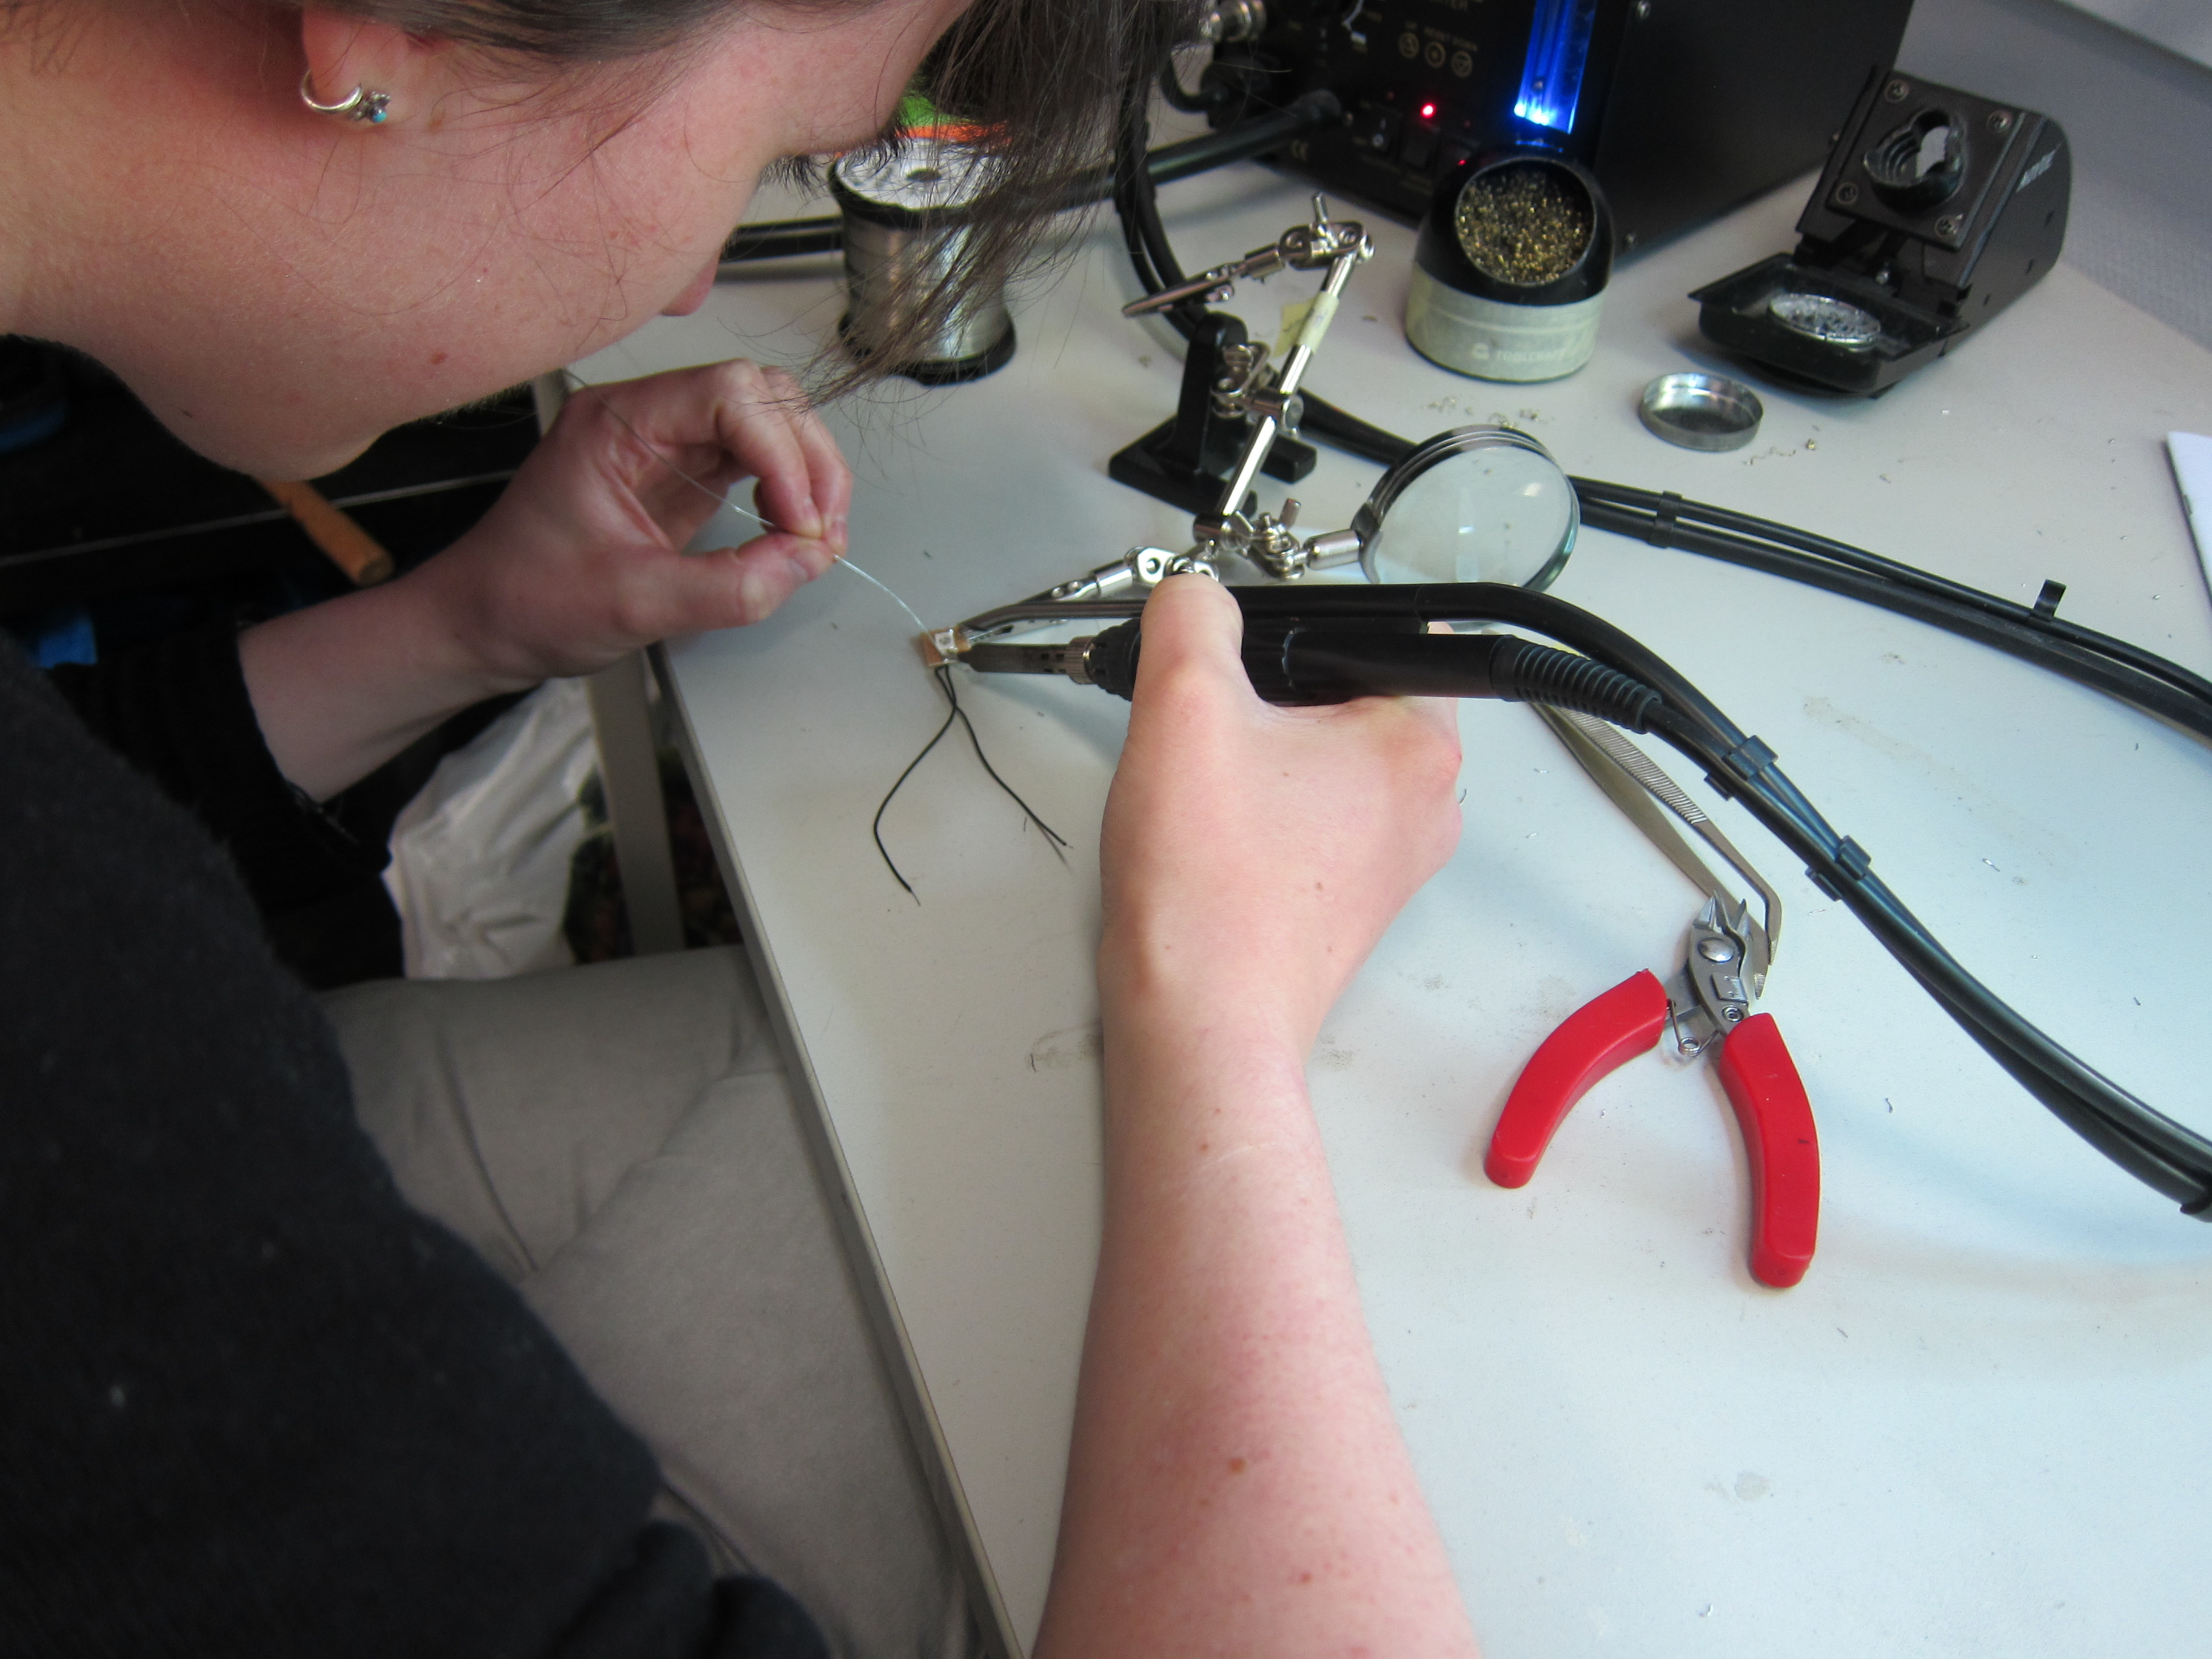
To save money we decided to buy unsoldered neopixels by Ada Fruit. These pixels have an integrated resistor and a small driver chip for communication. Advantages of self-soldered pixels are the adjustable distance between the pixels and the varyable chainlength. Nevertheless, adjusting the neopixel on a protoboard was much more difficult than expected. The pixels are very small (5mm x 5mm ) and therefore uneasy to handle while soldering.
The easiest way to solder them on a protoboard is by baking. The were adjusted to the protoboard by appling a soldering tin-paste and baked in the oven.
Unfortunately this technique was beyond reach. Therefore we thought about a technique to solder as many pixel as possible in as little time as possible.
Quelle : https://cdn-shop.adafruit.com/970x728/1655-02.jpg
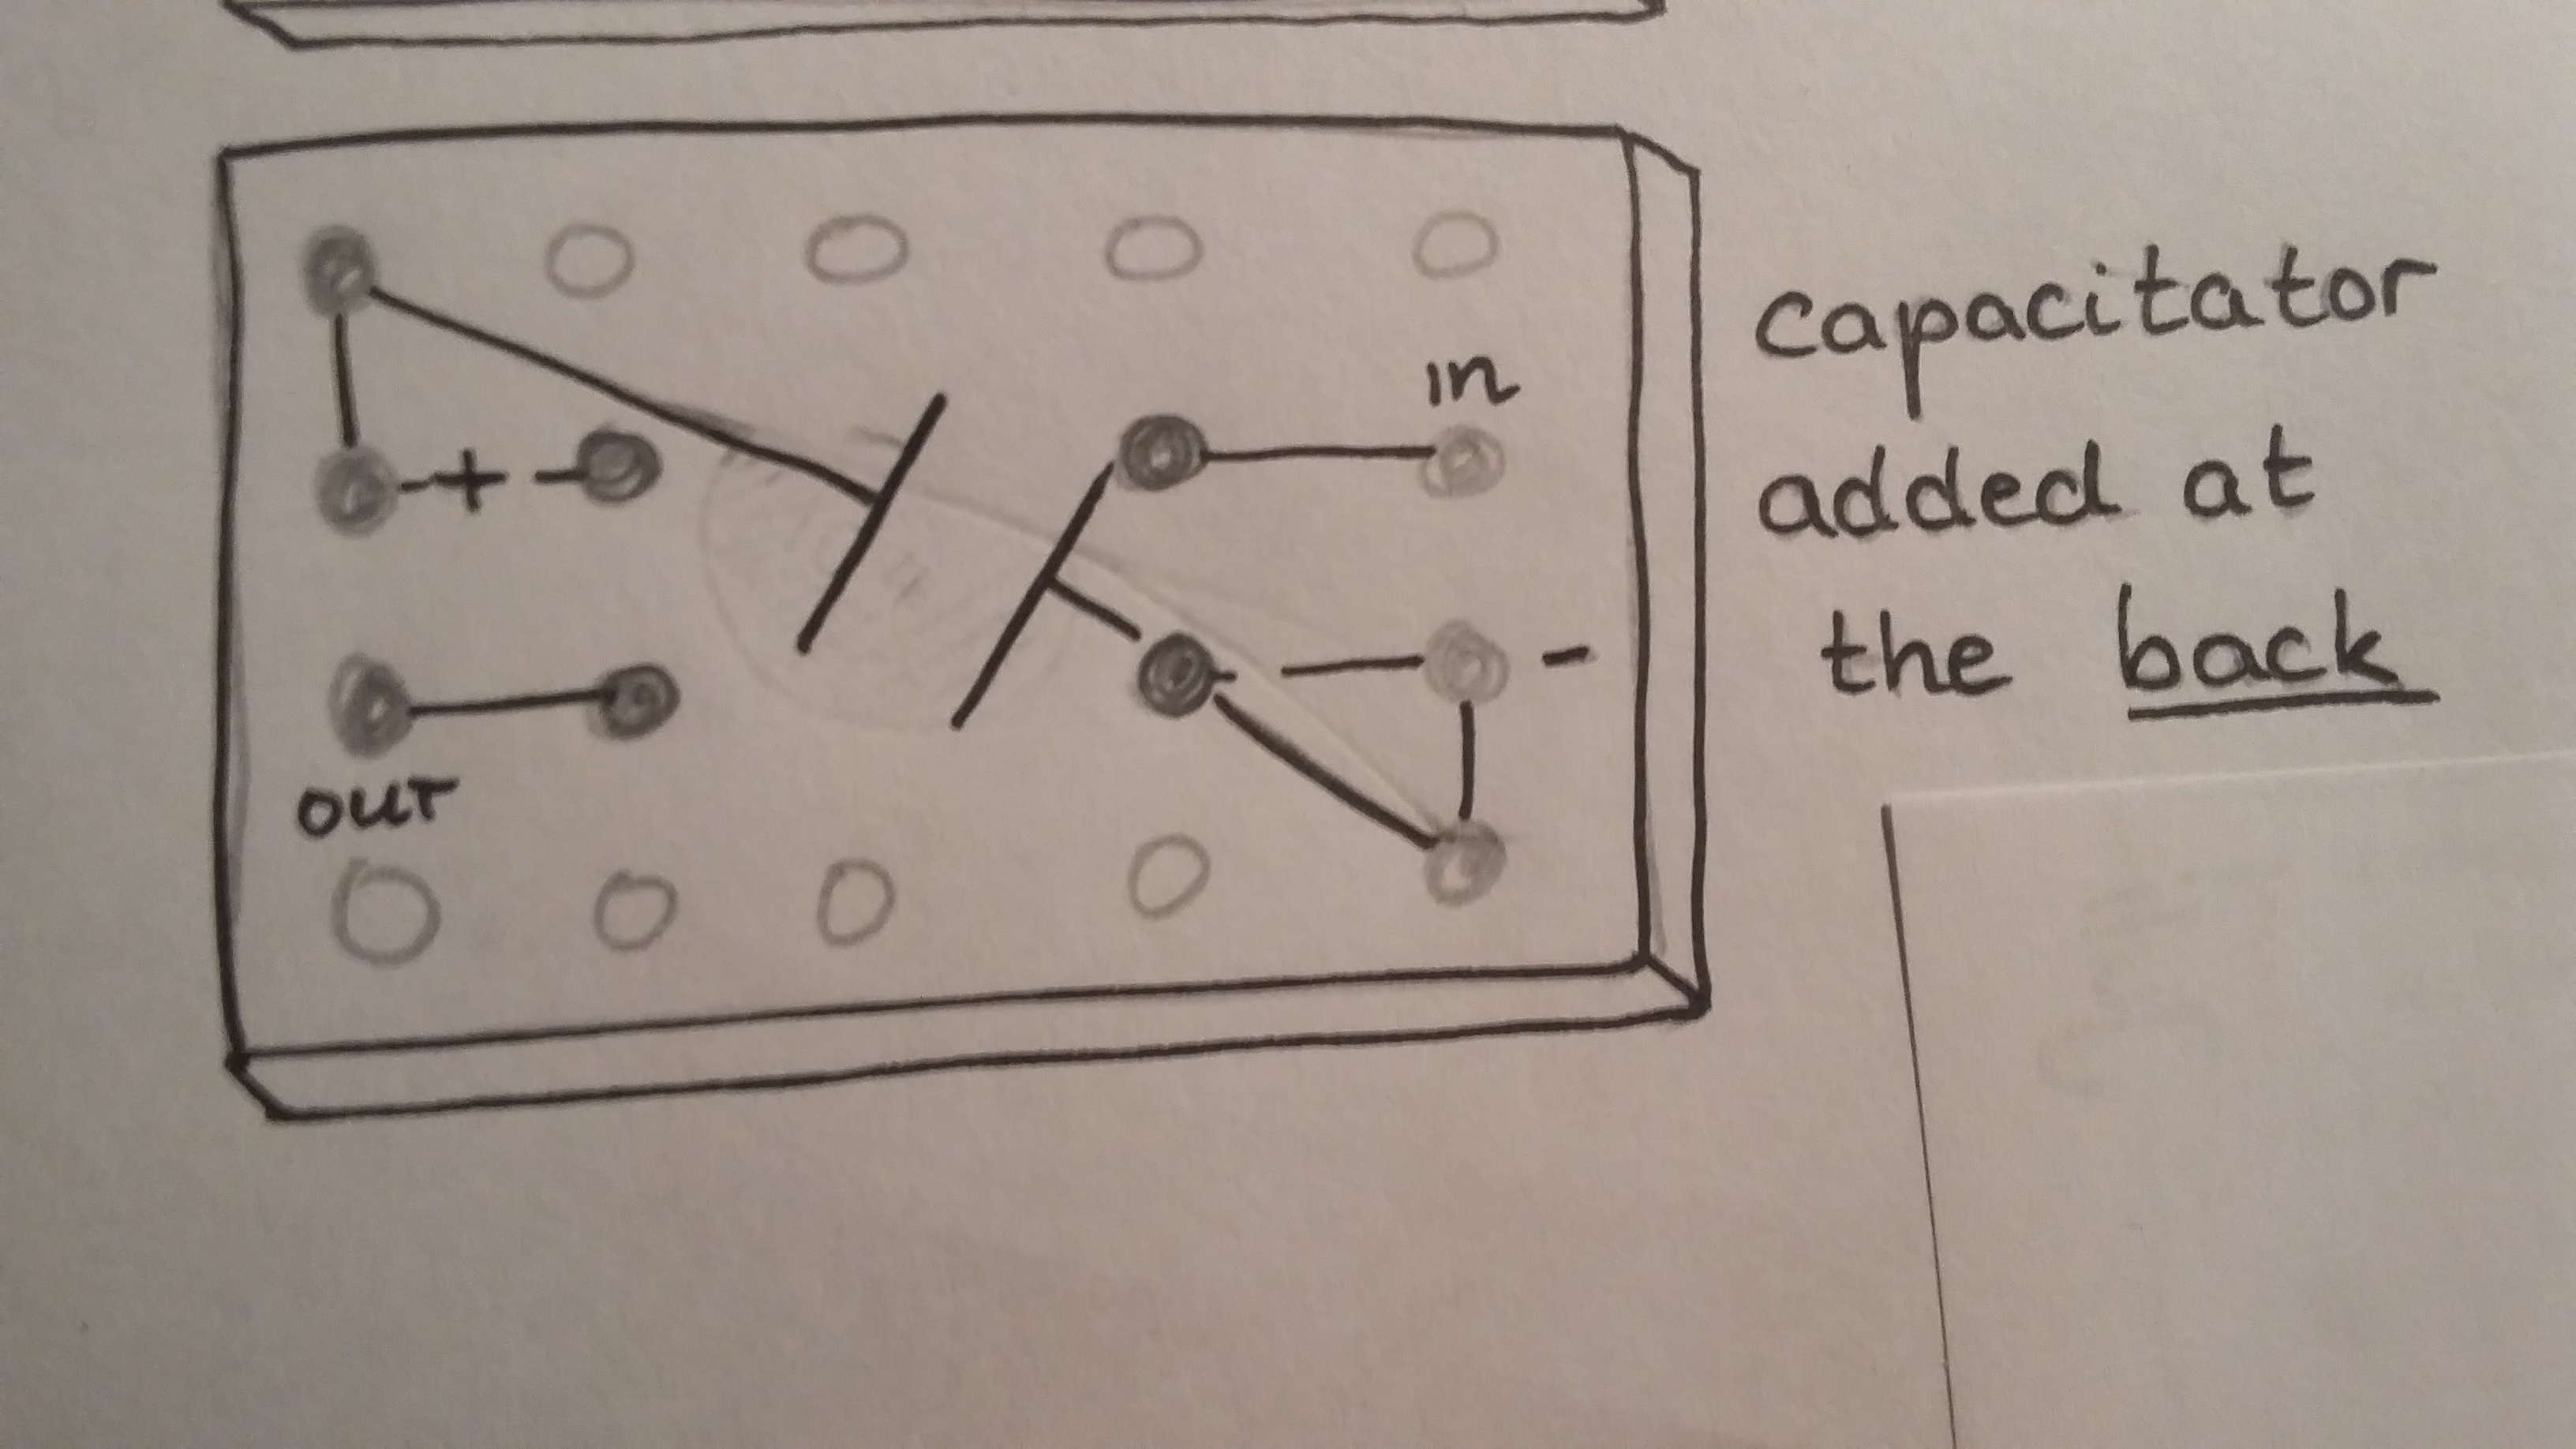
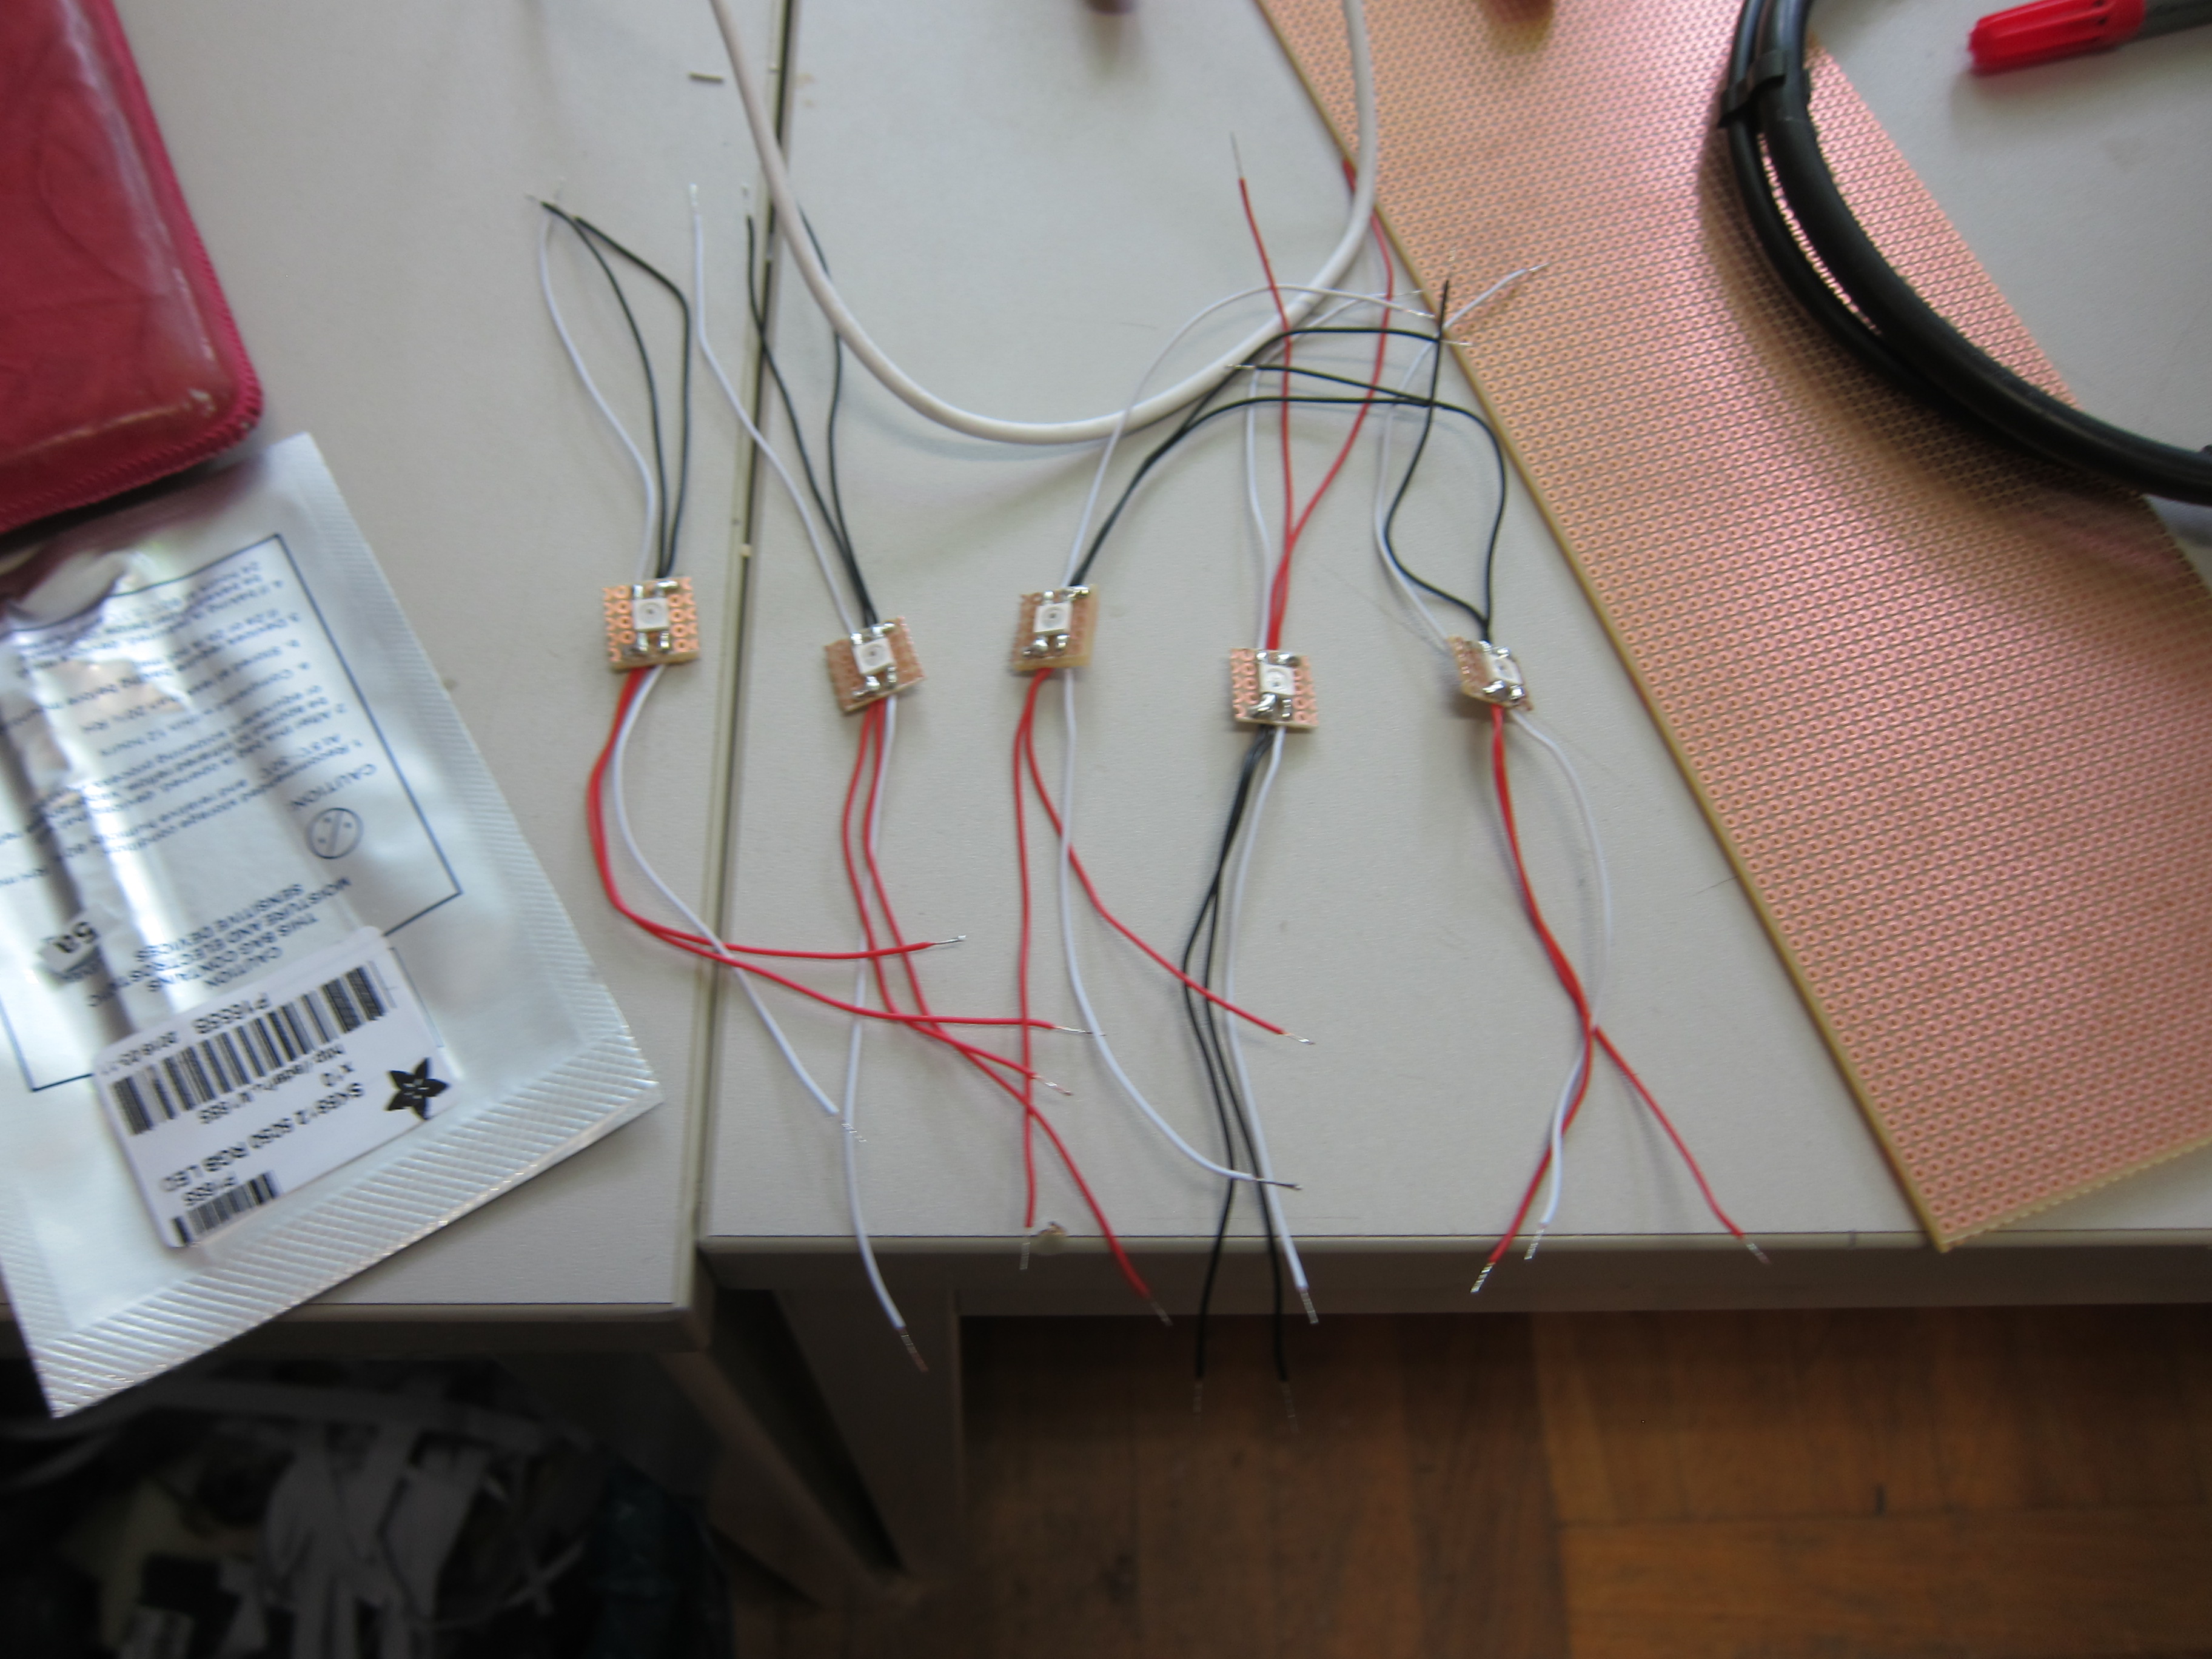
Finally we decided to solder all 50 neopixels by adjusting them with soldering tin on the protoboard (4 holes x 5 holes). We added a little tin for each of the four contacts at the back of the pixel. These four soldering tin-drops hold the pixel in place an connect the contacts with the protoboard.
Imoprtant: Be careful not to combine the four tin-drops. Short circuit!!!!!!
After melting pixel and protoboard together, we combined the wires with the protoboard. This hole, however, was combined with the matching neopixel contact. In the end a capacitator (0,1 mF) was added at the back and combined with the +/- pole of the pixel.