GMU:Tutorials/Networking/Explaining the OSCReciever Script from The Captury to Unity: Difference between revisions
No edit summary |
No edit summary |
||
| Line 15: | Line 15: | ||
'''SendToPort''': is where we type in the UDP Port set in The Captury. Actually it's -- '''1065''' -- | '''SendToPort''': is where we type in the UDP Port set in The Captury. Actually it's -- '''1065''' -- | ||
<br> | <br> | ||
'''ListenerPort''': can be random and should be used in '''Step | '''ListenerPort''': can be random and should be used in '''Step 3''' | ||
<br> | <br> | ||
<br> | <br> | ||
| Line 30: | Line 30: | ||
<br> | <br> | ||
[[File:oscreciever2.png]] | [[File:oscreciever2.png]] | ||
<br> | |||
===Step3=== | |||
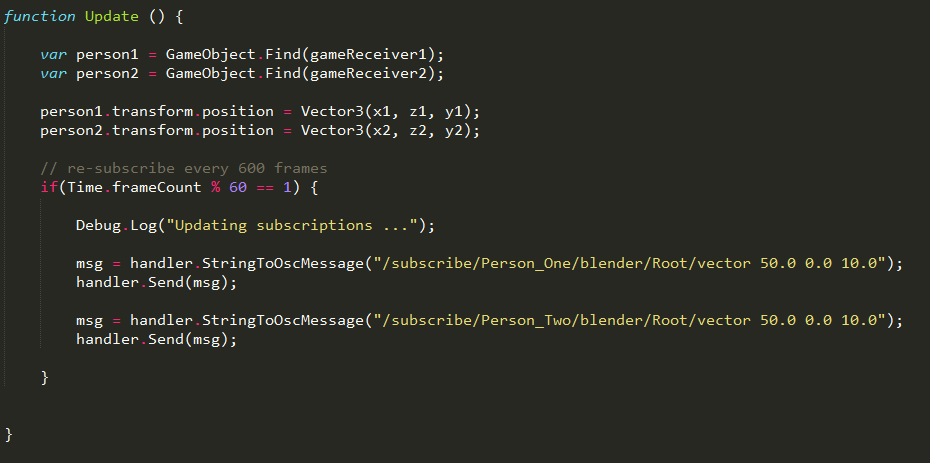
Here is where we configure the port as mentioned in step 1. | |||
<br> | |||
<br> | <br> | ||
[[File:oscreciever3.png]] | [[File:oscreciever3.png]] | ||
[[File:oscreciever4.png]] | [[File:oscreciever4.png]] | ||
[[File:oscreciever5.png]] | [[File:oscreciever5.png]] | ||
Revision as of 17:09, 29 June 2016
OSCReciever.js
Explanation
The following script I will provide contains the whole setup you need to recieve data from The Captury and constantly updating it in Unity
Step1
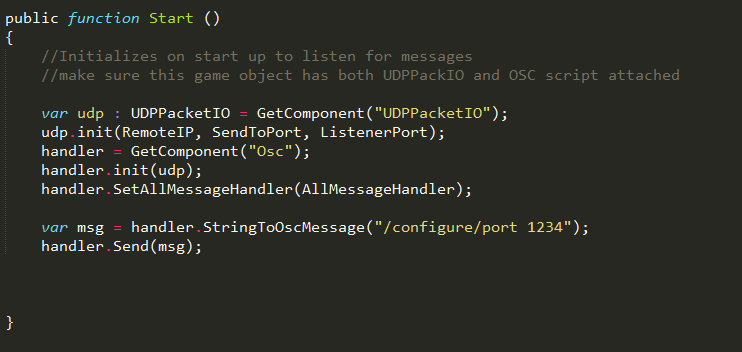
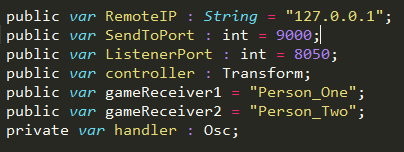
In RemoteIP we set our connection for example to the sever we want to recieve the messages from or we can test it locally:
Local: 127.0.0.1
The Captury: kosmos.medien.uni-weimar.de
SendToPort: is where we type in the UDP Port set in The Captury. Actually it's -- 1065 --
ListenerPort: can be random and should be used in Step 3
The gameReciever variables is where you can drop your 3d object in later. You can define as many as you want.
Step2
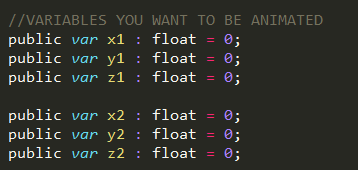
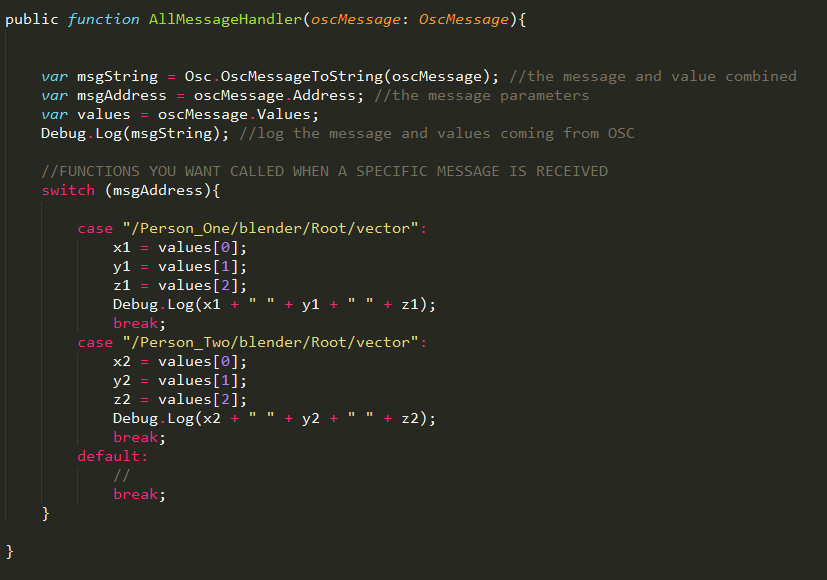
Before we go further we have to first set up variables for each coordinate because those will recieve values from the OSCMessage
For "Person_One" for example we use x1 / y1 / z1
