No edit summary |
No edit summary |
||
| Line 42: | Line 42: | ||
= Adding Second Drum Piece = | = Adding Second Drum Piece = | ||
== Setting Up Arduino Hardware == | == Setting Up Arduino Hardware == | ||
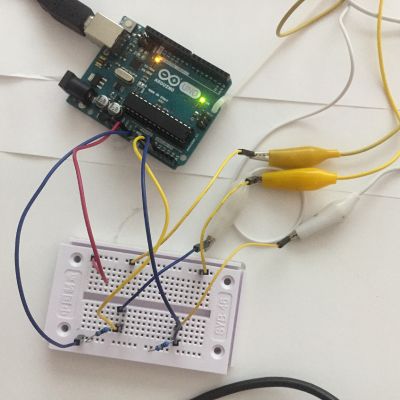
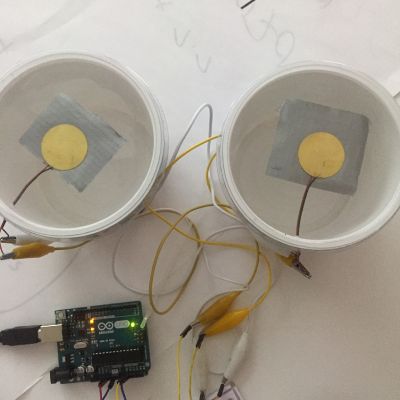
Although, my drum piece was working, I found out when attaching the second sensor that my hardware setup was wrong. I had the circuit connect only through the analog input and ground, so I needed to connect to the 5V to create a true circuit. I did that and then I added the second sensor data to Arduino. | Although, my drum piece was working, I found out when attaching the second sensor that my hardware setup was wrong. I had the circuit connect only through the analog input and ground, so I needed to connect to the 5V to create a true circuit. I did that and then I added the second sensor data to Arduino code and cleaned up the code. The only issue that I'm still dealing with is the values given from the sonsors. For some reason, when I add a second sensor to Arduino, one of the sensors always outputs variable data above 0 when it has not been triggered. | ||
[[File:kael_arduino_2_sensor_1.jpeg|400px]] | [[File:kael_arduino_2_sensor_1.jpeg|400px]] | ||
[[File:kael_arduino_2_sensor_2.jpeg|400px]] | [[File:kael_arduino_2_sensor_2.jpeg|400px]] | ||
[[File:arduino_2_kit.png|400px]] | |||
[[File:arduino_output_2.png|400px]] | |||
== Adding Second Drum Piece to Max/MSP == | |||
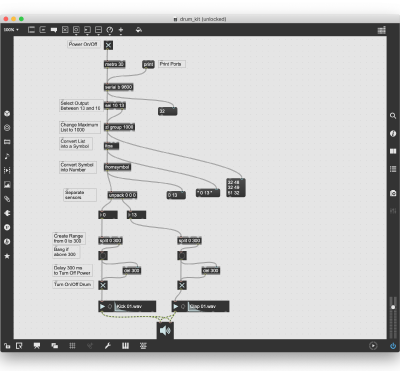
The most difficult part of this was trying to separate the data from each of the sensors. Initially, I tried an unpack, but that was unsuccessful. Luckily, with the help from class, I rewrote the Arduino code, as shown above, and was able to separate the sensors. Once, that was done, it was not difficult to add the next drum piece. | |||
[[File:max_2_drum.png|400px]] | |||
Revision as of 11:04, 20 June 2019
First Assignment
Main Project
Project Idea
For my project I would like to create a drum set. The drum setup would be to have a kick drum, a snare, a tom and two hi-hats; one hi-hat that is open and one hi-hat that is closed. The idea would be to install piezo sensors into different cylinders. When each cylinder is struck it would produce the sound from a different piece of the drum kit.
Preliminary Tests
Arduino Knock Test
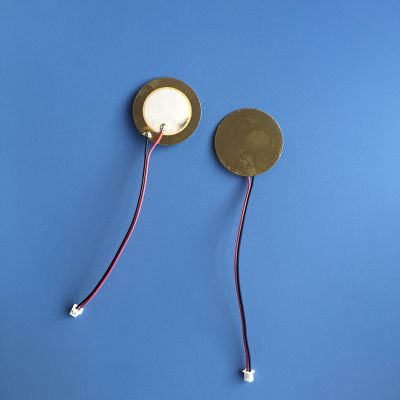
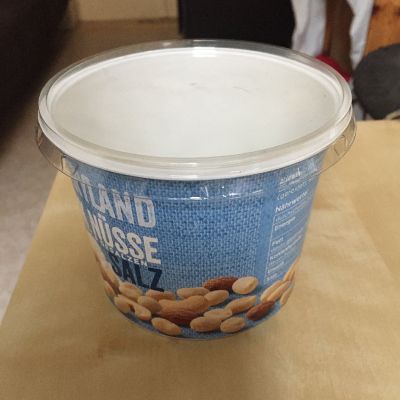
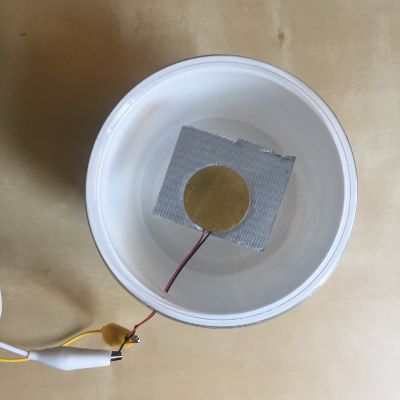
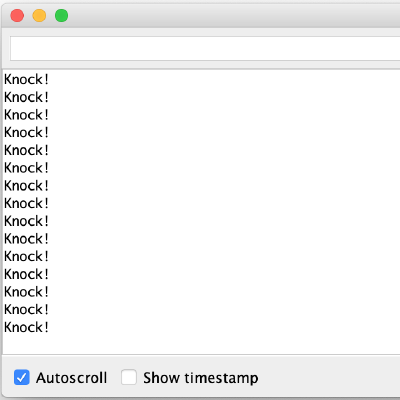
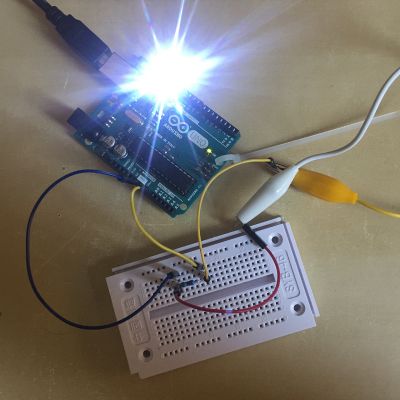
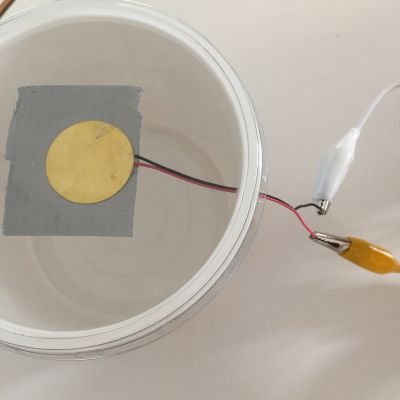
For the beginning test of my project I followed the knock tutorial found on Arduino [1]. The hardware setup for the example was simple enough. Unlike the example, I used a breadboard and taped my Piezo sensor to the bottom of a lid from a mixed nuts container. With this test, when I tap on the lid of the container, Arduino should output knock! and the LED light should toggle on/off.
Creating First Drum Piece
Setting Up Arduino Hardware
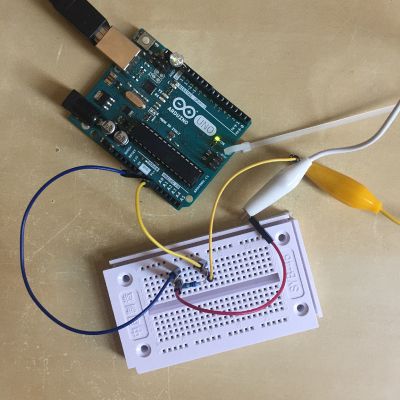
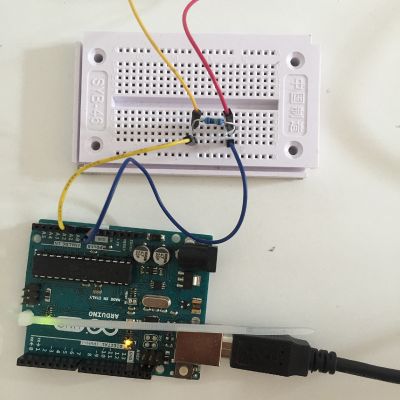
This is how I set up my sensor to the Arduino Uno.
Setting Up Arduino Software to Output Sensor Data
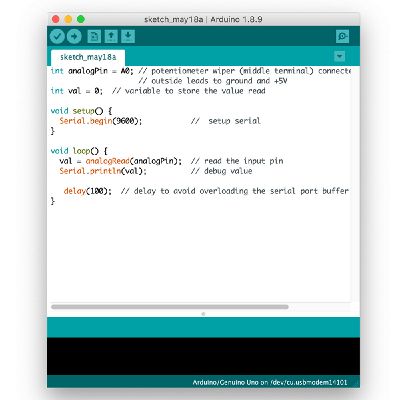
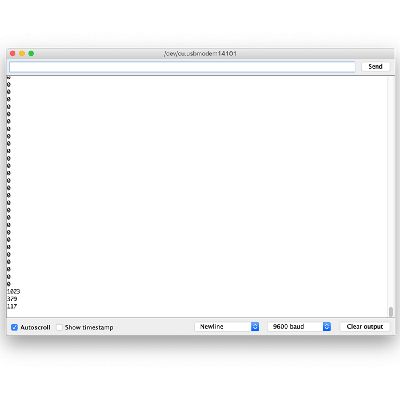
Although the knock test worked, I realized that I need to output the numerical data that the piezo sensor detects. Here is the coding and output:
Creating Max Patch
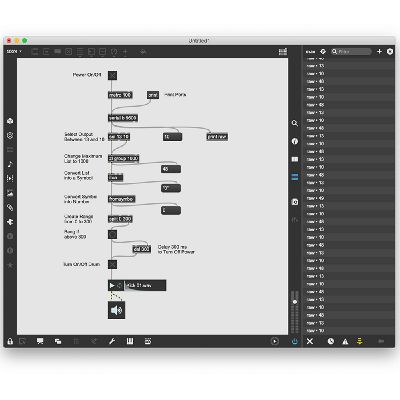
For the Max patch, I needed to translate the data read from the sensor into one value. By using the message box, I was able to see the values that were output when I tapped the sensor. I created a range 0 to 300 and have it bang if the value is higher than 300, because the value when tapped is usually higher than 300. The bang triggers the on/off switch for the kick bass drum. I added a 300 millisecond delay to the bang to act as an off button so once the drum is turned on and produces a sound, it will then turn off.
Adding Second Drum Piece
Setting Up Arduino Hardware
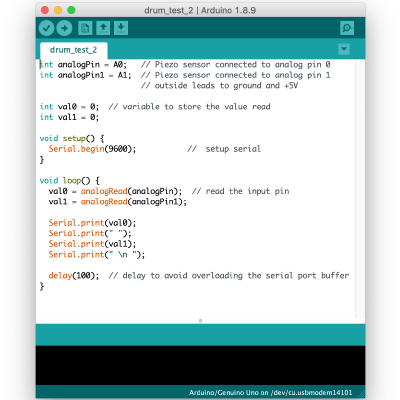
Although, my drum piece was working, I found out when attaching the second sensor that my hardware setup was wrong. I had the circuit connect only through the analog input and ground, so I needed to connect to the 5V to create a true circuit. I did that and then I added the second sensor data to Arduino code and cleaned up the code. The only issue that I'm still dealing with is the values given from the sonsors. For some reason, when I add a second sensor to Arduino, one of the sensors always outputs variable data above 0 when it has not been triggered.

Adding Second Drum Piece to Max/MSP
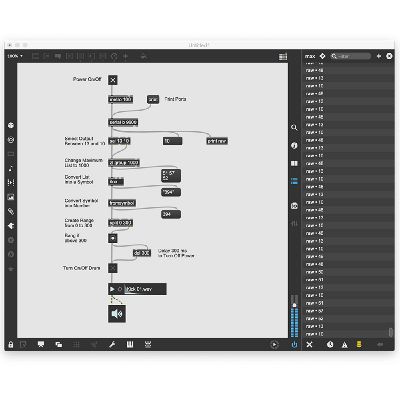
The most difficult part of this was trying to separate the data from each of the sensors. Initially, I tried an unpack, but that was unsuccessful. Luckily, with the help from class, I rewrote the Arduino code, as shown above, and was able to separate the sensors. Once, that was done, it was not difficult to add the next drum piece.
