No edit summary |
No edit summary |
||
| Line 15: | Line 15: | ||
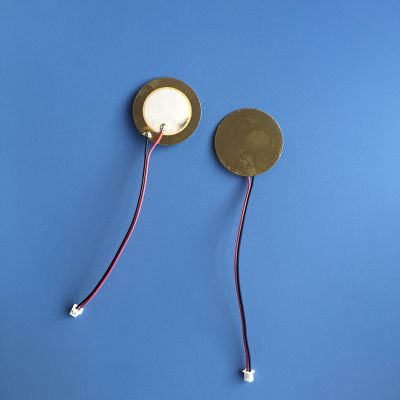
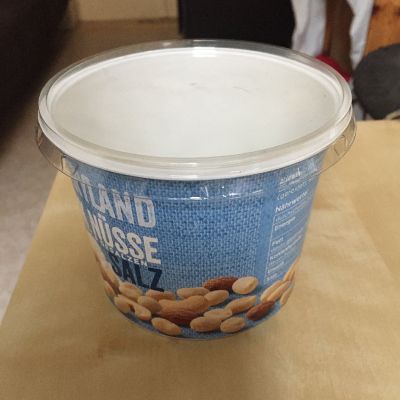
The hardware setup for the example was simple enough. Unlike the example, I used a breadboard and taped my Piezo sensor to the bottom of a lid from a mixed nuts container. With this test, when I tap on the lid of the container, Arduino should output knock! and the LED light should turn on. | The hardware setup for the example was simple enough. Unlike the example, I used a breadboard and taped my Piezo sensor to the bottom of a lid from a mixed nuts container. With this test, when I tap on the lid of the container, Arduino should output knock! and the LED light should turn on. | ||
[[:File:knock_sensor.jpg]] | [[:File:knock_sensor.jpg|400px]] | ||
[[:File:knock_setup.jpg]] | [[:File:knock_setup.jpg|400px]] | ||
[[:File:knock_light.jpg]] | [[:File:knock_light.jpg|400px]] | ||
[[:File:knock_output.png]] | [[:File:knock_output.png|400px]] | ||
Revision as of 13:54, 18 May 2019
First Assignment
Main Project
Project Idea
For my project I would like to create a drum set. The drum setup would be to have a kick drum, a snare, a tom and two hi-hats; one hi-hat that is open and one hi-hat that is closed. The idea would be to install piezo sensors into different cylinders. When each cylinder is struck it would produce the sound from a different piece of the drum kit.
Preliminary Tests
Arduino Knock Test
For the beginning test of my project I followed the knock tutorial found on Arduino. [1] The hardware setup for the example was simple enough. Unlike the example, I used a breadboard and taped my Piezo sensor to the bottom of a lid from a mixed nuts container. With this test, when I tap on the lid of the container, Arduino should output knock! and the LED light should turn on.

