DeViCeS oF pErCePtIoN
Day 1 Notes
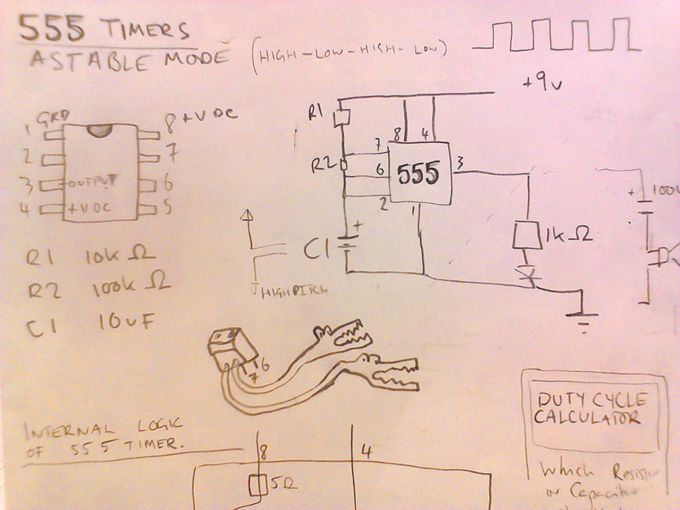
Learning about the two versions of circuits you can make with the 55 timer, for two modes, Astable and Monostable.
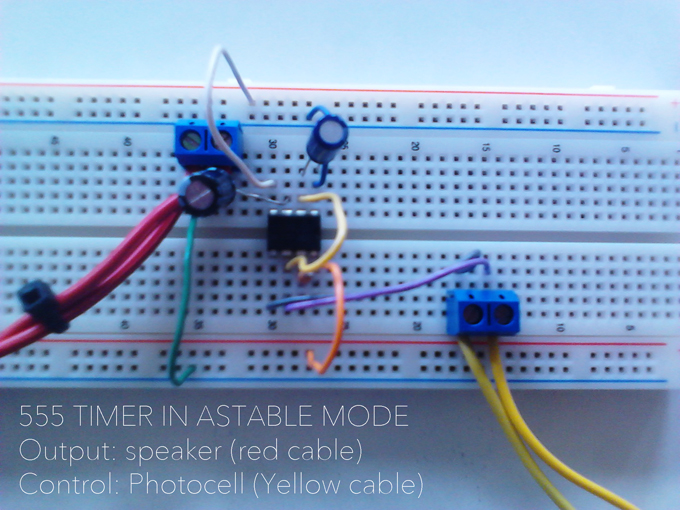
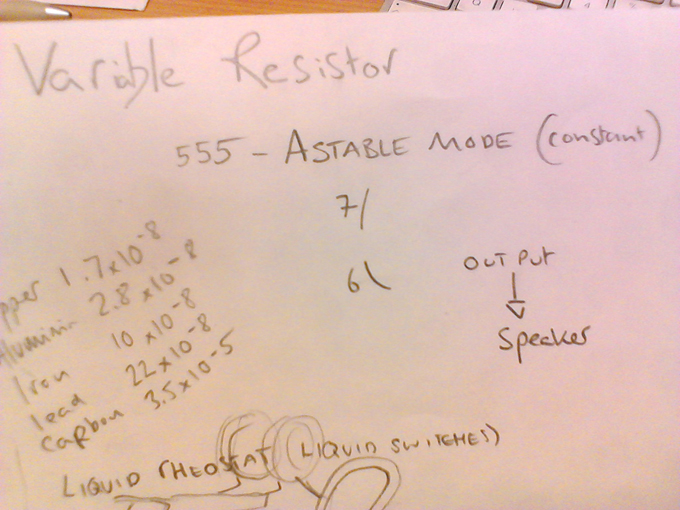
The Astable mode the circuit has a constant output which's the duration can be varied by using resistors and capacitors with different strengths. In this example we used an LED as the output.
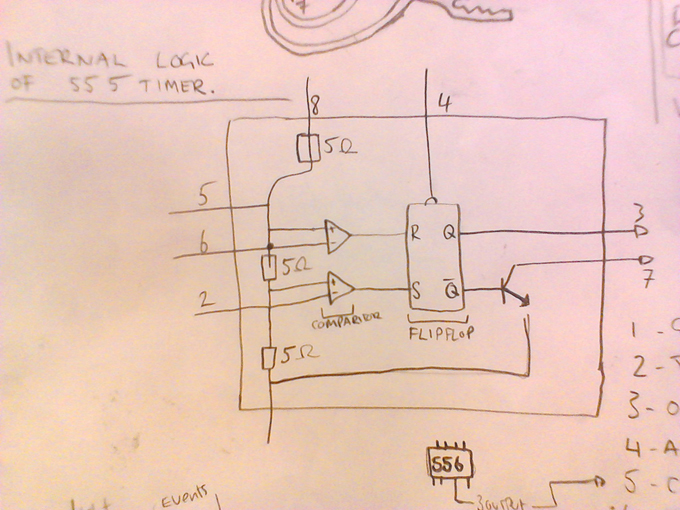
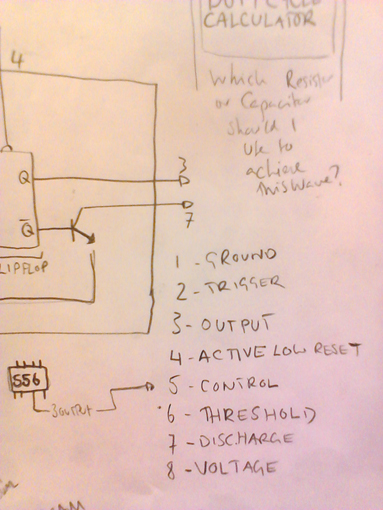
Then you've got to 'get inside the machine' The internal Logic of the 555 Timer.
Day 2 Notes
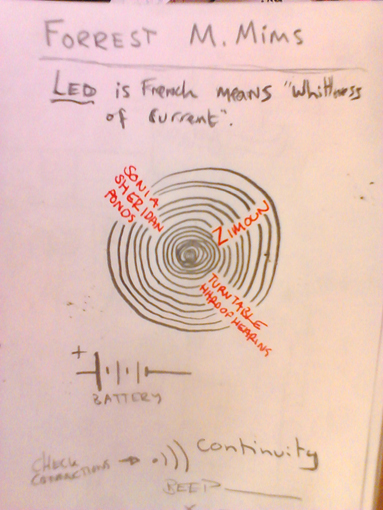
'Technology is an agent of power... and in practice is not the sum of the artefacts, but a system much more than the parts. this system includes organisation-mindset-symbols and a whole body of knowledge...' - Sonia Sheridan Bonds
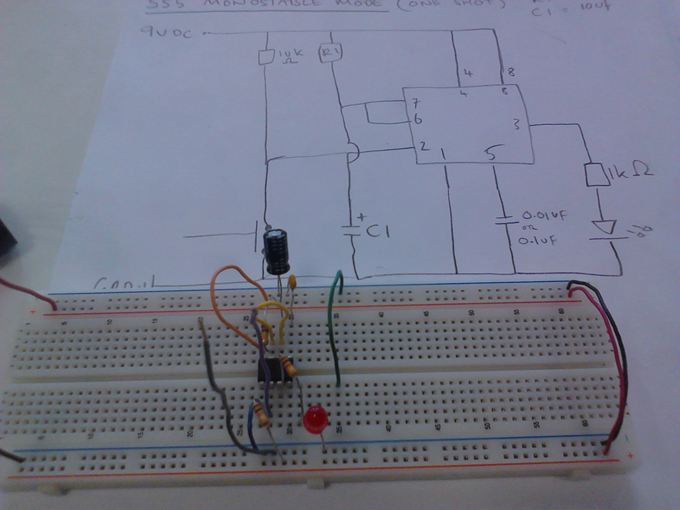
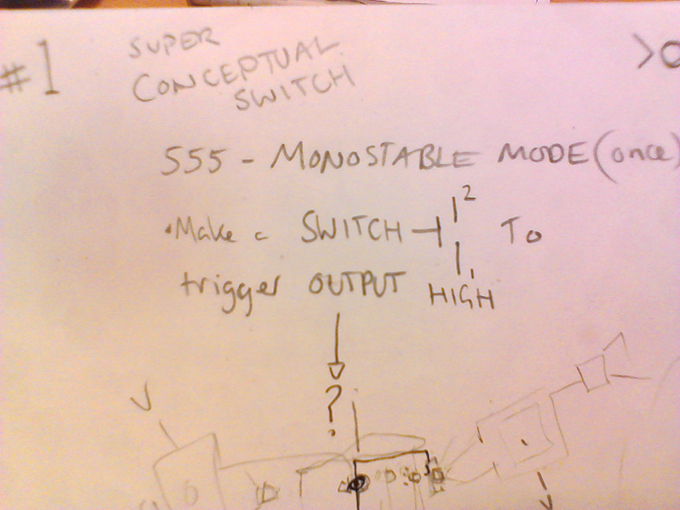
The 555 TIMER: MONOSTABLE MODE
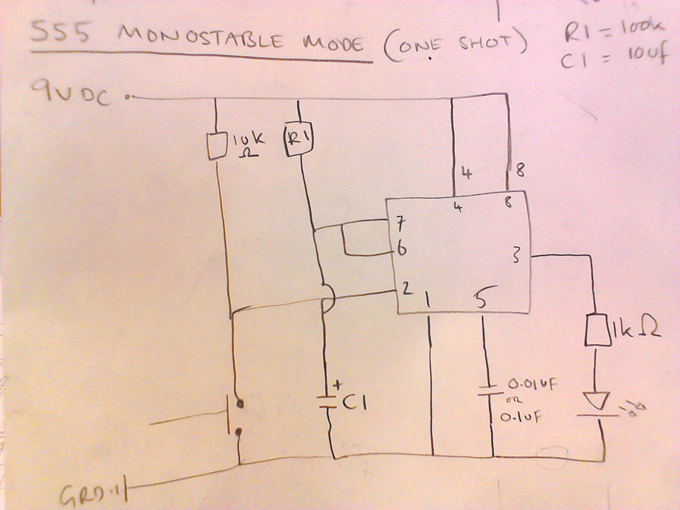
The Monostable mode includes a stitch, which when activated, lets the circuit run for a duration of time that is conditioned by the resistors and capacitors. (on once, HIGH)
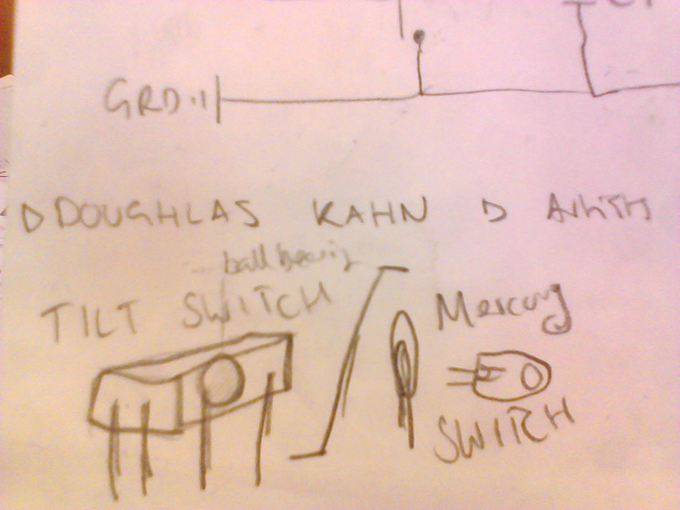
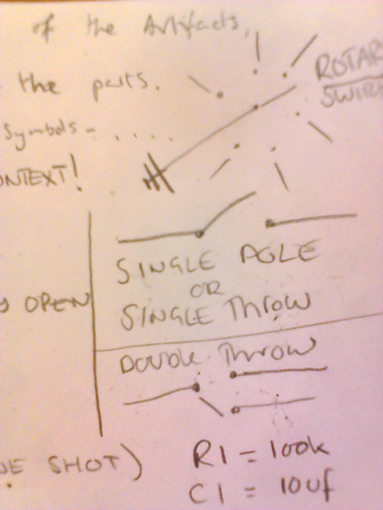
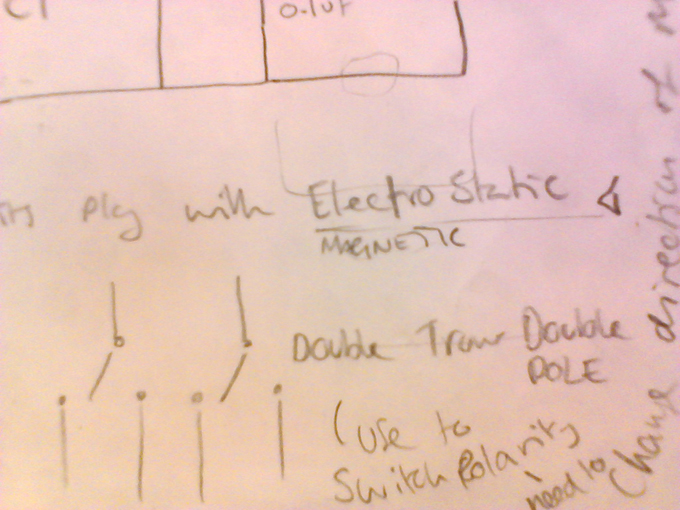
Switches:
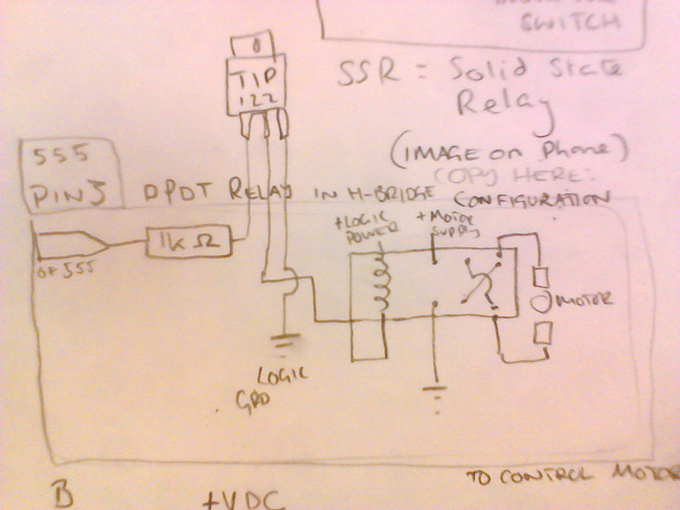
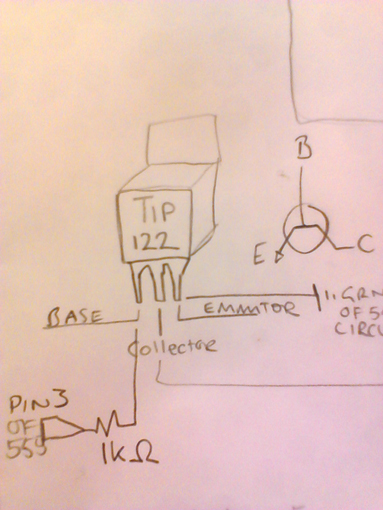
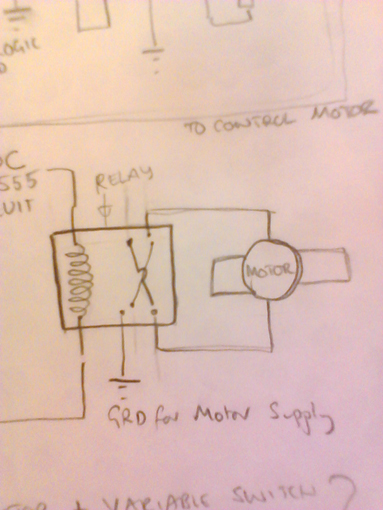
H-Bridge for controlling the direction of a motor:
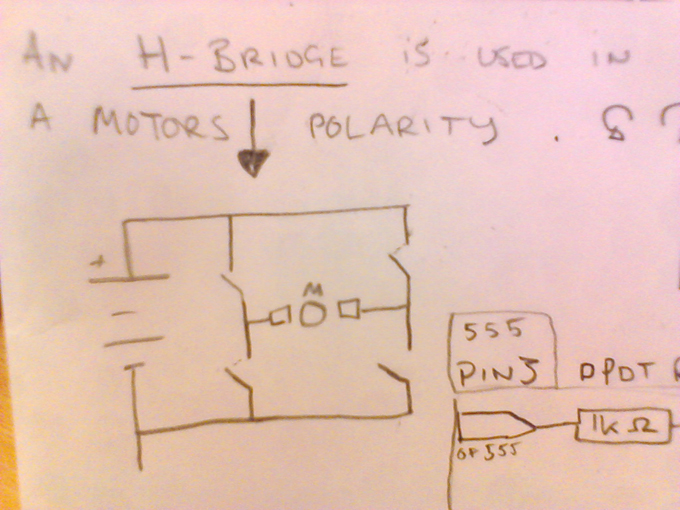 File:Day2 F.jpg
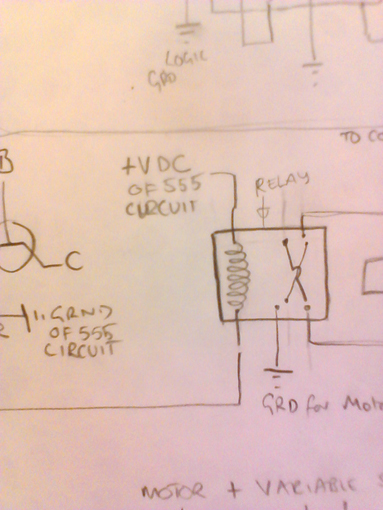
Using a relay:
1st Assignment:
Two choices: Make a switch (super conceptual) using the 555 timer in MONOSTABLE mode. Output what ever you like. Focus is on the switch.
Or
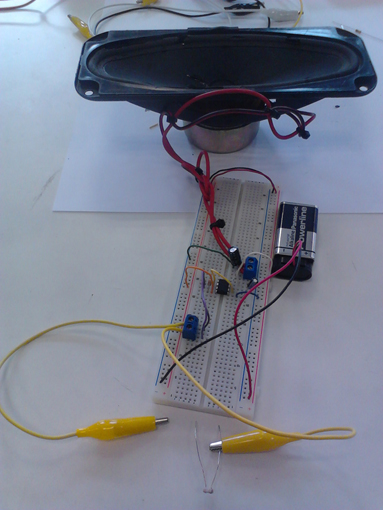
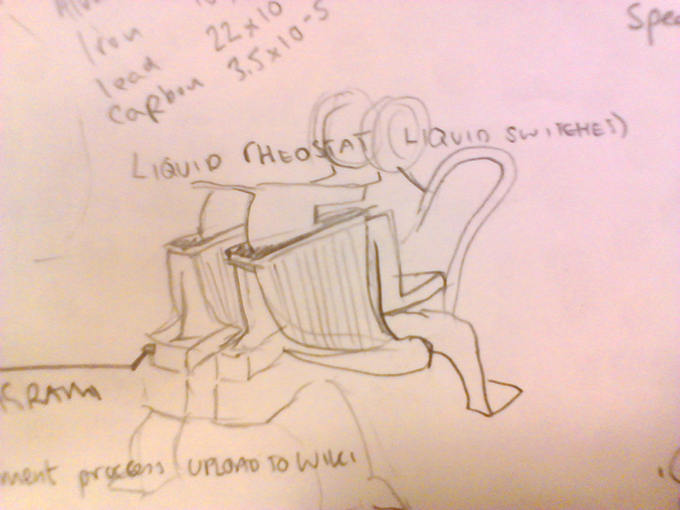
Make a variable resistor (alternative, creative) the main thing is that what ever it is, the material needs to be conductive. Using the 555 timer in Astable STABLE mode. Output will be sound (speaker) Focus is on the aesthetic of the sound and the creative use of resistance.
So! to thinking and sketching.....
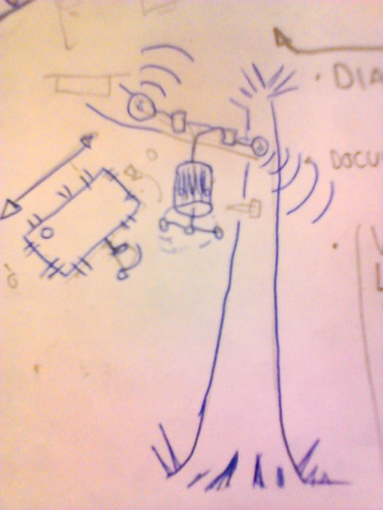
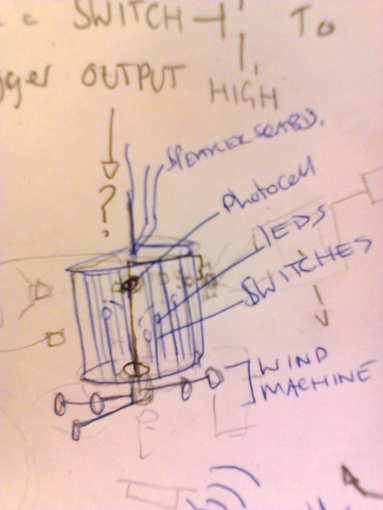
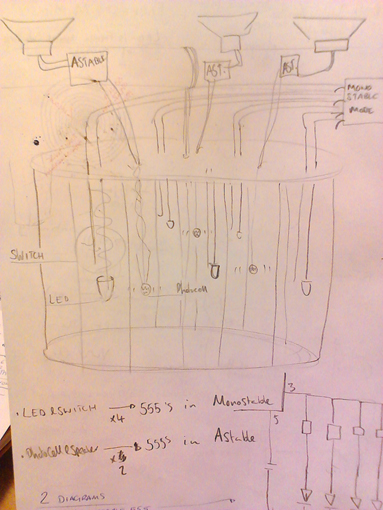
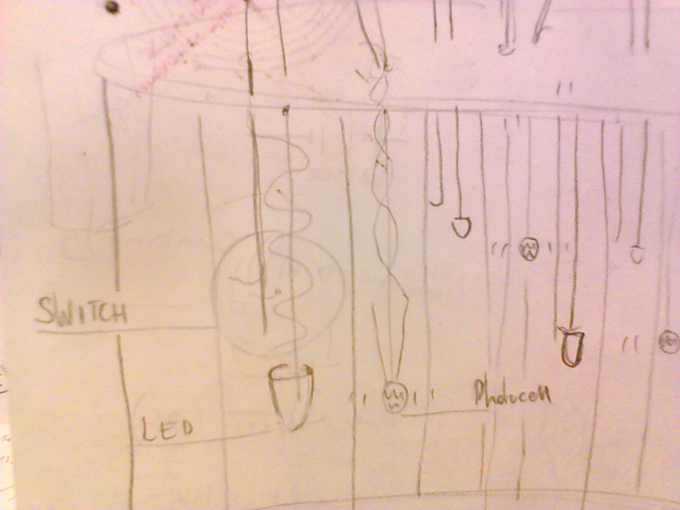
Working with Luis, we came up with an electric anti-bird cage. The wind should blow the switched to turn on the LED's, which in turn are recognised by the photocells, acting as resistors in another circuit which produces sounds. We tried it in the Ilm Park at night.
Here is a video of it inside: https://vimeo.com/98824110
This is the Cage in the ilm Park:
https://www.youtube.com/watch?v=5zqEh81ad68&feature=youtu.be
This is a 3d circuit diagram of both circuits:
--- F I N A L P R O J E C T ---
Designing and building a mechanism to control an Umbrella a with ones' breath, or respiratory movement of the chest. Enter the breathing Umbrella. Do you breath the Umbrella or does it breath you?
First researched and collected the necessary components:
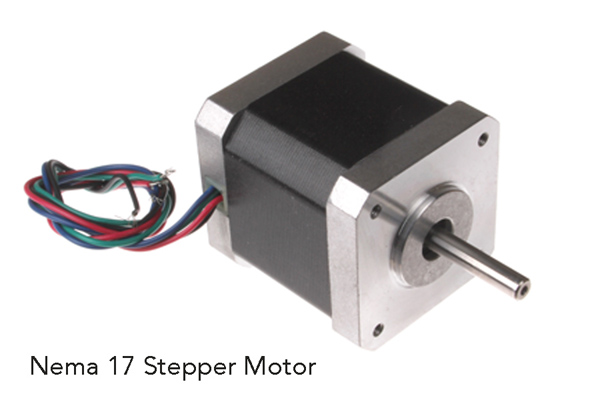
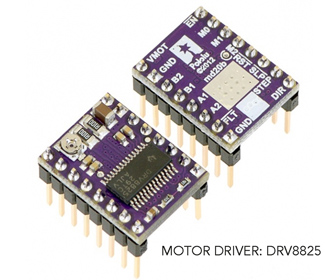
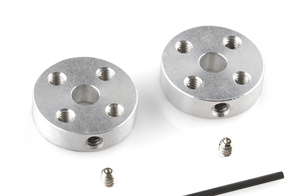
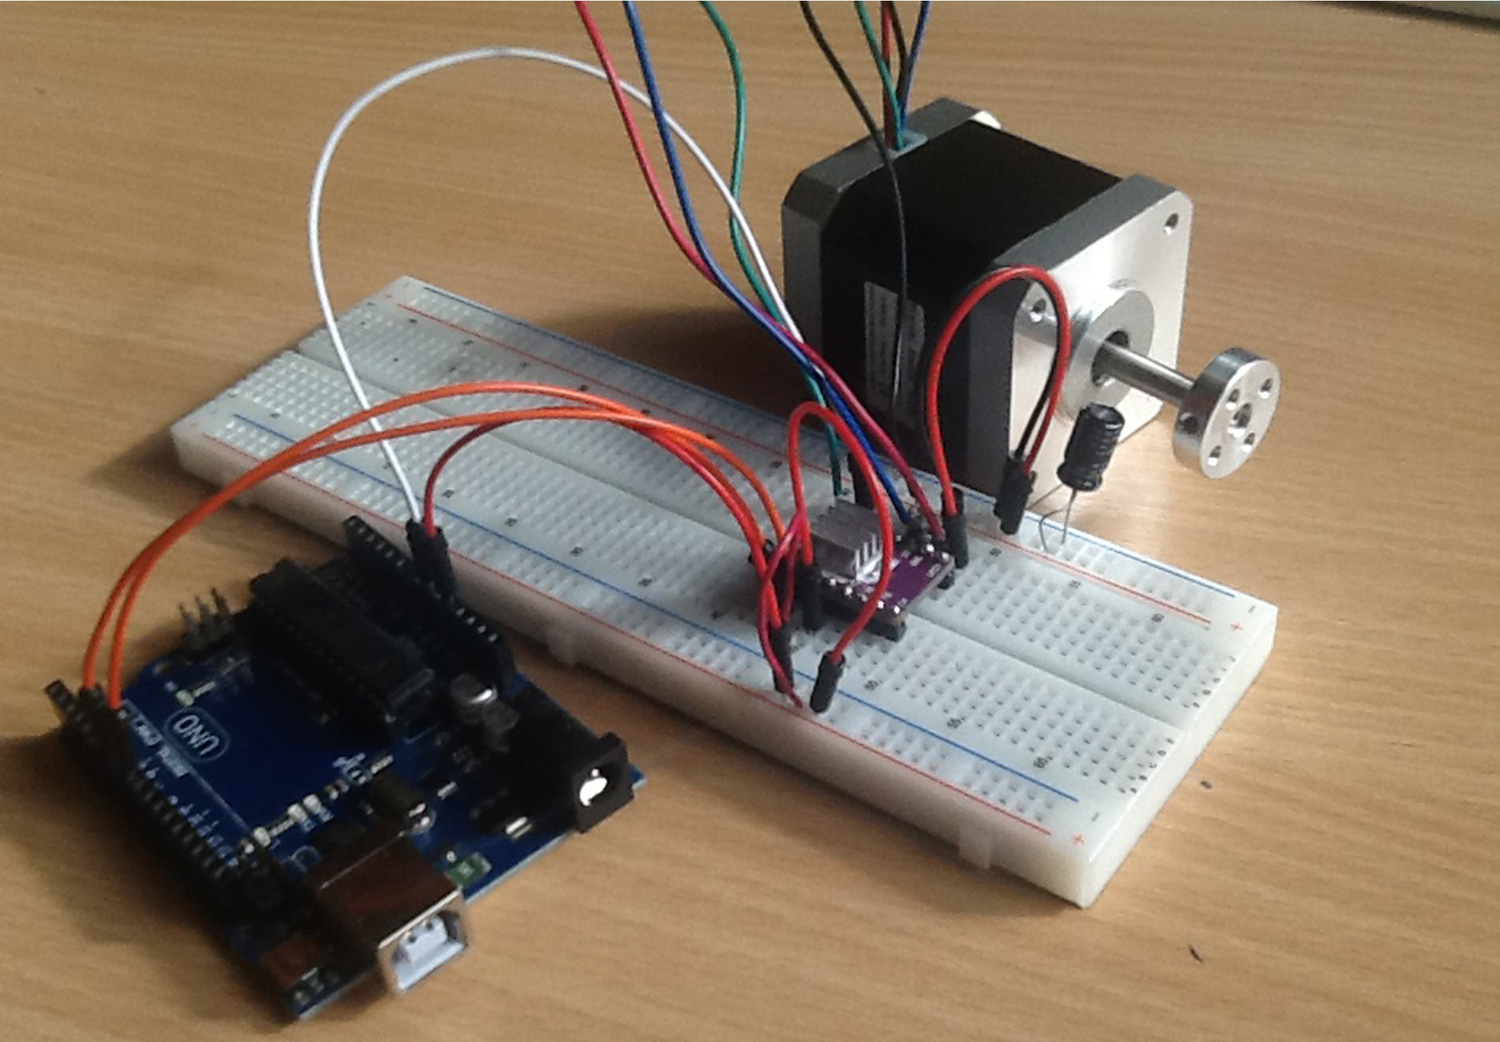
One Strong Stepper Motor/ The Motors Driver/ A Universal Mounting Hub/
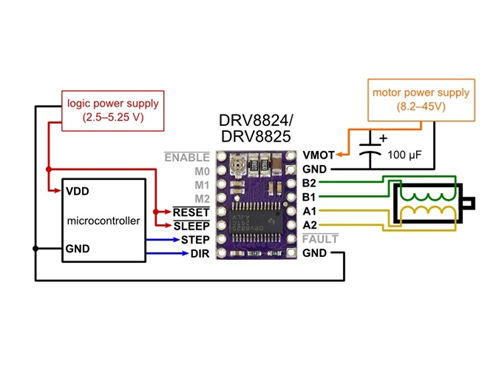
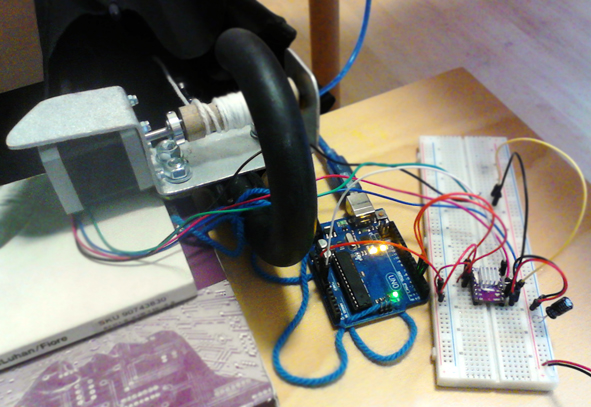
Arduino, Motor and Driver connected:
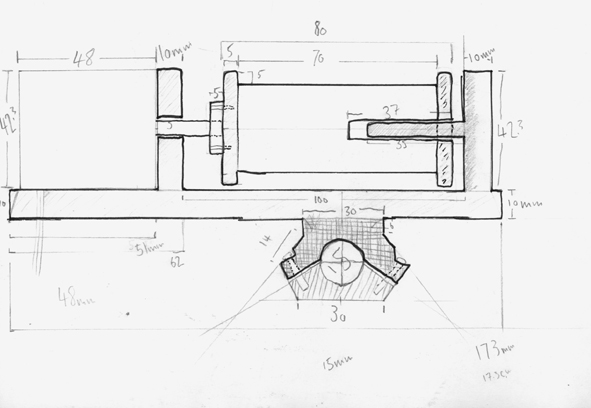
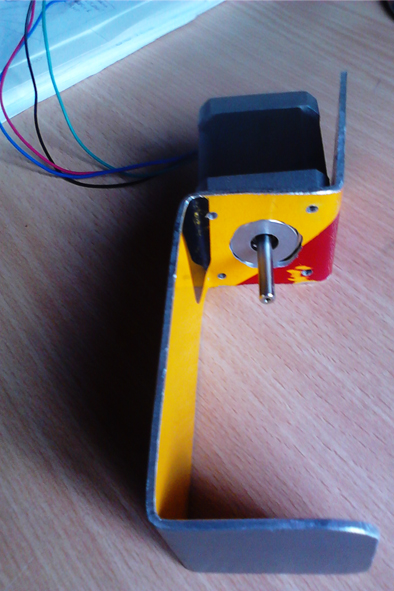
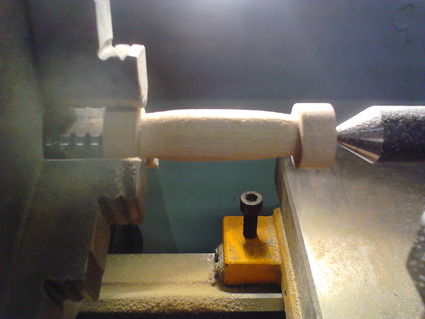
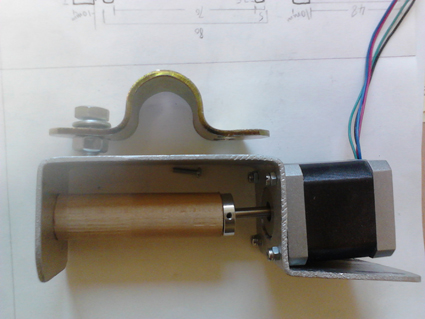
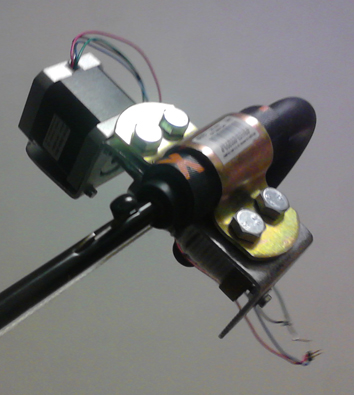
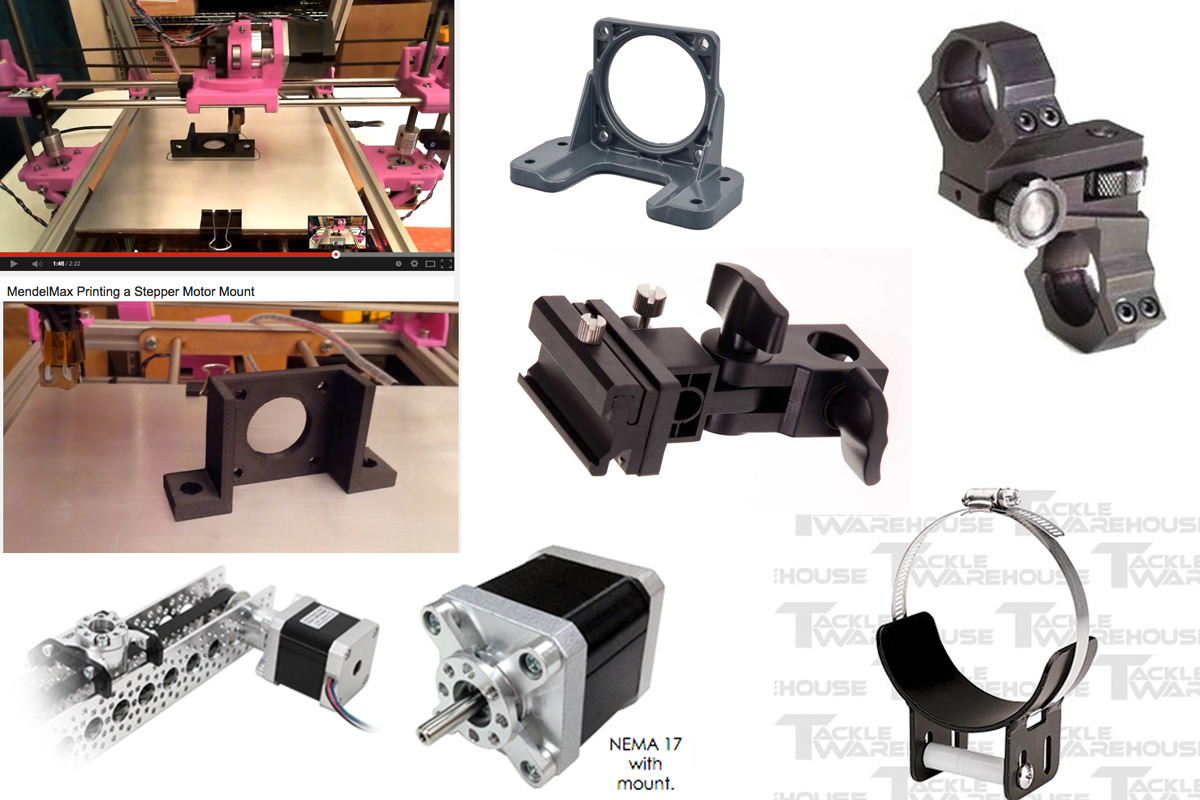
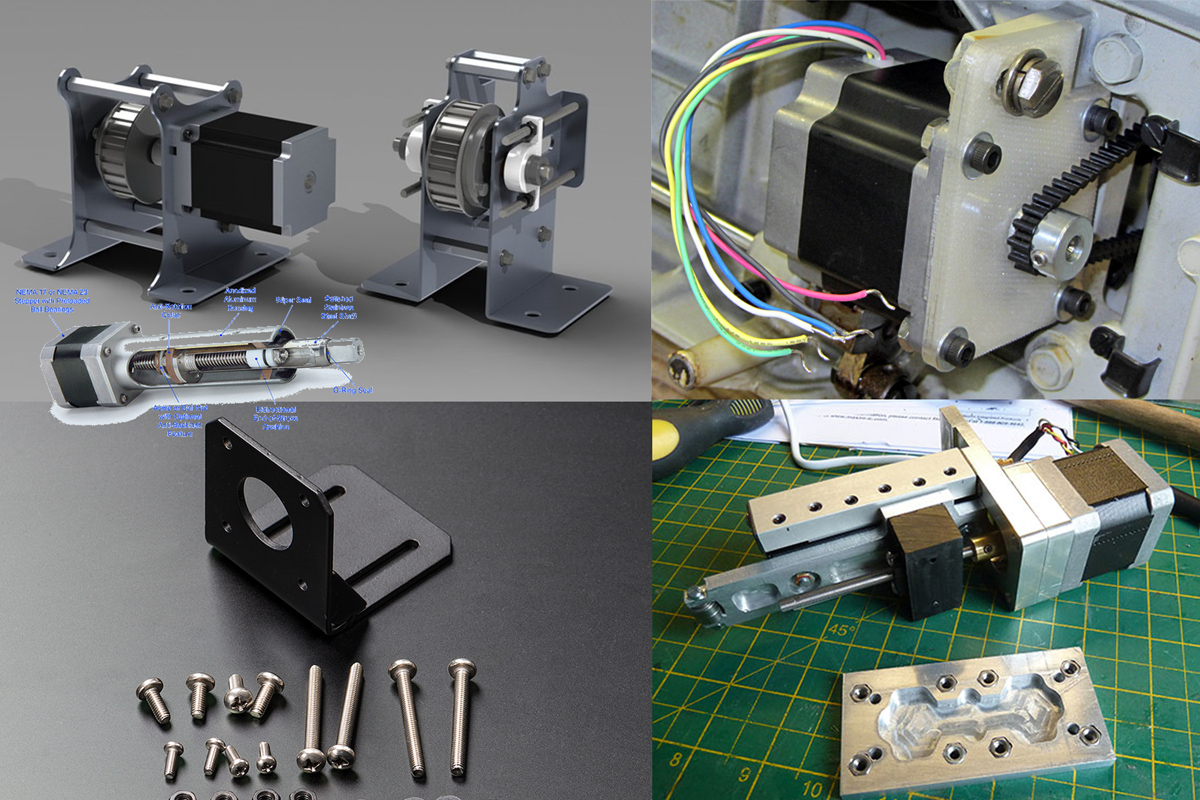
Considered a variety of mounting methods for the Motor and Umbrella:
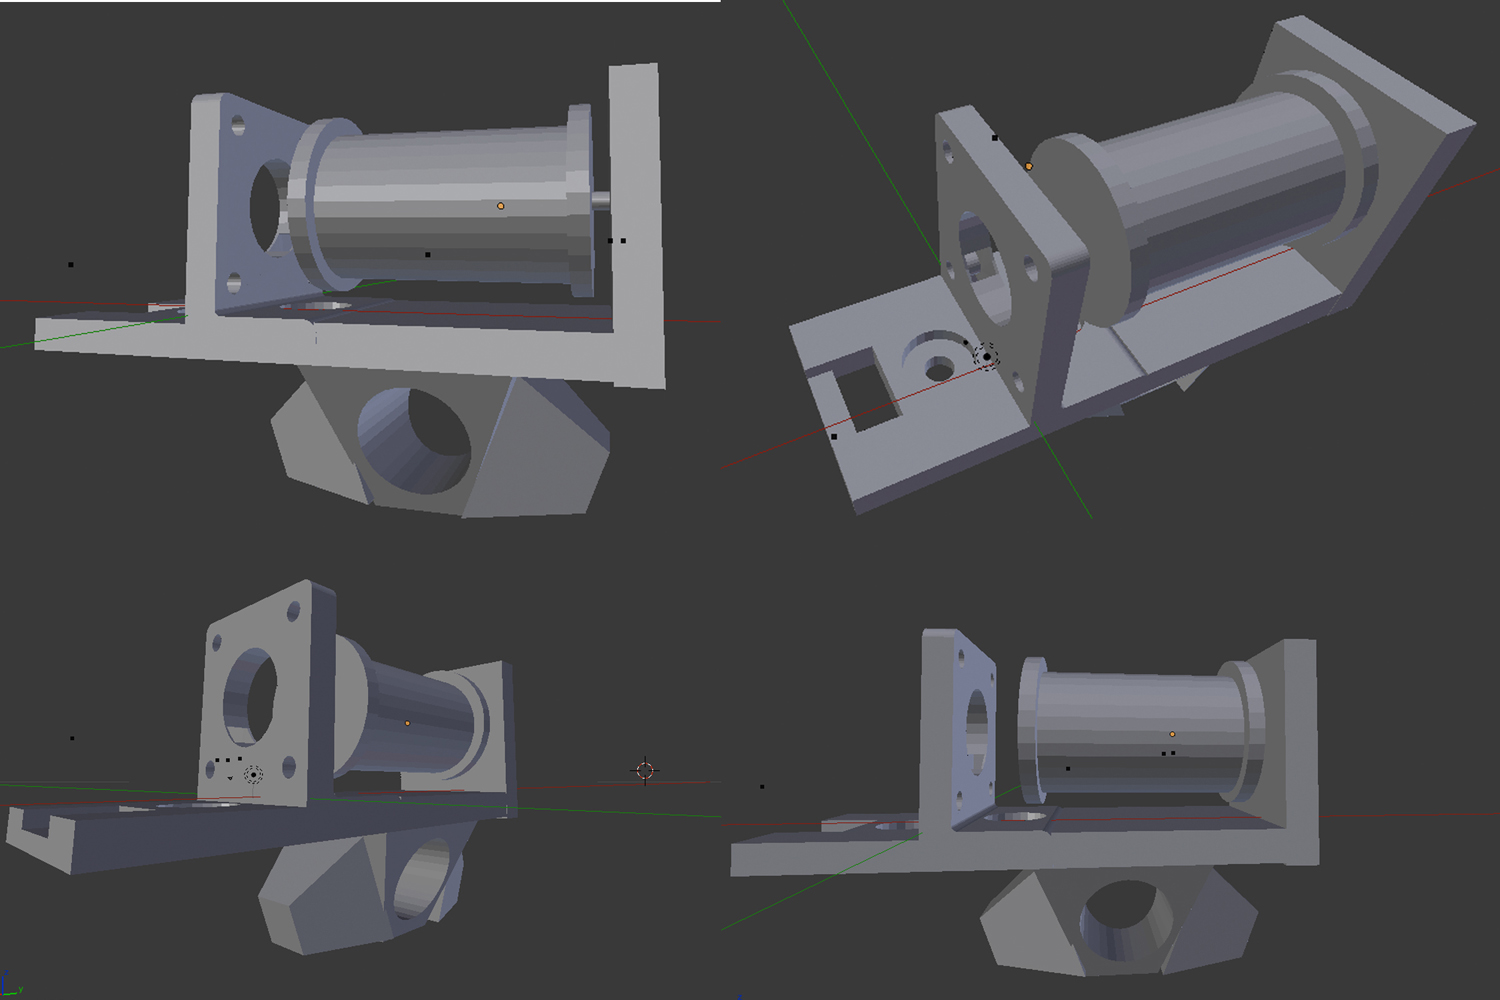
3D design of the the mounting for potential 3D Printing (using the Blender software):
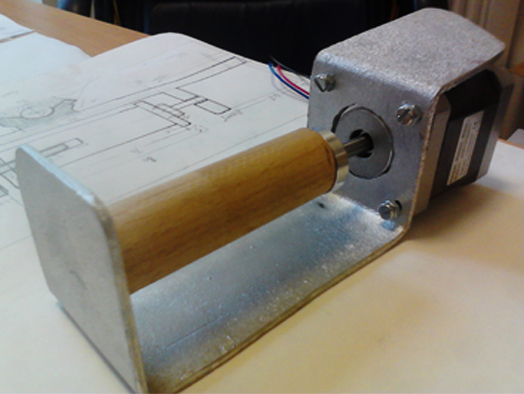
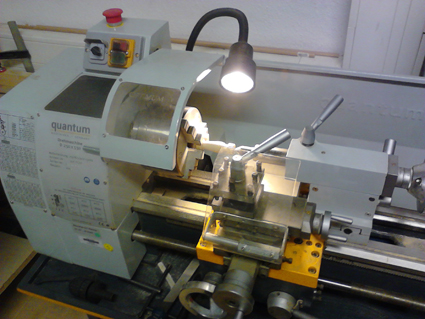
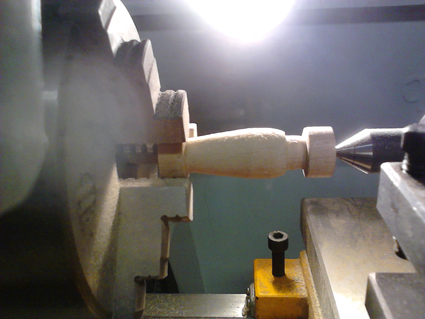
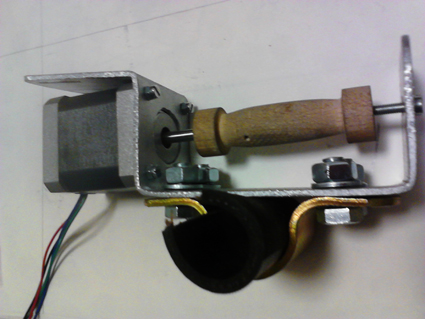
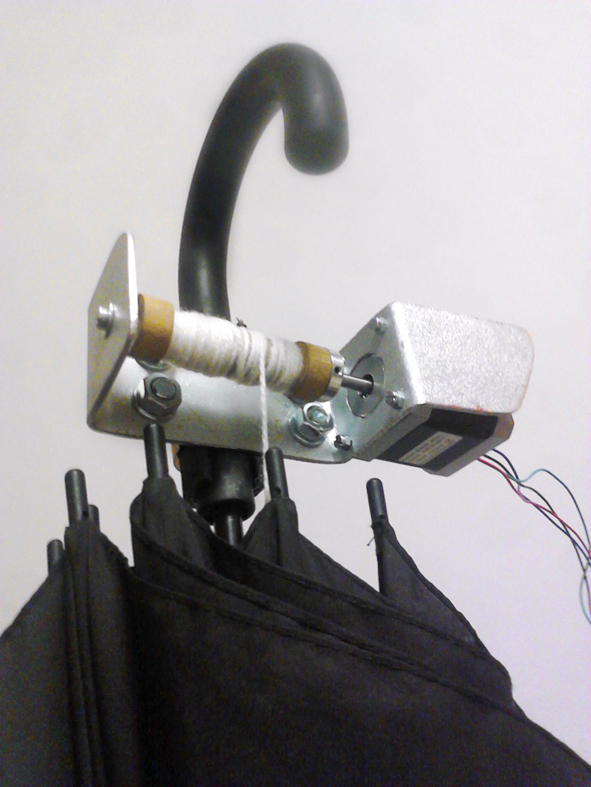
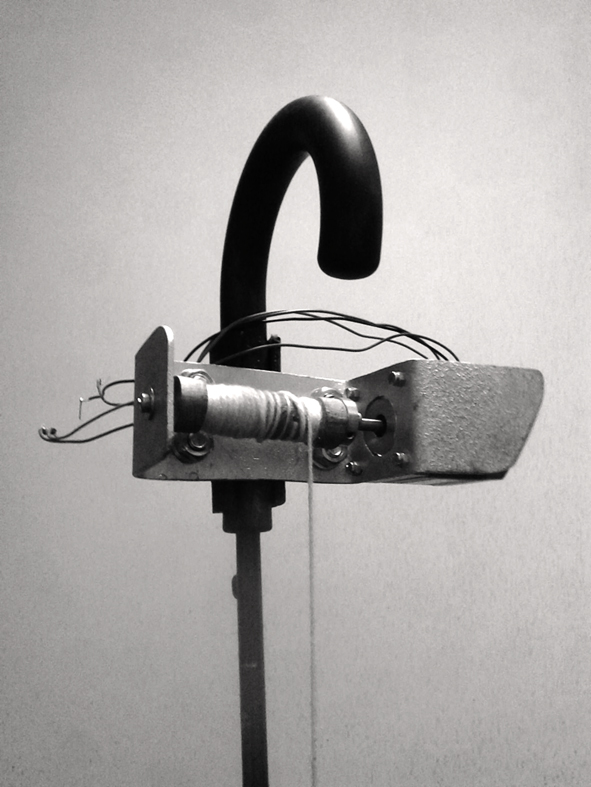
First attempt to use wood and Metal by hand to construct the above mechanism sketch is shown below in the images:
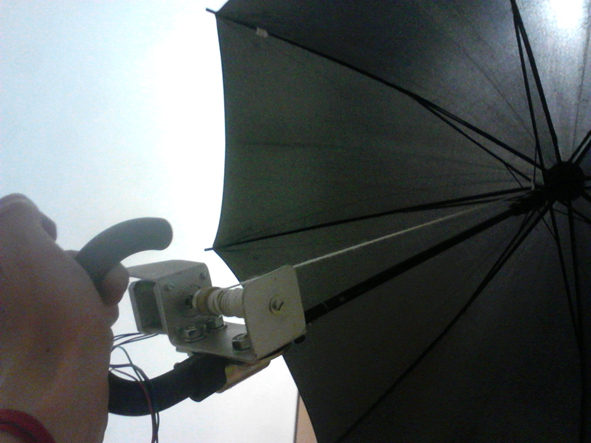
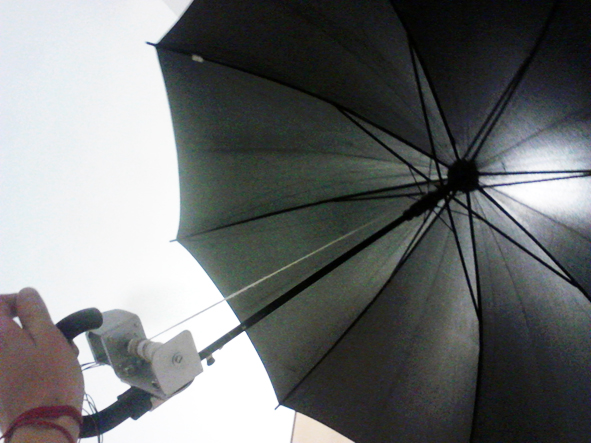
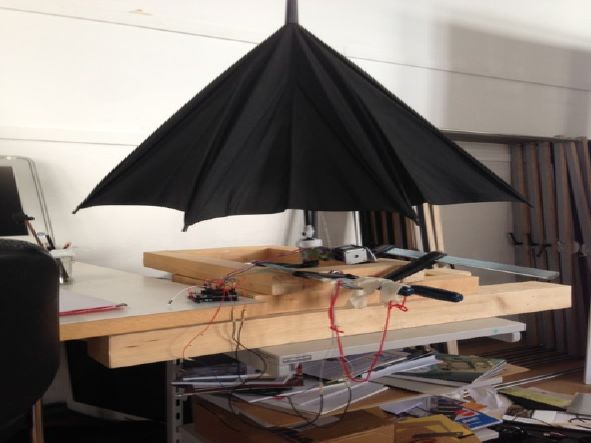
Above: The finished Motor mechanism, attached to the Umbrella.
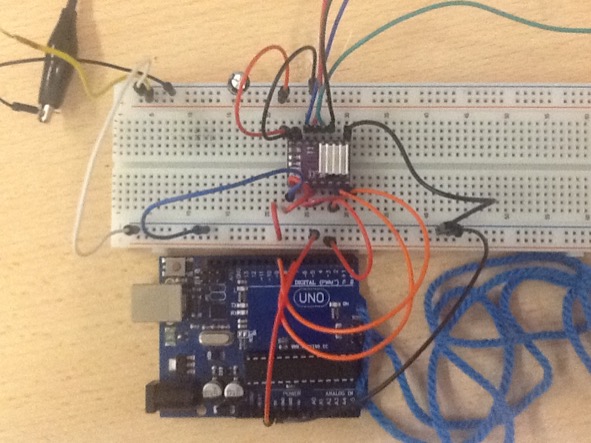
Below: The circuit on the breadboard, DRV8825 Driver for the motor.
The breadboard can only take a limited current. So next step is to make a Custom PCB board.
I spent 2 weeks trying to create the new part (DRV8825) in Fritzig because it was not there. I was editing someone else's shared part, because theirs was incomplete. Long story short: I made it but it still didn't function correctly when trying to draw the connection traces.
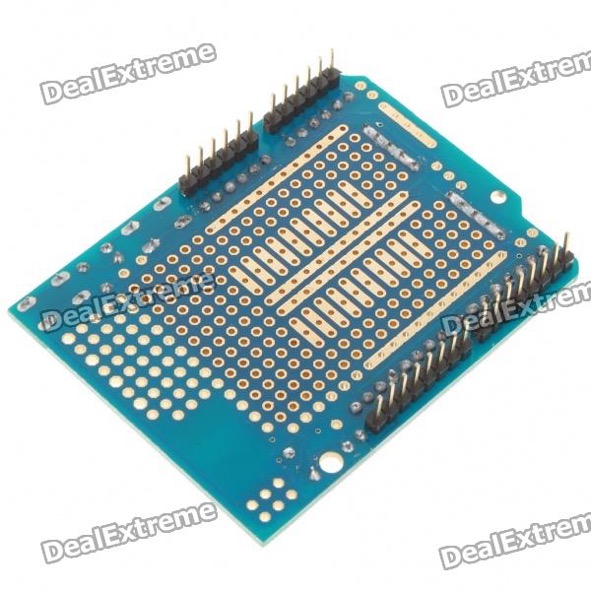
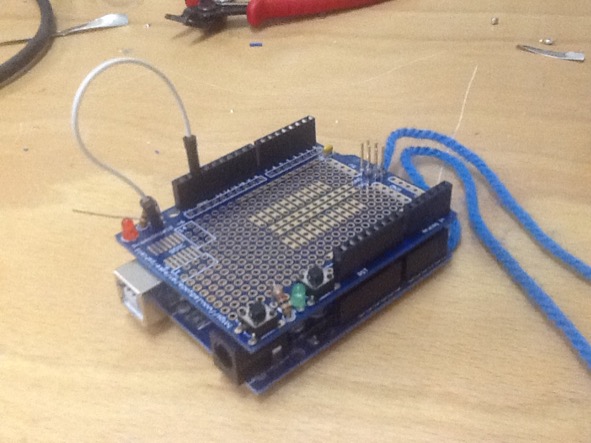
So I aborted this design process and instead bought a Arduino Proto-shield to solder my circuit to.
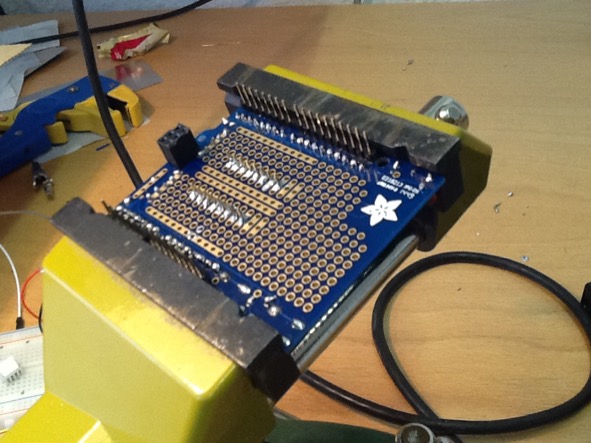
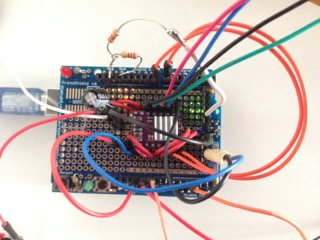
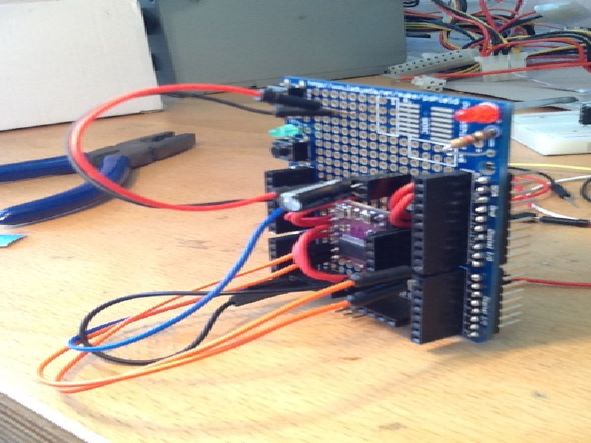
Soldering the Protosheild:
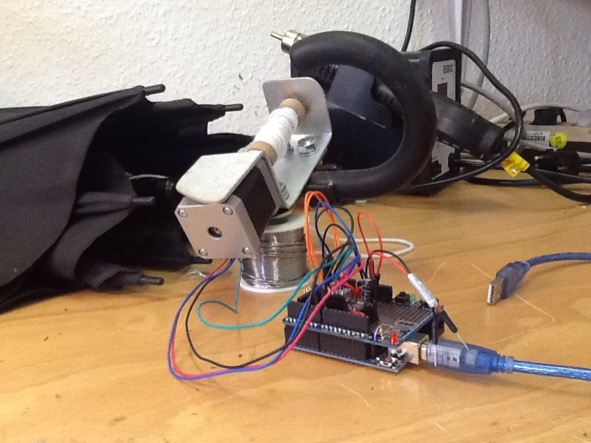
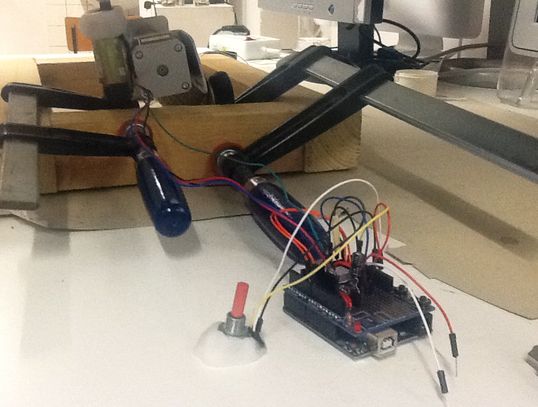
Images of the general set-up while coding the breathing interaction:
Below: The Code for controlling the motor's speed and direction, via the 'breathing sensor. The Magnet sensor outputs a range of values, and here it basically operates in place of a Potentiometer.
int dirPin = 7; int stepPin = 8; long stepsToDo; long stepTime; int dir; long target; long curPos; void setup() {
 Serial.begin(9600);
 pinMode(dirPin, OUTPUT);
 pinMode(stepPin, OUTPUT);
} void loop(){
 target = analogRead(A2) * 20 ;
 stepsToDo = target - curPos;
 if (stepsToDo < 0) {
   digitalWrite(dirPin,LOW);
   dir = -1;
 }
 else {
   digitalWrite(dirPin,HIGH);
   dir =  1;
 }
 delayMicroseconds(stepTime + 10); //10 as minimum step Time
if (stepsToDo != 0) {
   curPos = curPos + dir;
   stepTime = 300000 / abs(stepsToDo);
   digitalWrite(stepPin,!digitalRead(stepPin));
 }
}
Here is a short video of the First Functioning moment. I am using a Potentiometer to control the Umbrella. Later this will be replaced by the Breathing Sensor.
https://www.youtube.com/embed/Sn_Zn28_QuY
Breathing Sensor Version 1:
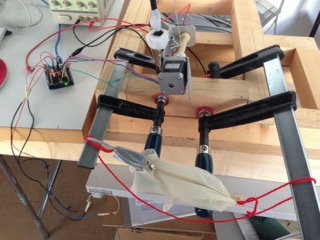
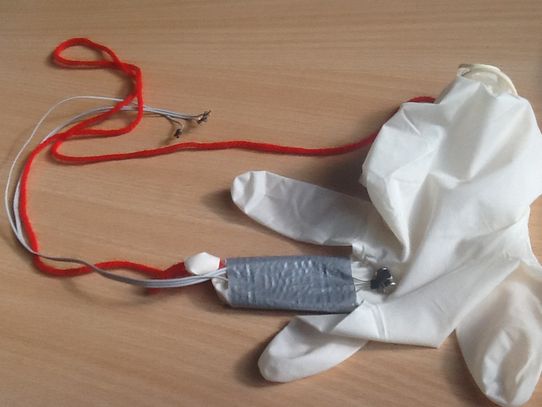
Above: Magnet sensor and a magnet attached to a latex glove, which you strap around your upper rib cage (Chest). when your Chest contracts and expends, the magnet is moved closer and further from the sensor, creating a changing value. This is used to control the Umbrella. The Arduino code for this is above.
