IFD:EAI SoS21/course material/Session 6: Getting Started with Teensyduino: Difference between revisions
From Medien Wiki
No edit summary |
No edit summary |
||
| Line 8: | Line 8: | ||
read through the following sections: | read through the following sections: | ||
* https://www.pjrc.com/teensy/troubleshoot.html | * https://www.pjrc.com/teensy/troubleshoot.html | ||
# check out the teensy web ide patches: https://www.pjrc.com/teensy/gui/ | # check out the teensy web ide patches: https://www.pjrc.com/teensy/gui/ | ||
# | #*add the following nodes from the gui: | ||
# | #*#from "input" add "i2s" | ||
# | #*#from "output" add "i2s" | ||
# | #*#from "control" add "sgtl5000" | ||
Revision as of 16:10, 25 May 2021
After you soldered your headers and mics, it's time to try and get some sound in and output from your teensy devices! Here is a short how-to, partially summarizing what we did in the last online session.
- Installing Arduino IDE and Teensyduino: https://www.pjrc.com/teensy/td_download.html
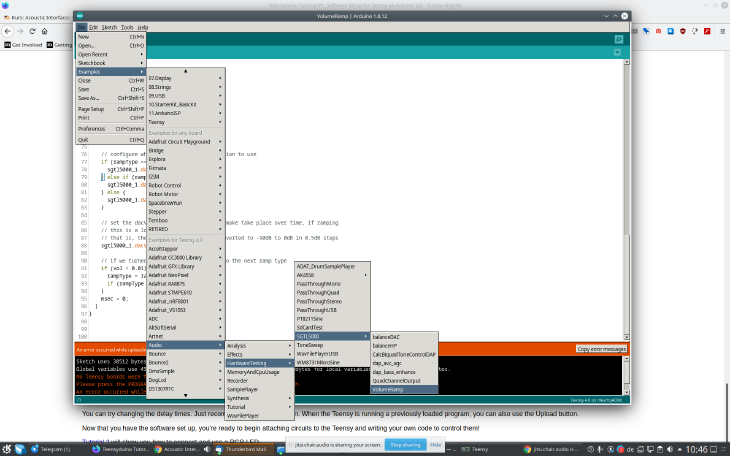
- Opening and programming the example patch
If you are having problems connecting your teensies :( read through the following sections:
- check out the teensy web ide patches: https://www.pjrc.com/teensy/gui/
- add the following nodes from the gui:
- from "input" add "i2s"
- from "output" add "i2s"
- from "control" add "sgtl5000"
- add the following nodes from the gui:
