With the »Cisco Jabber« software, which requires a licence, it is possible to use the in-house voice-over-IP telephone system of the Weimar universities directly via PC or MAC. The software, which is designed as a softphone, makes it possible to make simple and uncomplicated phone calls directly from your own computer.
Usage requirements
Step1: Requesting the software from the SCC User Service
In order to be able to use the software »Cisco Jabber« , you need the necessary installation file. Please request this from the SCC user service. Use the form »Binding Software Request« and fill it out in advance. Then send it by e-mail to the SCC User Service (see contact section on this page). To fill out the form, you will need the name of the computer and the IP address of your computer (both can be found on the yellow sticker on your device) as well as your personal user ID (user name only).
Step 2: Install the software (receive a download link)
After processing the request, you will be sent a link to download the installation software. The download can only be carried out from the Bauhaus-Universität network, i.e. you must establish a VPN connection or LAN connection herstellen (via the university's network or via the WiFi network »eduroam«).
Functionality
- In the version of the client of »Cisco-Jabber« licensed for the Weimar universities, only individual selected functions are available. Currently, only the »Softphone function« can be used to control the respective office telephone.
- Via the central LDAP directory and the contacts in your own Microsoft Exchange account, you can access the service telephone numbers and addresses of the universities.
Tips & tricks for installation and usage
Installation of »Cisco Jabber«
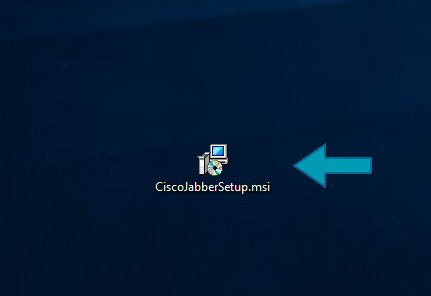
Please start the installation by double-clicking on the installation file. You need administrator rights for this; if necessary, contact the administrator of your PC.
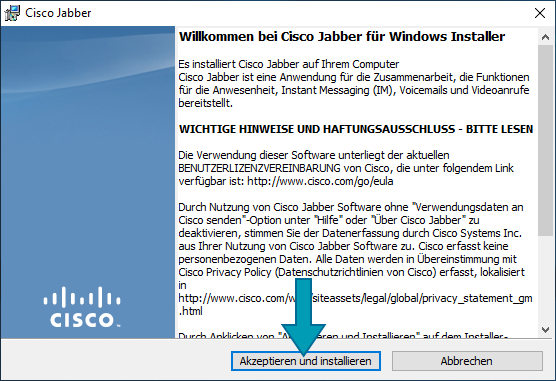
Then click »Accept and install«.
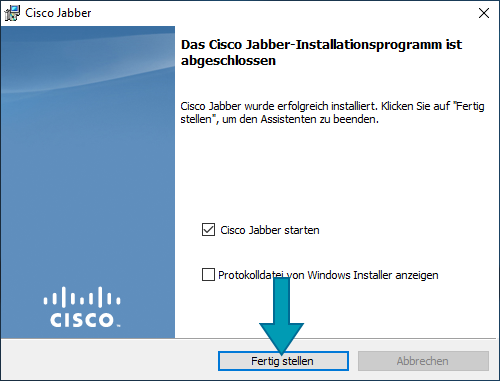
Complete the process by clicking on »Finish«.
Login to »Cisco Jabber«
If you are not on the university network, first establish a VPN connection.Here you can find out how to establish a VPN connection.
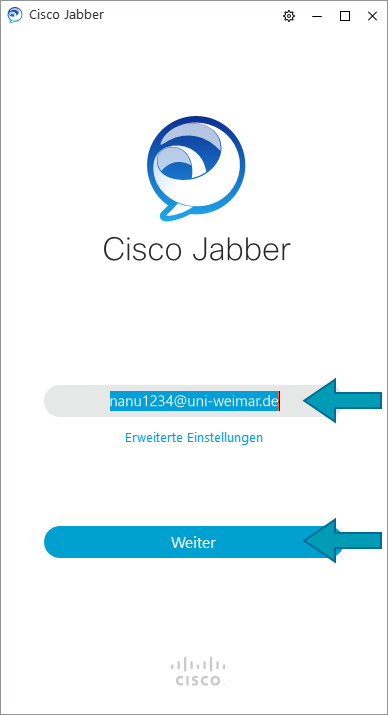
If the program has not started automatically, now open »Cisco Jabber« and enter your login and »@uni-weimar.de« (e.g.: »nanu1234@uni-weimar.de«, not your e-mail address).
Then click on »Next«.
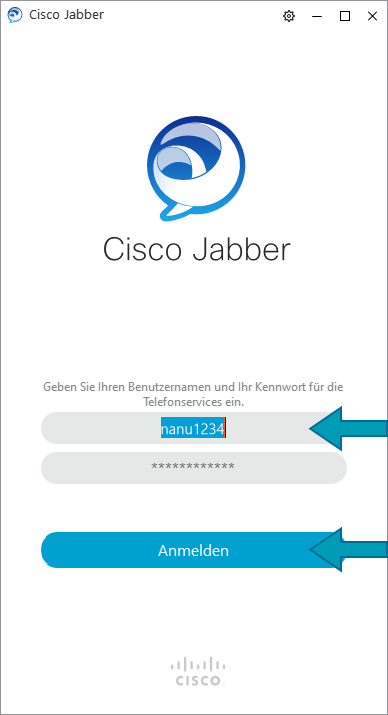
In the next step, enter your personal password and then click on »Login«.
Configurating »Cisco Jabber«
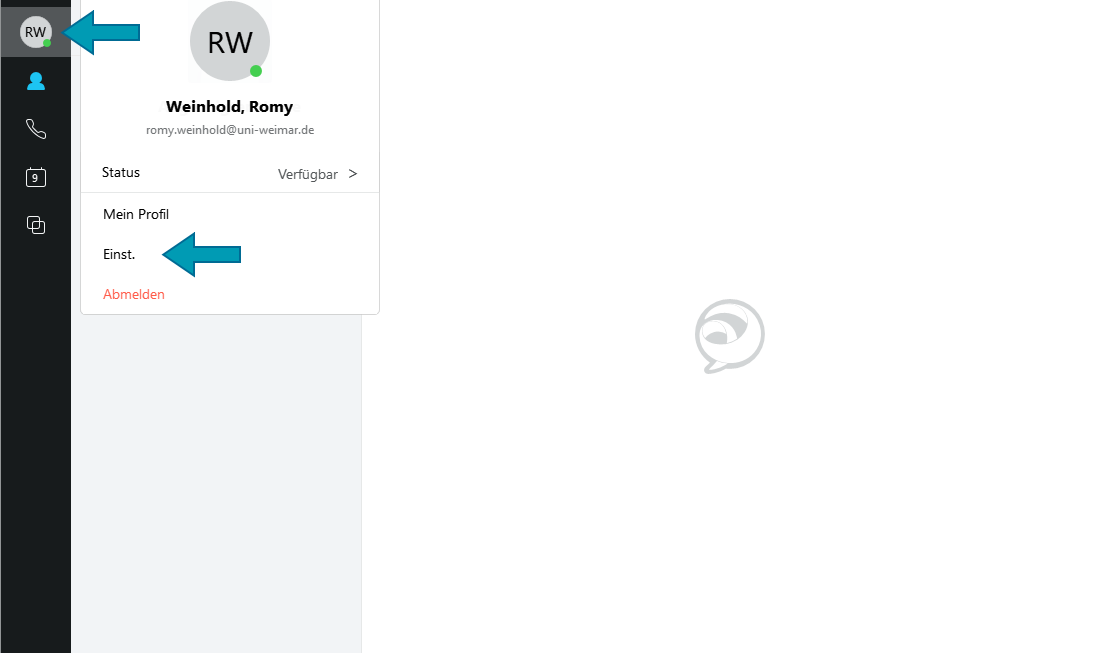
n order to be able to use the software, you must make some settings. To do this, first click on your initials at the top left and select the item »Settings« in the window that then appears.

Navigate to the item »General« in the left column. Here the automatic start at system start should be deactivated - from the home office you will mostly have to establish a VPN connection first.
Navigate further to the item »Audio«.
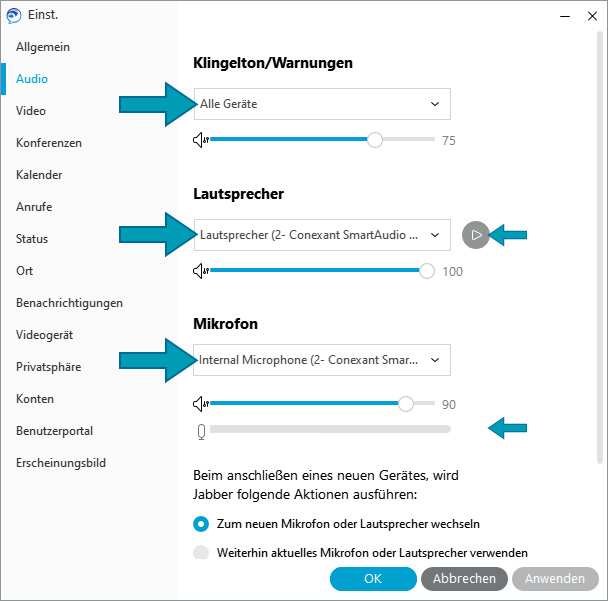
Depending on whether you want to use the internal loudspeaker and the internal microphone of the computer or whether you have connected headphones or a headset with a microphone, select the corresponding input and output devices in the drop-down menus.
Note: The available items in the drop-down menus vary depending on which output or input devices are available or installed on your computer.
Speaker:
Here you have the option of clicking the »play button« to check whether you hear the sound through the speakers of your device or through a possibly connected headset.
Microphone:
You can tell if your microphone is working by whether the microphone level shows a deflection when you whistle, for example.
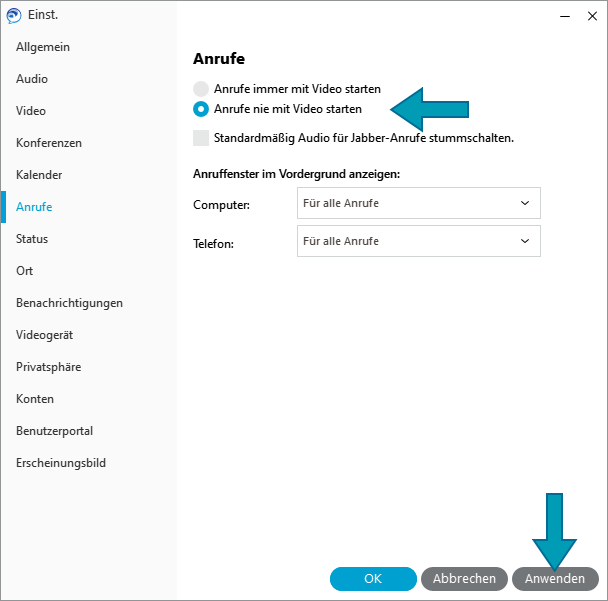
Then switch to the »Calls« area and click on the option »Never start calls with video« .
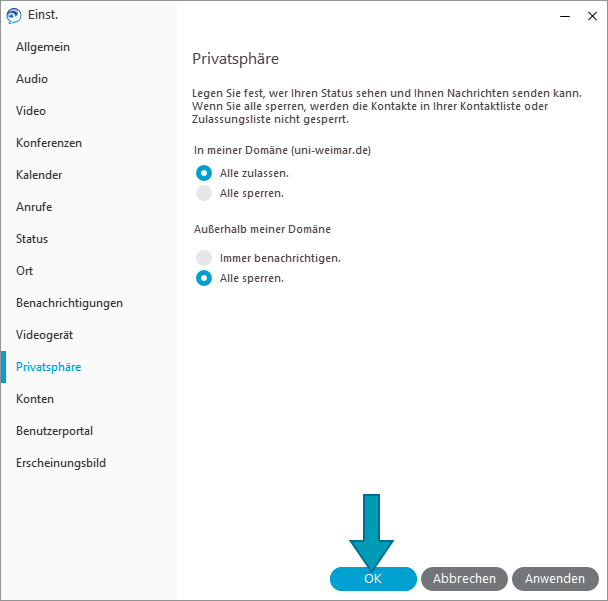
Navigate further to the »Privacy« area: Select here which group of people can see your current status (»Available«, »Away«, »Do not disturb«).
Then close this settings window again by clicking on »Apply« and »OK« at the bottom.
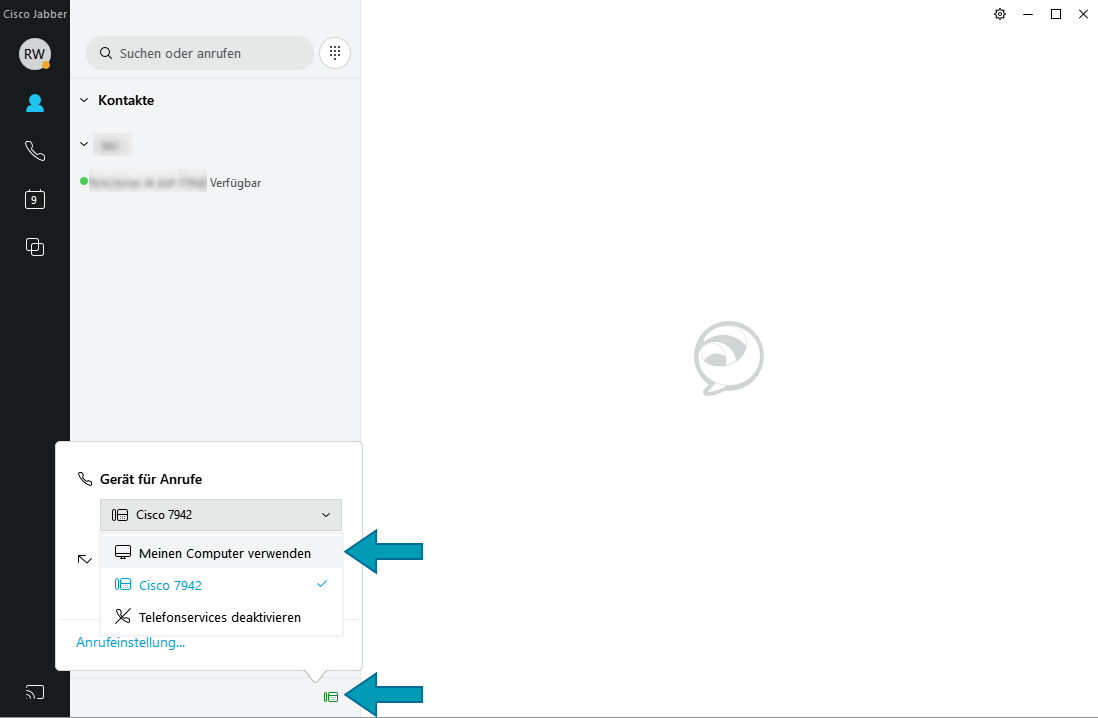
Now navigate to the bottom of the Jabber window and click on the icon placed there.
In the field for »Device for calls«, select the item »Use my computer«.
From now on you will receive all incoming calls on your computer rather than on your telephone set at work.
Calling with »Cisco Jabber«
Internal calls within the university
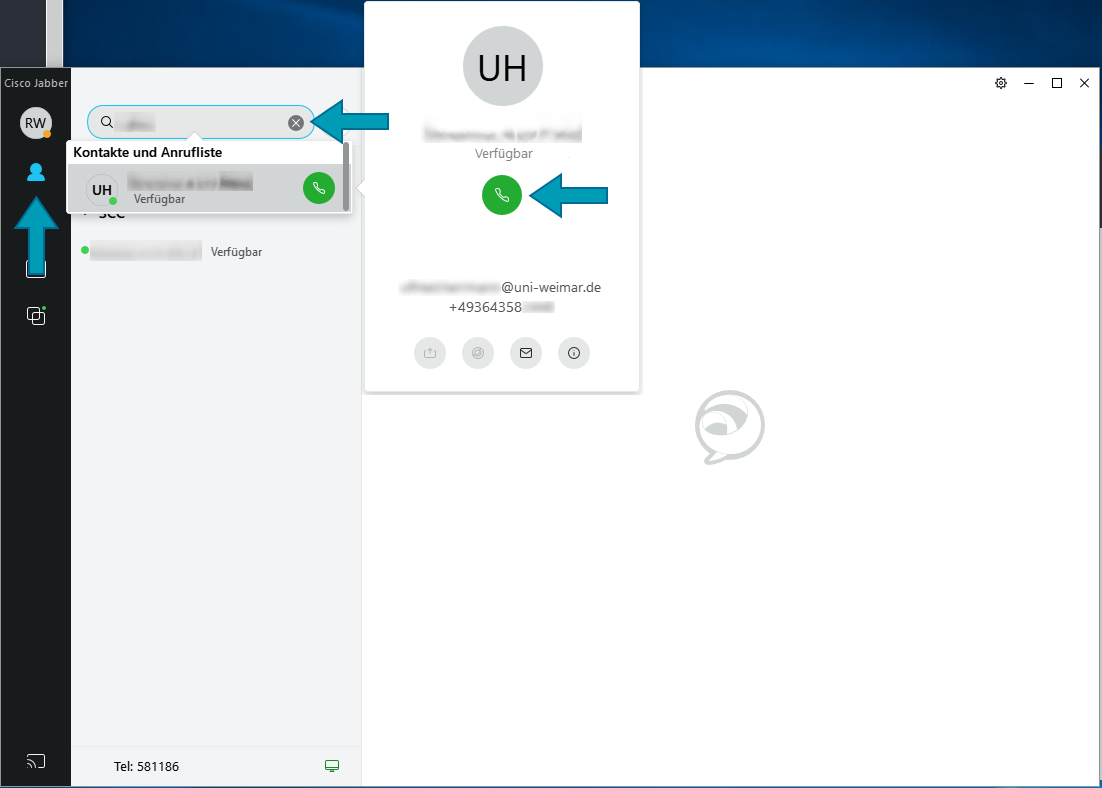
To make calls within the university, you can use the internal directory. Click on the top icon for »Contacts« in the left column and enter the name of the contact in the search field.
By clicking on the green handset or pressing the Enter key, you can call the colleague.
Using the menu with the right mouse button, you can add individual contacts that you call frequently to your personal contact list. These then appear permanently when you click on the contact symbol. You can also create individual subgroups and build your own structure.
External calls
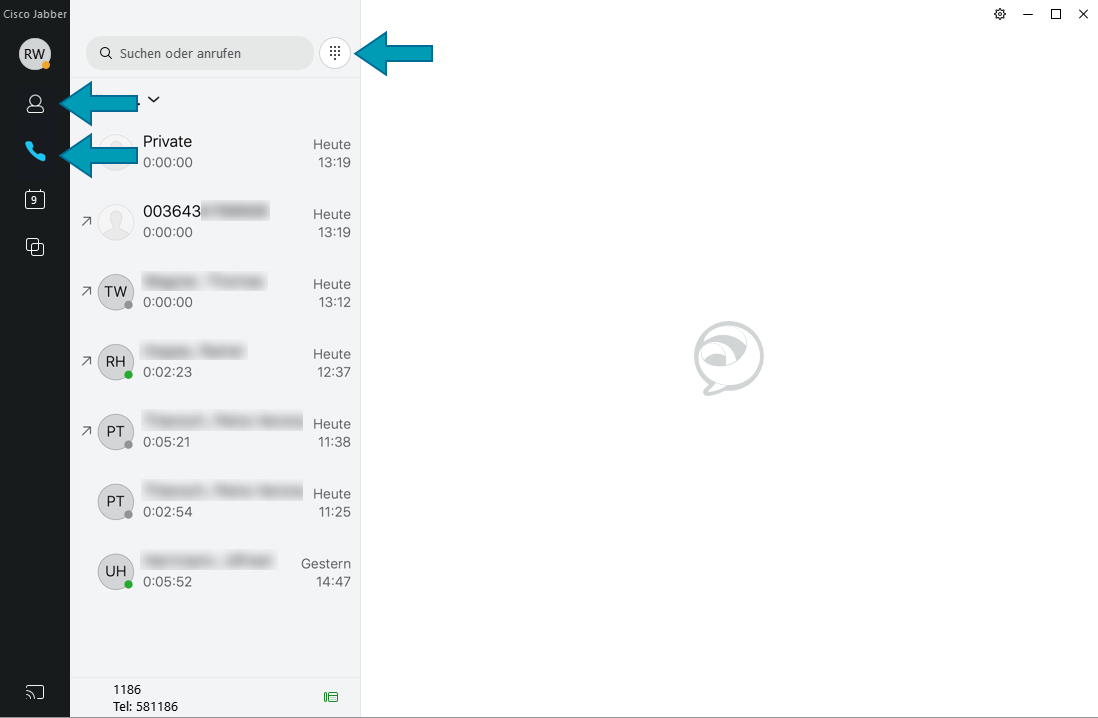
Of course, you can also make external calls. To do this, click either on the first symbol in the left-hand column for »Contacts« or on the second symbol for »Calls« and then on the symbol for »Dial field« next to the search field.
Please do not forget to enter the »0« for the exchange, as you do at your workstation!
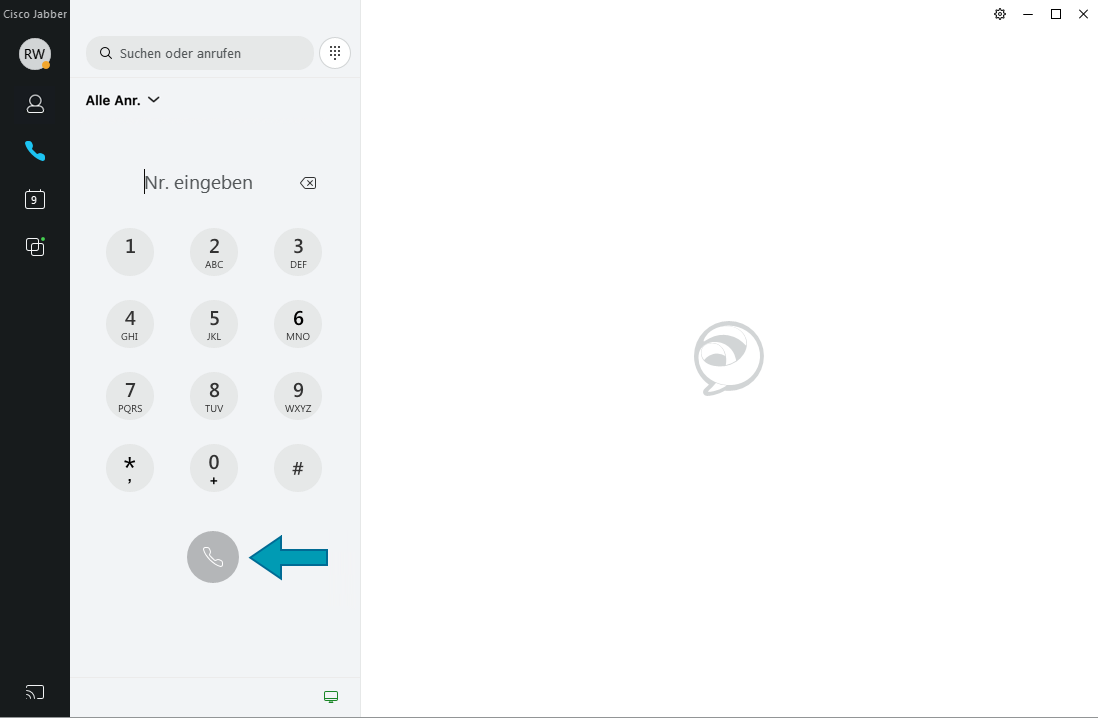
You can operate the dialling field with your mouse or use the number keys on your keyboard. To dial, click on the handset symbol, which then appears green, or press the Enter key.
Forwarding calls or setting the mailbox with »Cisco Jabber«
If you want to forward your calls to your mobile phone or your private landline, for example, you can do this via »Cisco Jabber«. To do this, click on the icon at the bottom centre edge of the Jabber window and select the menu item »Forward calls«.
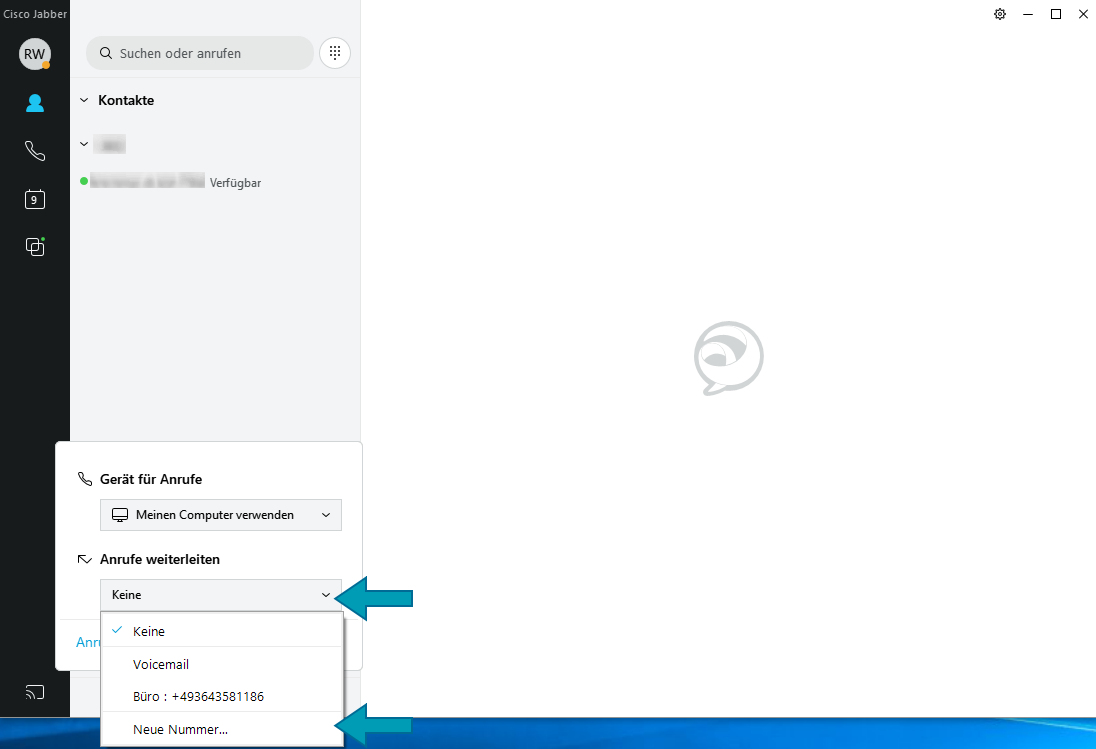
Hier können Sie Standardmäßig Ihre Büronummer und – sofern eingerichtet – Ihre Mailbox (»Voicemail«) anwählen.
Ebenso können Sie über den Punkt »Neue Nummer« die Rufnummern hinzufügen und dauerhaft speichern, die Sie häufig für Weiterleitungen nutzen.
Bitte beachten Sie, dass erhöhte Kosten entstehen, wenn Sie die Anrufe dauerhaft auf Mobilfunknummern umleiten. Nutzen Sie bitte – sofern möglich – Festnetzanschlüsse.
Installation of »Cisco Jabber«
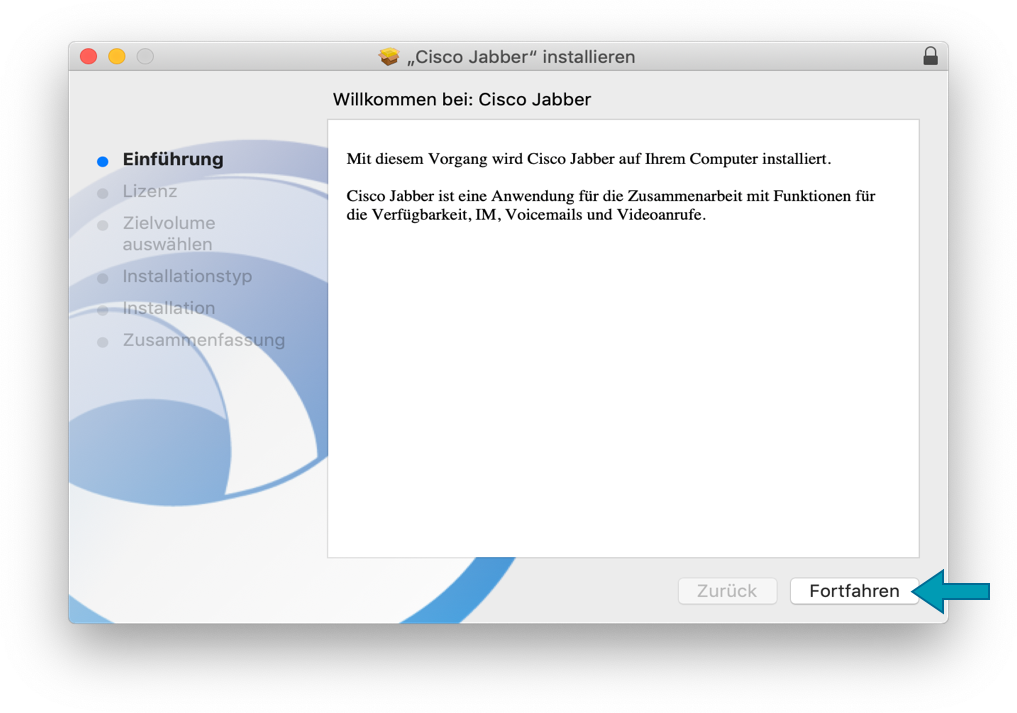
Please start the installation as administrator. If you do not have the appropriate rights, ask the administrator of your Mac to carry out the installation.
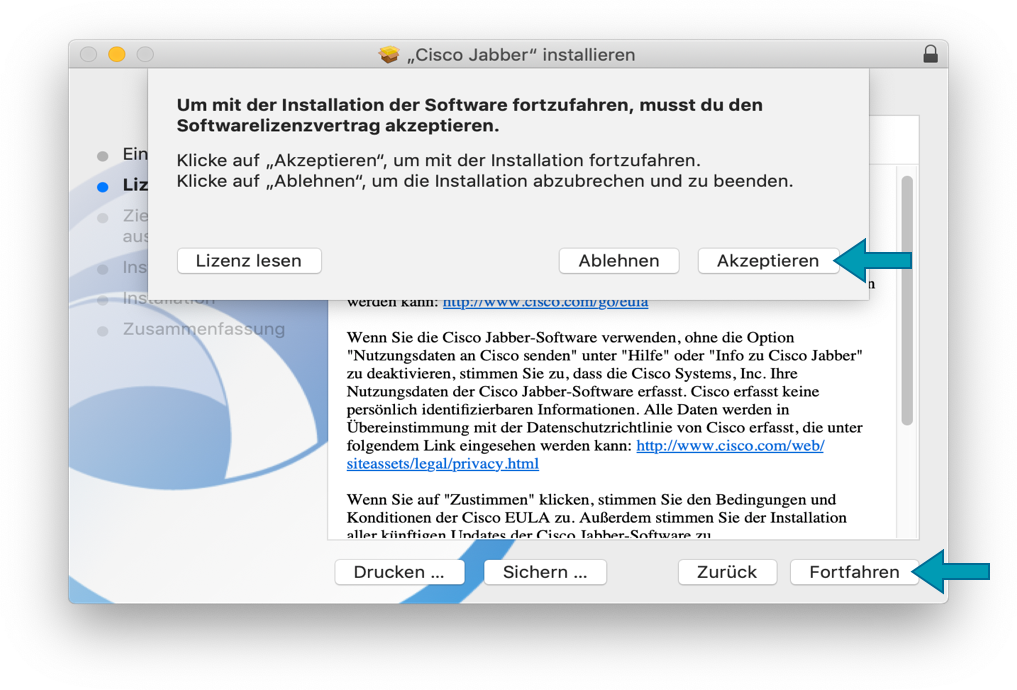
Then click on »Continue« and confirm the software licence agreement with »Accept«.
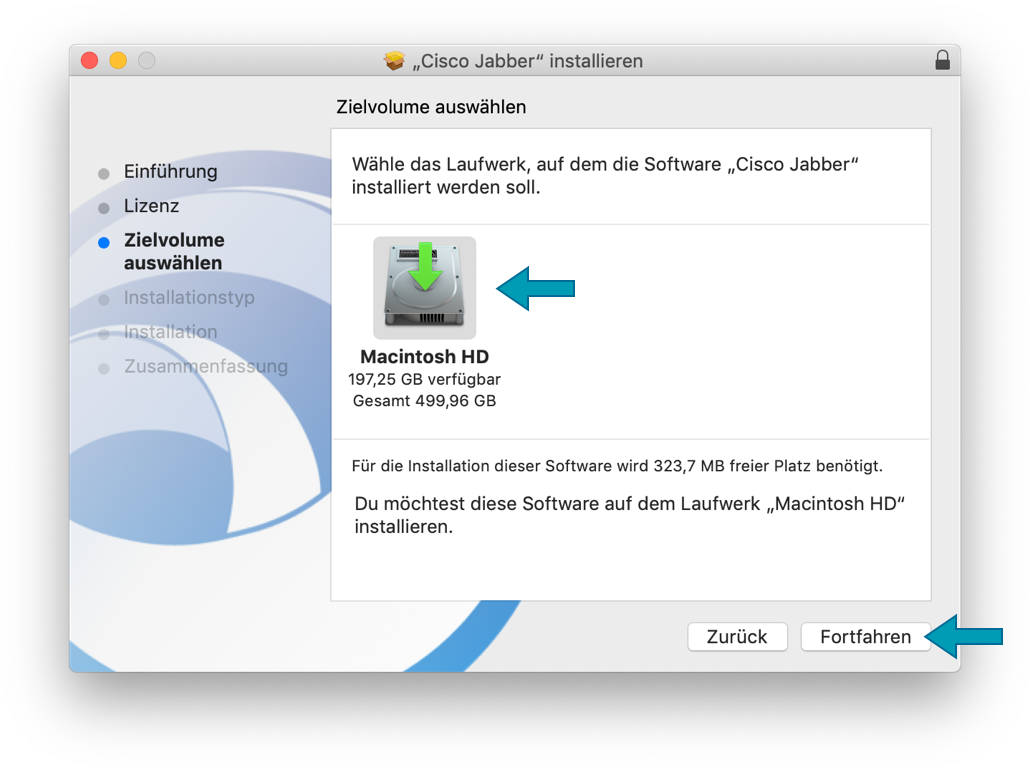
Click on the drive on which the software is to be installed. Usually the drive is designated as »Macintosh HD«.
Then click on »Continue«.
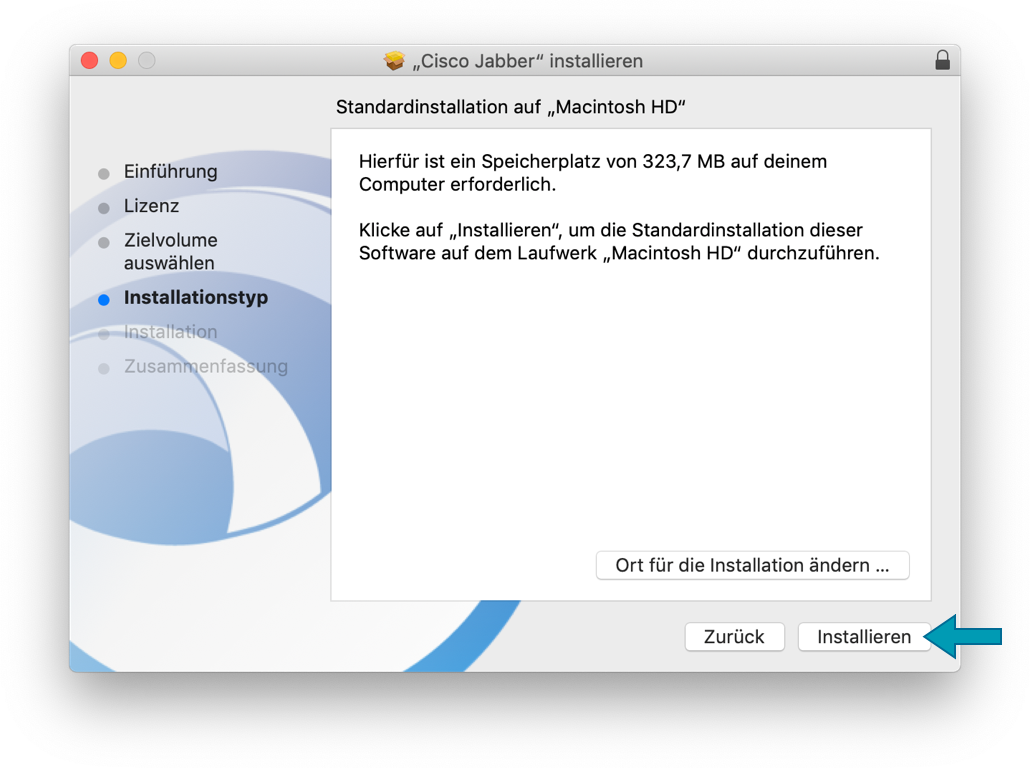
In the next step, click on »Install«.
Login to »Cisco Jabber«
If you are not on the university network, first establish a VPN connection.Here you can find out how to establish a VPN connection.
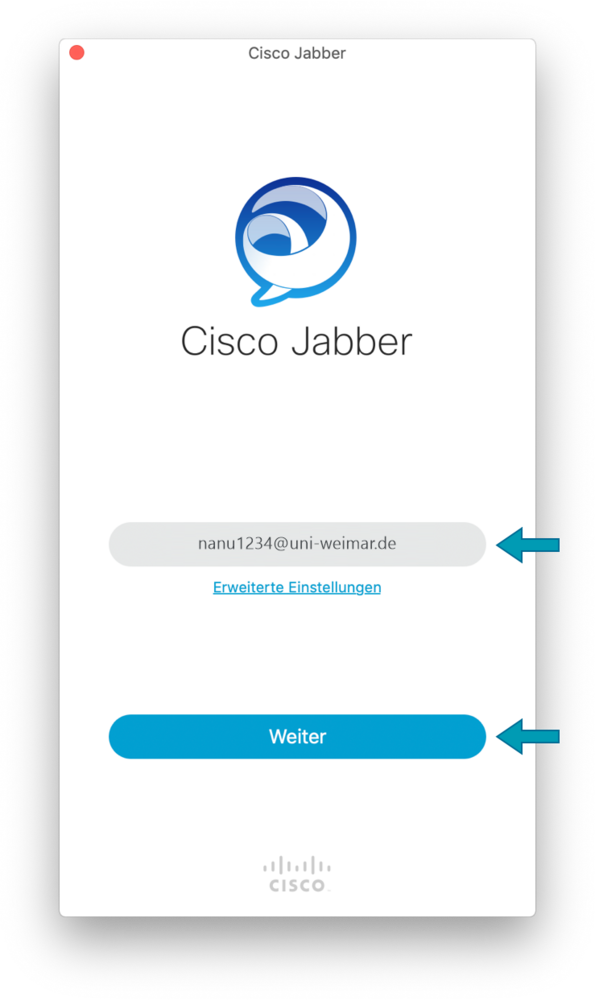
Now open »Cisco Jabber« and enter your login and»@uni-weimar.de« (e.g.: »nanu1234@uni-weimar.de«, not your e-mail address). Then click on »Next«

In the next step, enter your personal password and then click on »Login«.
Configuration of »Cisco Jabber«
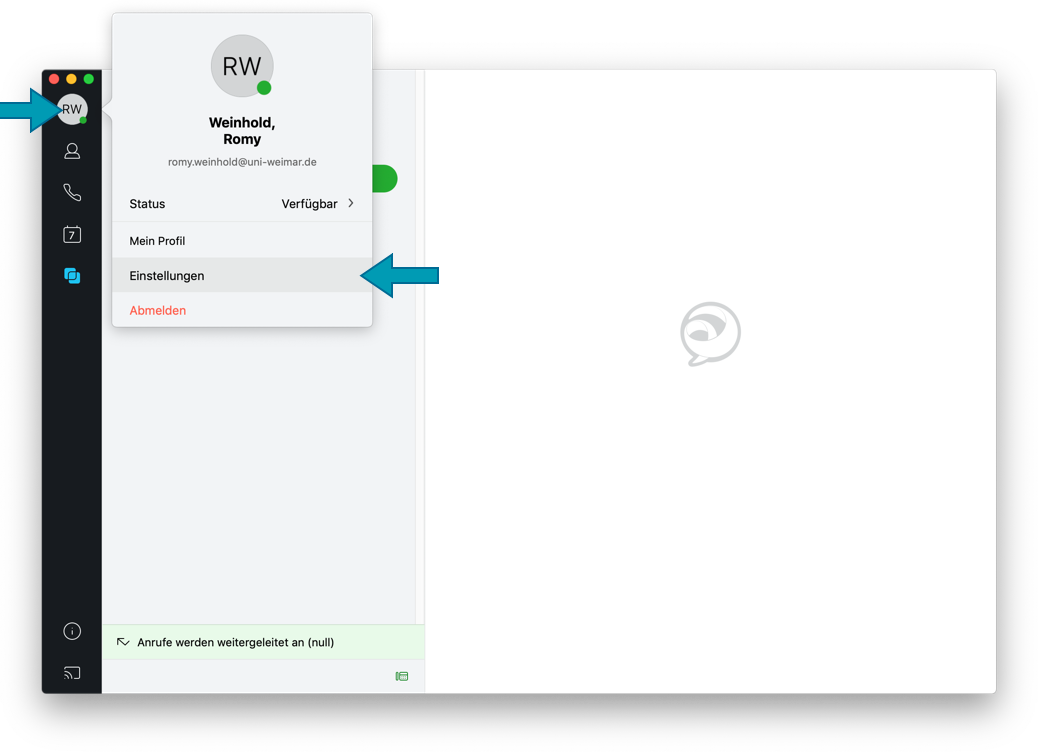
In order to use the software, you must make some settings. To do this, first click on your initials at the top left and select the item »Settings« in the window that then appears.
Navigate to the item »Audio/Video«.
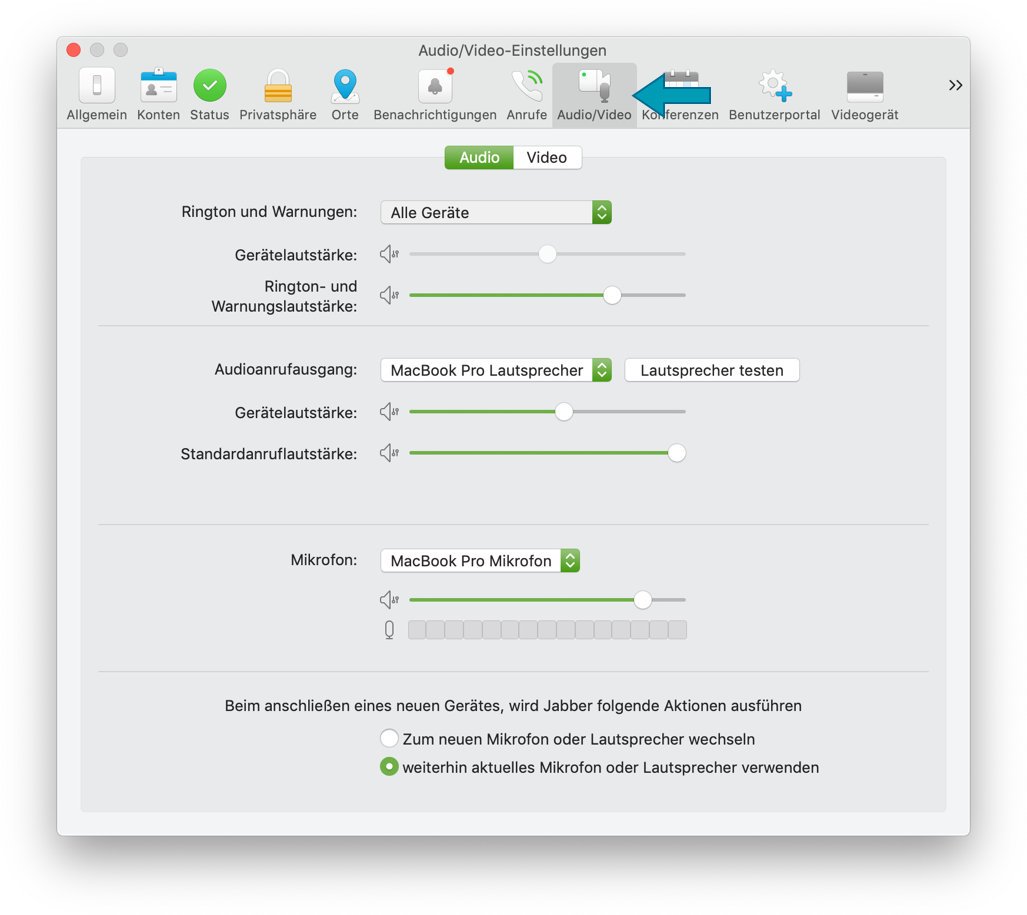
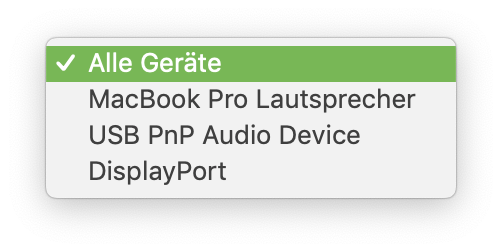
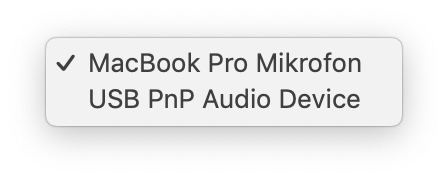
Depending on whether you want to use the internal loudspeaker and the internal microphone of the computer or whether you have connected headphones or a headset with a microphone, select the corresponding input and output devices in the drop-down menus.
Note: The available entries in the drop-down menus vary depending on which output or input devices are available or installed on your computer.

Here you have the option of clicking the button »Test speaker« to check whether you can hear the sound.

Microphone:
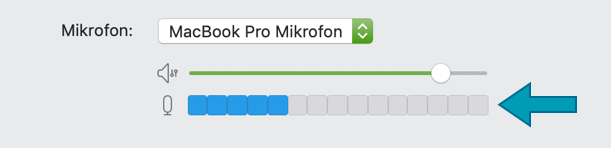
You can tell if your microphone is working by whether the microphone level shows a deflection when you whistle, for example.
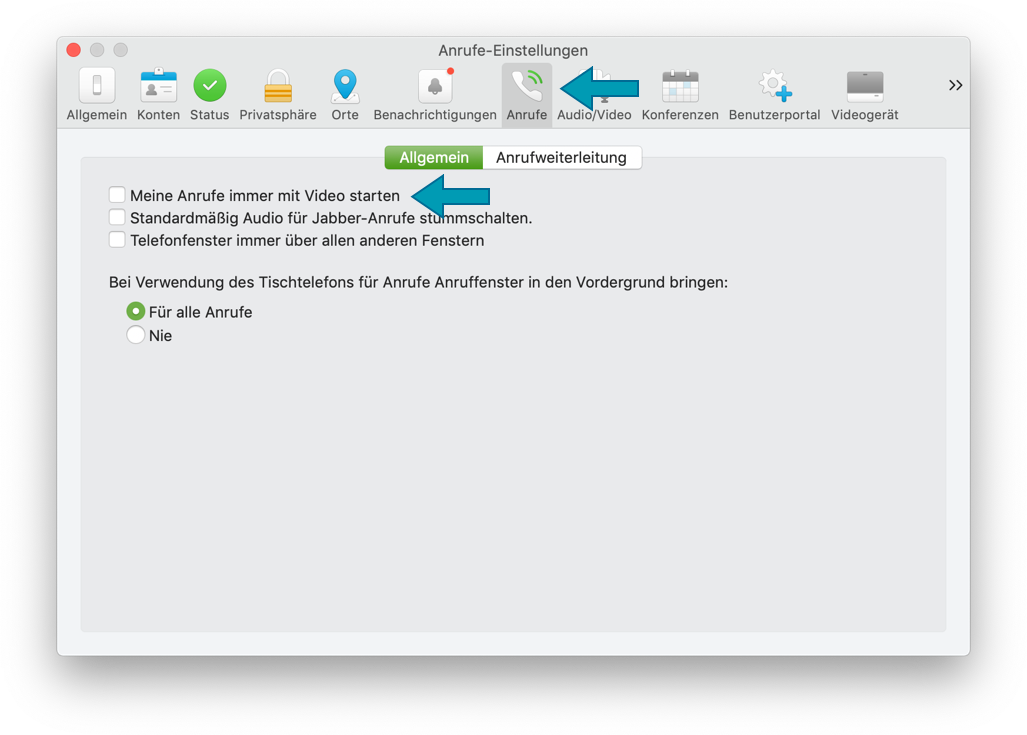
Then switch to the »Calls« area and deactivate the item »Always start my calls with video«.
Navigate further to the »Privacy« area: Select here which group of people can see your current status (»Available«, »Away«, »Do not disturb«).
Then close the settings window again.
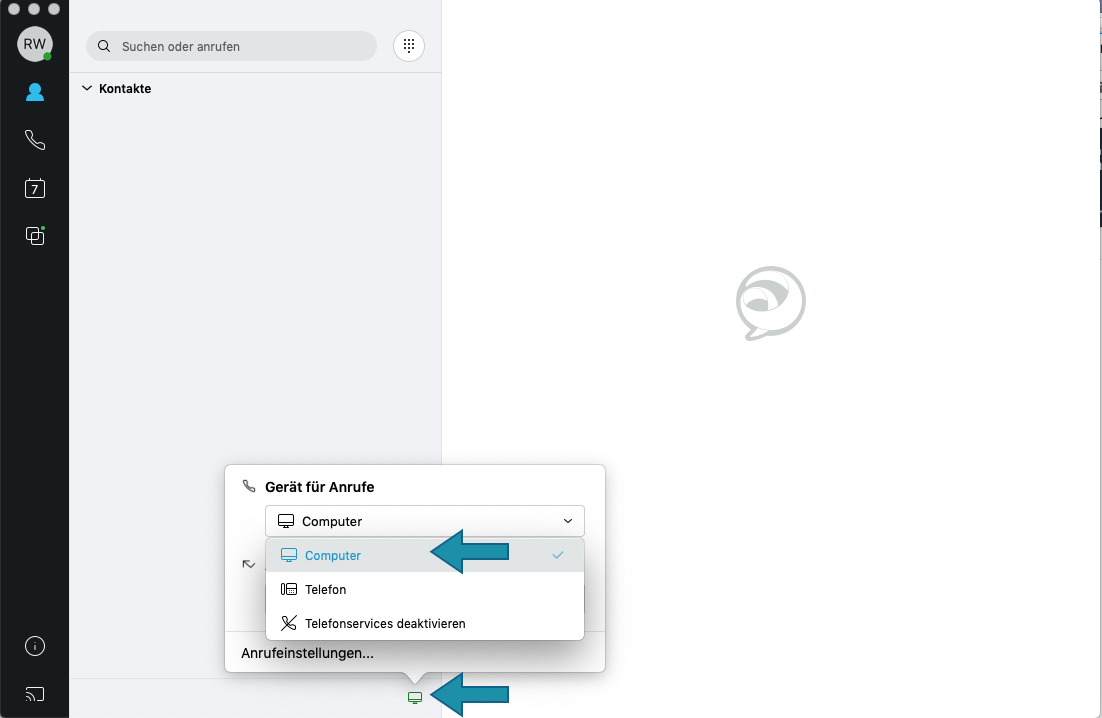
Now navigate to the bottom of the Jabber window and click on the icon placed there.
In the field for »Device for calls«, select the item »Computer«. From now on, you will no longer receive all incoming calls on your telephone set at work, but on your computer.
Calling with »Cisco Jabber«
Internal calls within the university
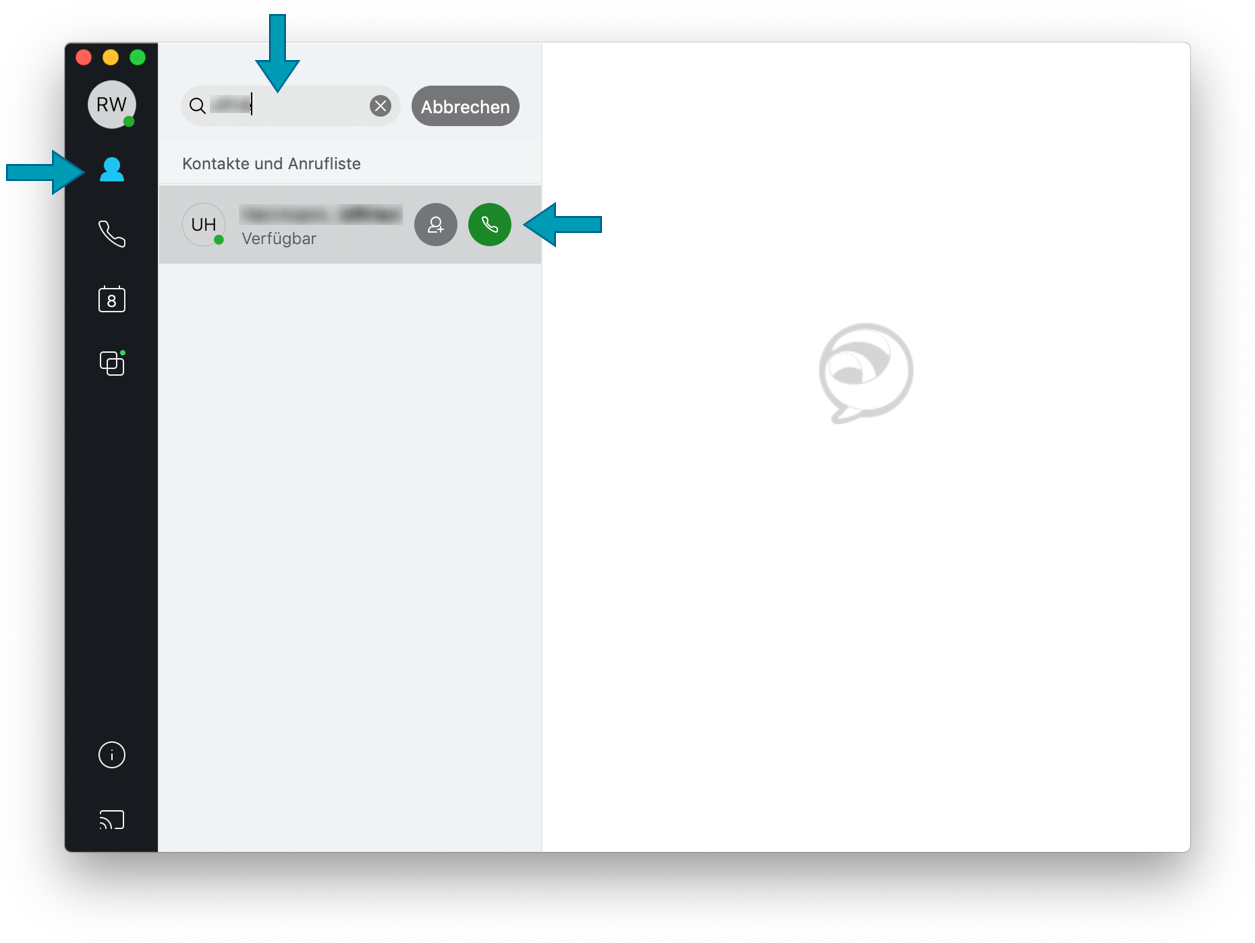
To make calls within the university, you can use the internal directory. Click on the top icon for »Contacts« in the left column and enter the name of the contact in the search field.
By clicking on the green handset or pressing the Enter key, you can call the colleague.
Using the menu with the right mouse button, you can add individual contacts that you call frequently to your personal contact list. These then appear permanently when you click on the contact symbol. You can also create individual subgroups and build your own structure.
External calls
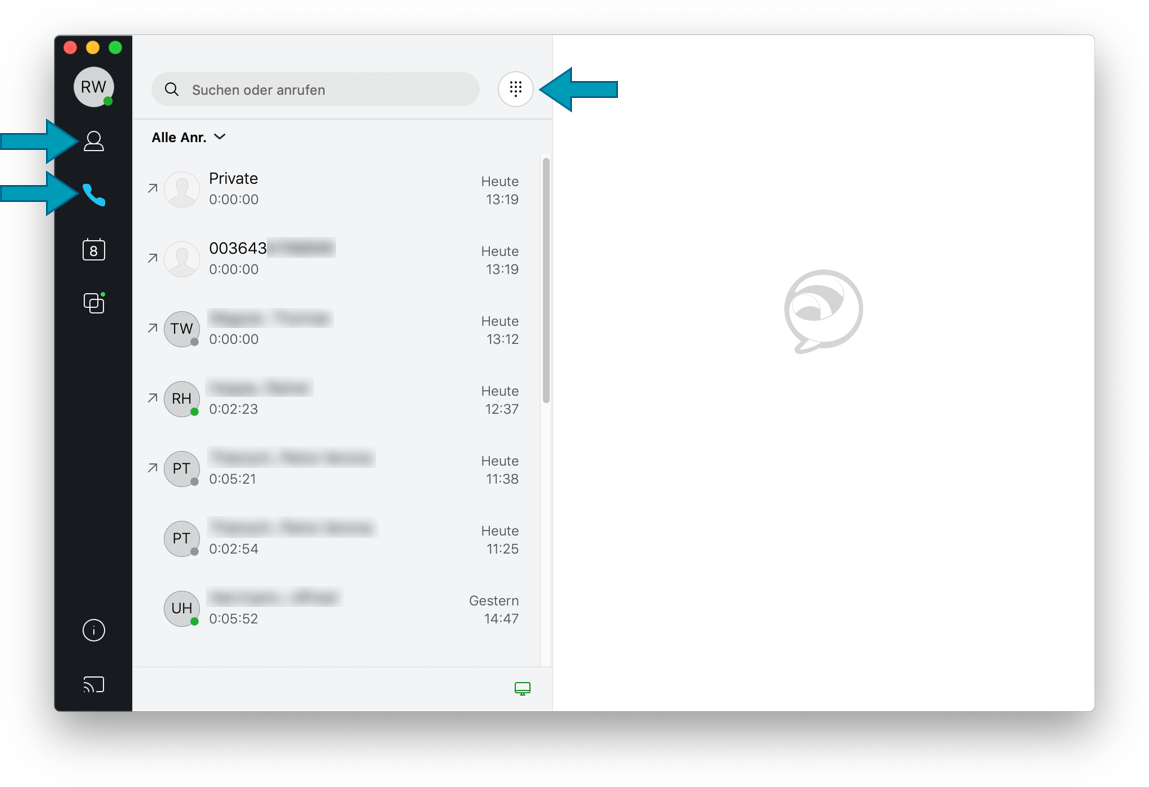
Of course, you can also make external calls. To do this, click either on the first symbol in the left-hand column for »Contacts« or on the second symbol for »Calls« and then on the symbol for »Dial field« next to the search field.
Please do not forget to enter the »0«, as you do at your workstation!

You can operate the dialling field with your mouse or use the number keys on your keyboard. To dial, click on the handset symbol, which then appears green, or press the Enter key.
Forwarding Calls or Setting the Mailbox with »Cisco Jabber«
If you want to forward your calls to your mobile phone or your private landline, for example, you can do this via »Cisco Jabber«. To do this, click on the icon at the bottom centre edge of the Jabber window and select the menu item »Forward calls«.
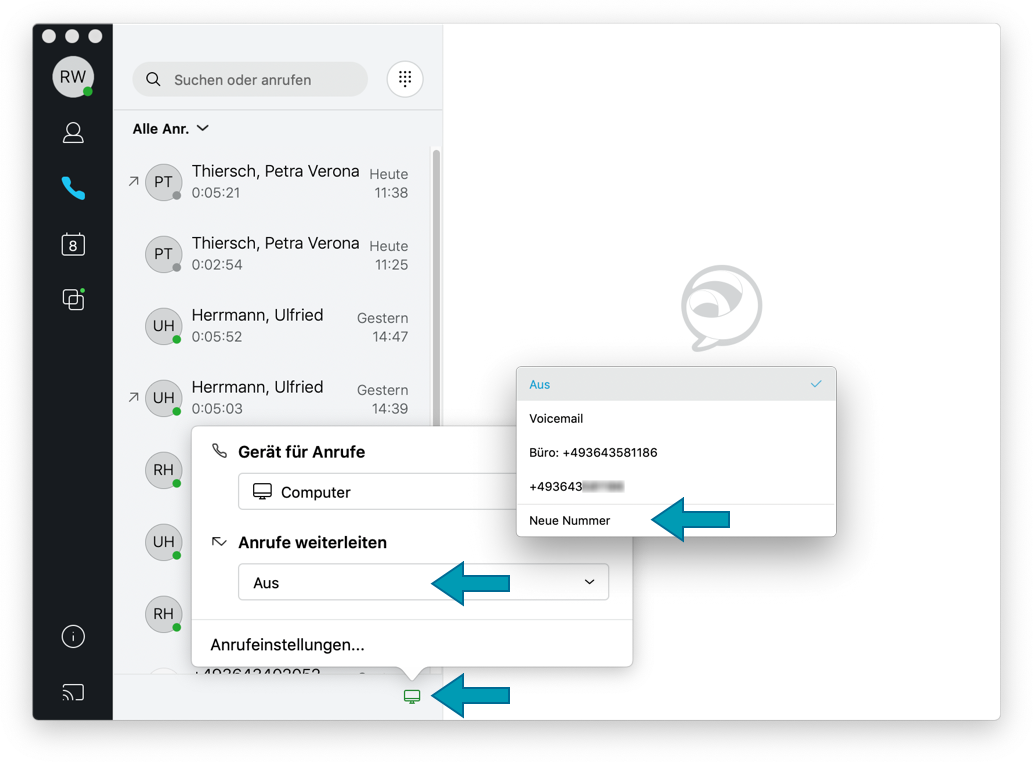
Here you can dial your office number by default and - if set up - your mailbox(»Voicemail«).
You can also use the »New number« item to add and permanently save the phone numbers that you frequently use for forwarding.
Please note that increased costs will be incurred if you permanently forward calls to mobile numbers. Please use fixed network connections - if possible.