Exemplarily with MS Word
By signing a document, authorship can be proven and unnoticed subsequent changes to the content can be prevented.
How to create a signature line in Word or Excel documents is described in detail by Microsoft: external Link
Before you can sign Office documents, you must have requested a user certificate and imported it into the certificate store (Windows) or stored it in the key ring management (Mac).
Signing a document should be the last editing step. Any subsequent editing of a signed document renders the signature worthless and requires re-signing.
Open the file to be signed in MS Word.
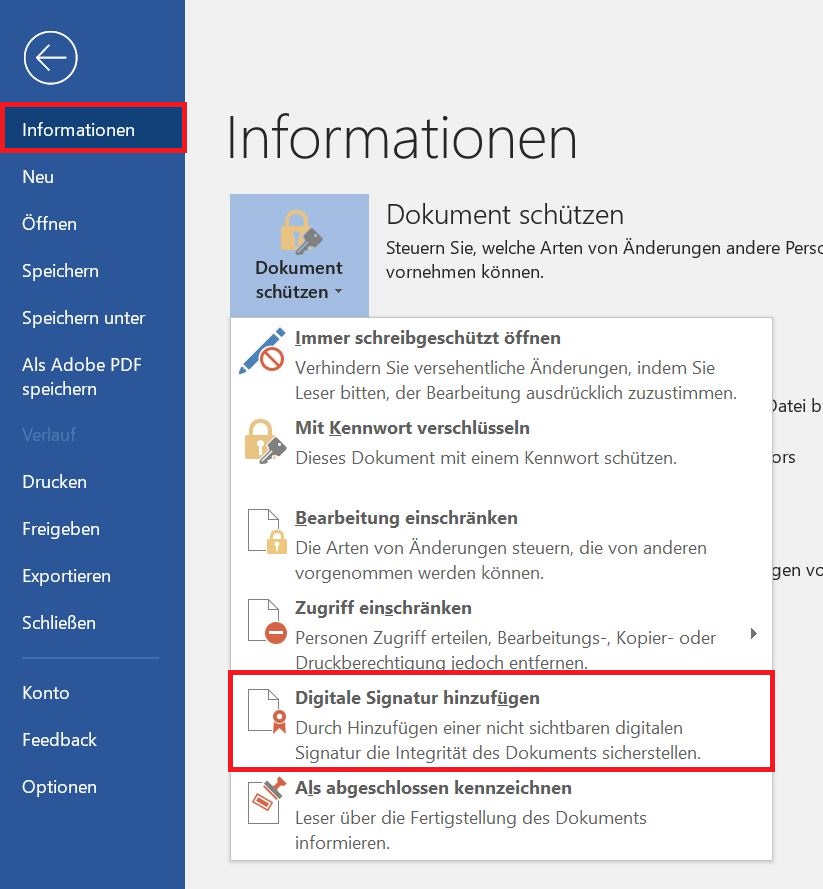
Click on File, then on Information and then on Add Digital Signature.
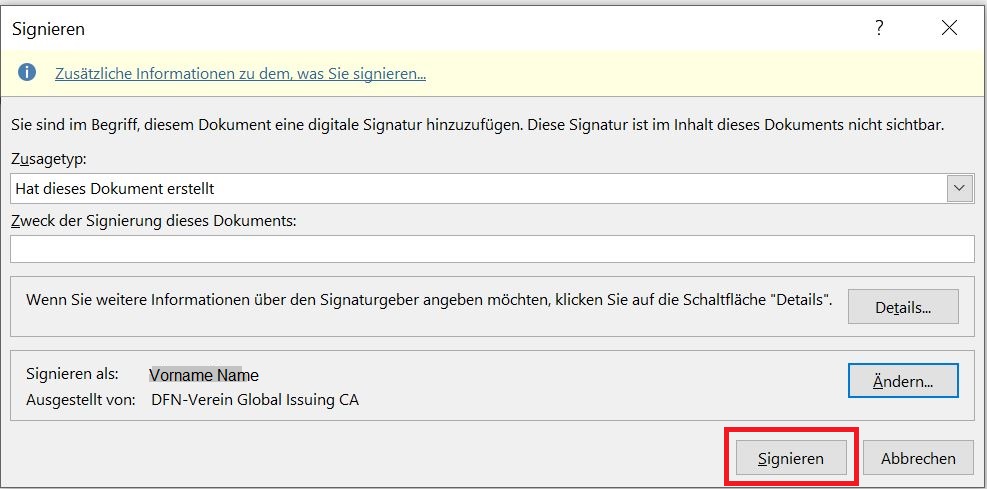
Under Commitment type you can see the possible selection of the specified variants.
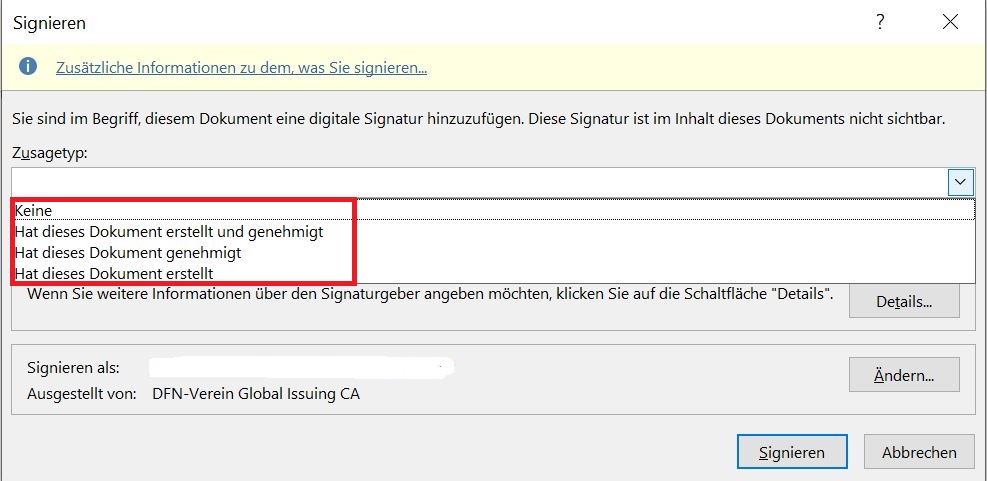
Now check whether the correct certificate is already selected under sign as. This is relevant, for example, for those who use so-called group certificates in addition to the personal user certificate. If the desired certificate is already displayed, you can skip the next two steps and click on Sign. If not, click on Change...

Search for the correct certificate via More options, mark it by clicking on it and click OK.
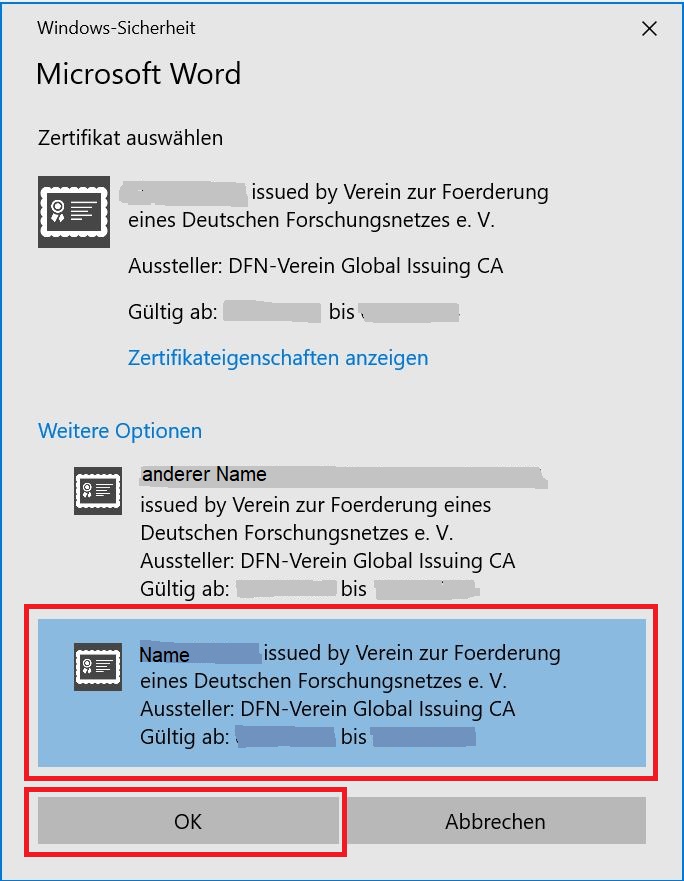
Now the correct certificate should be displayed under Sign as:.
Now click on Sign.
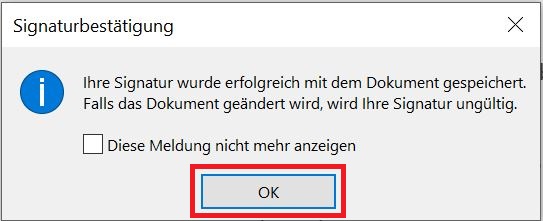
The signed document is saved.
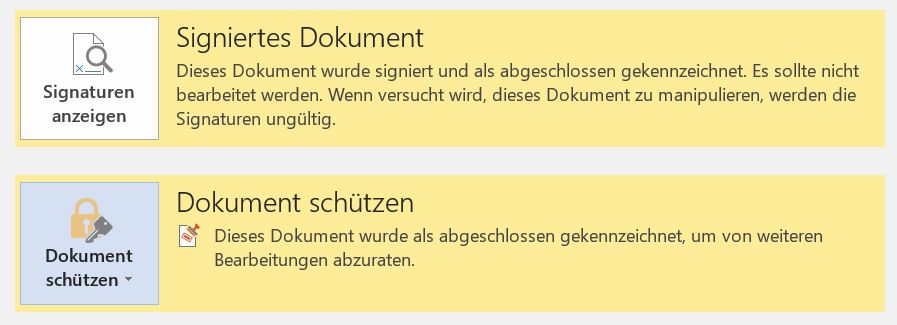
At the end you will receive a confirmation and a note that the signature will become invalid if the document is changed.
Click on OK.
The new status of the now signed document is displayed.